Category Archives: Term02 Maya

WK10 Semi- Final Version

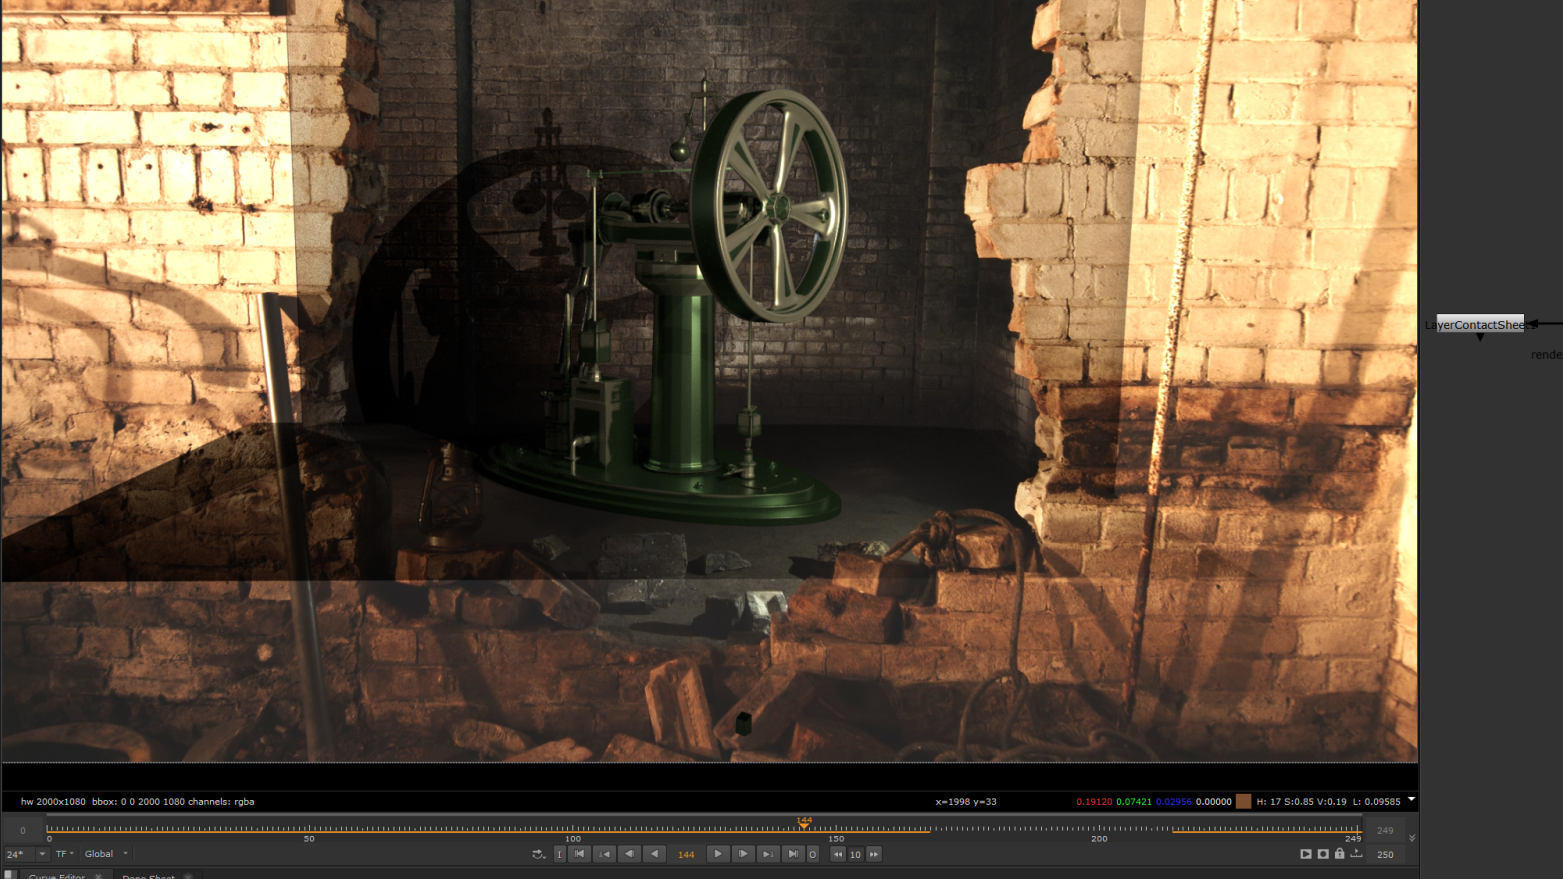
I can’t manage my time to complete a fully final version on the submission day (3pm 17/3/2022), but I will definitely plan 1-2 more working days on it. (This blog will still be updating on 18th, 19th 20th Mar)

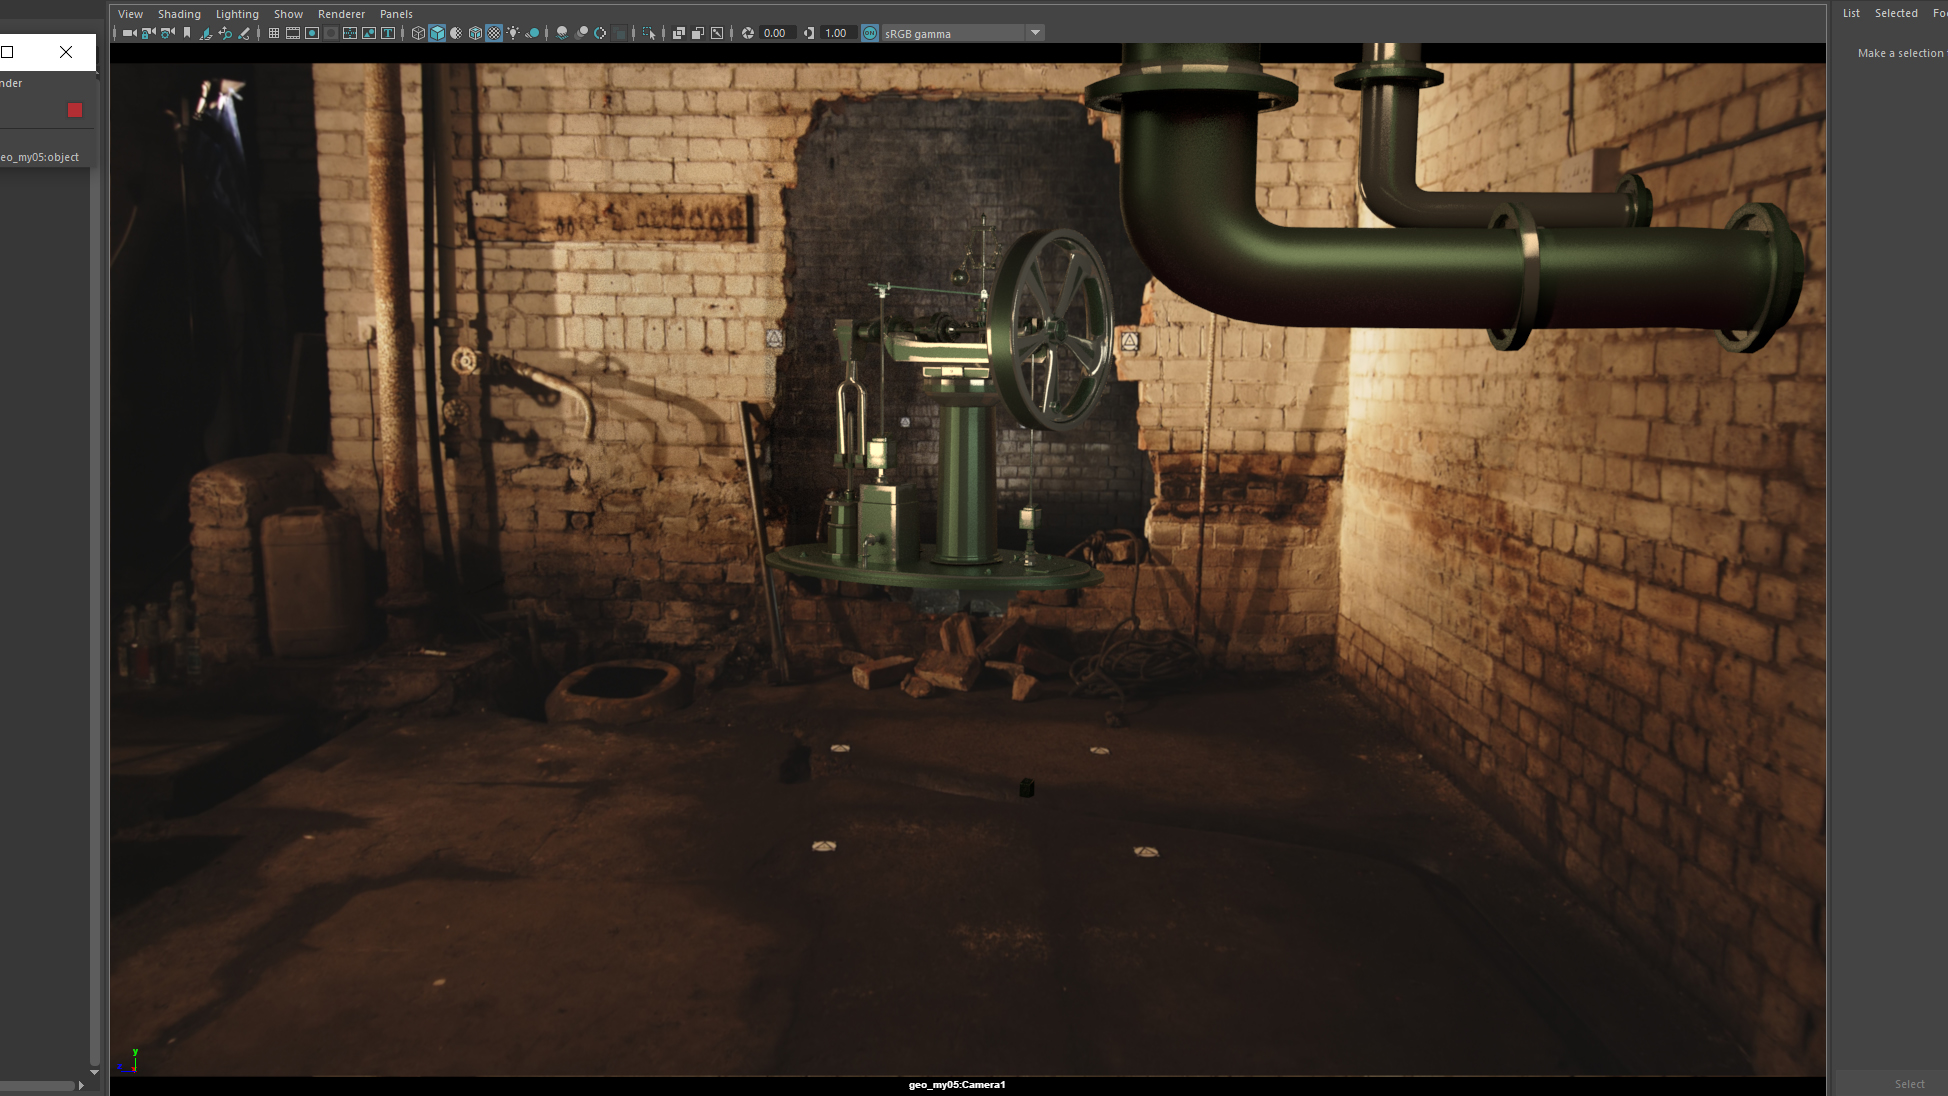
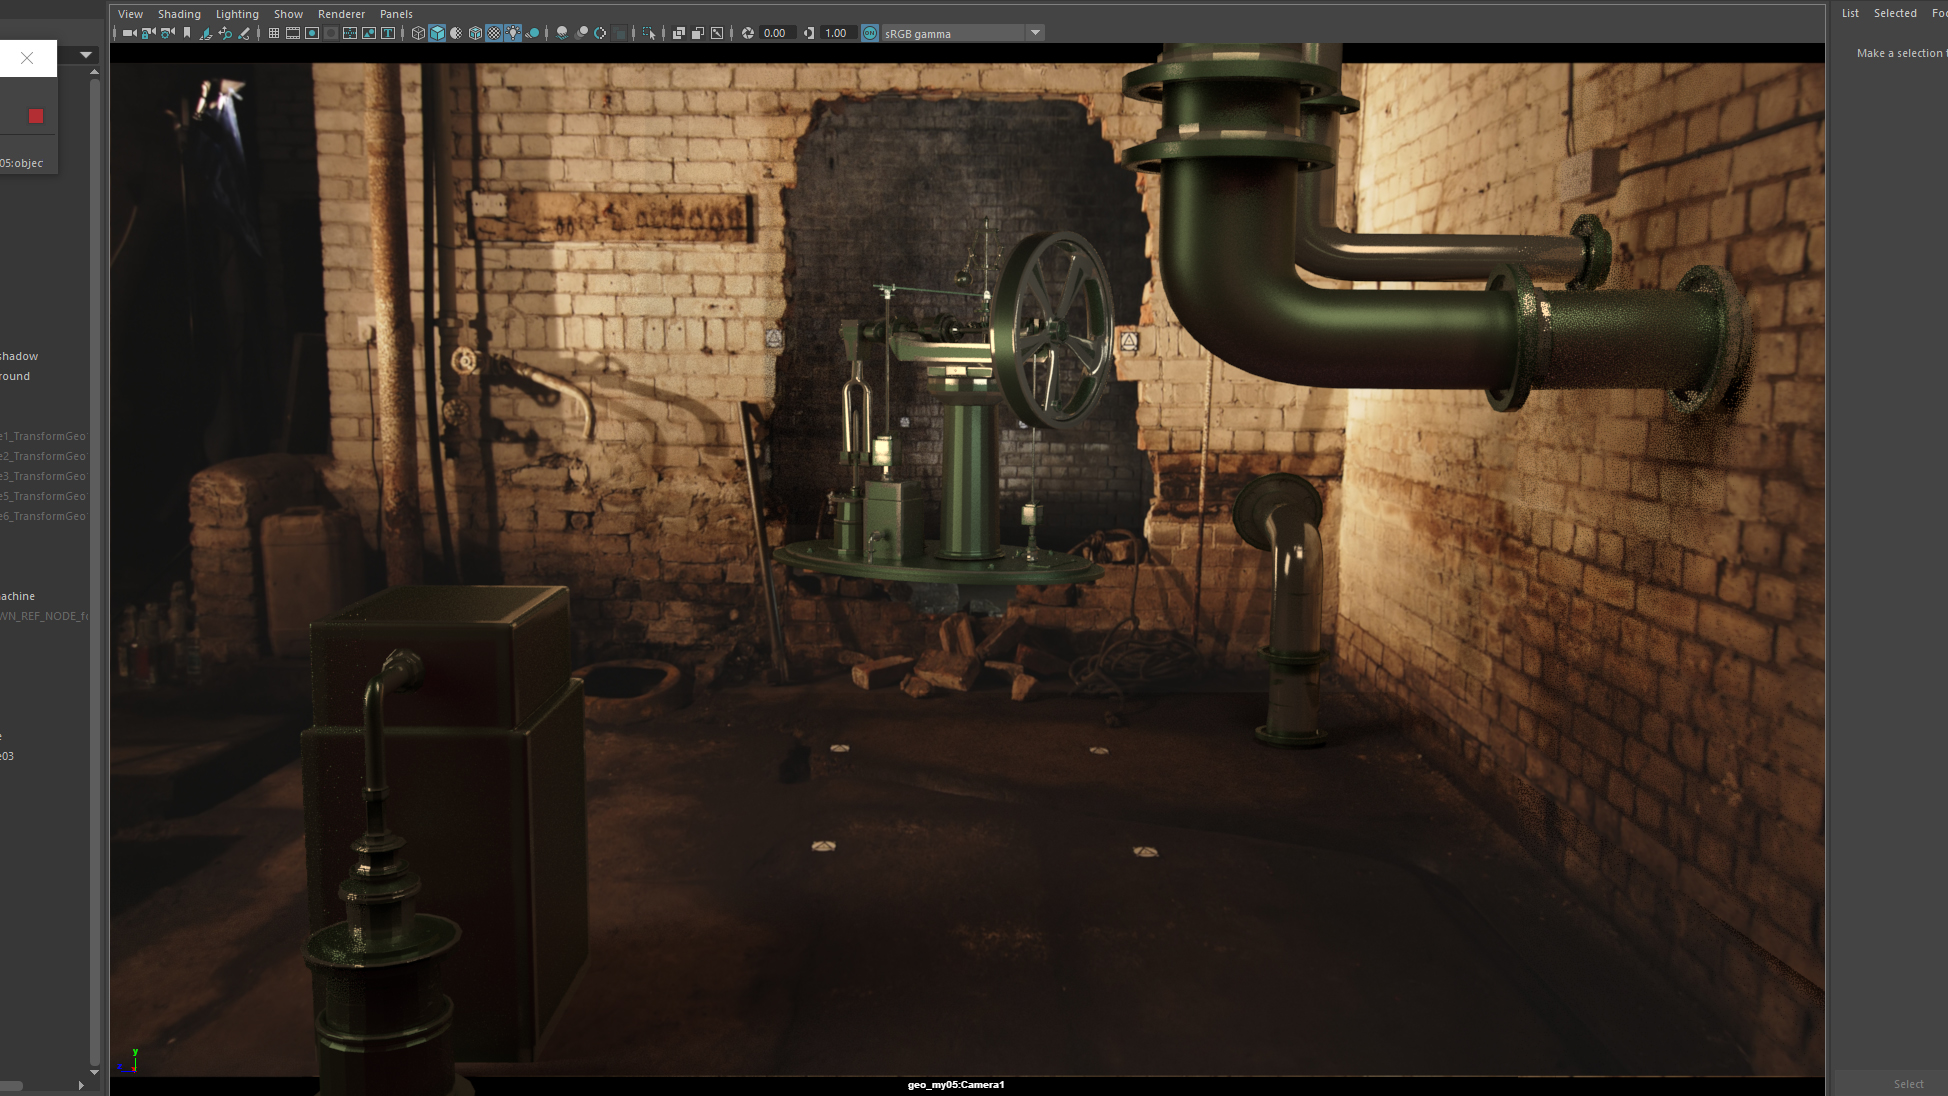
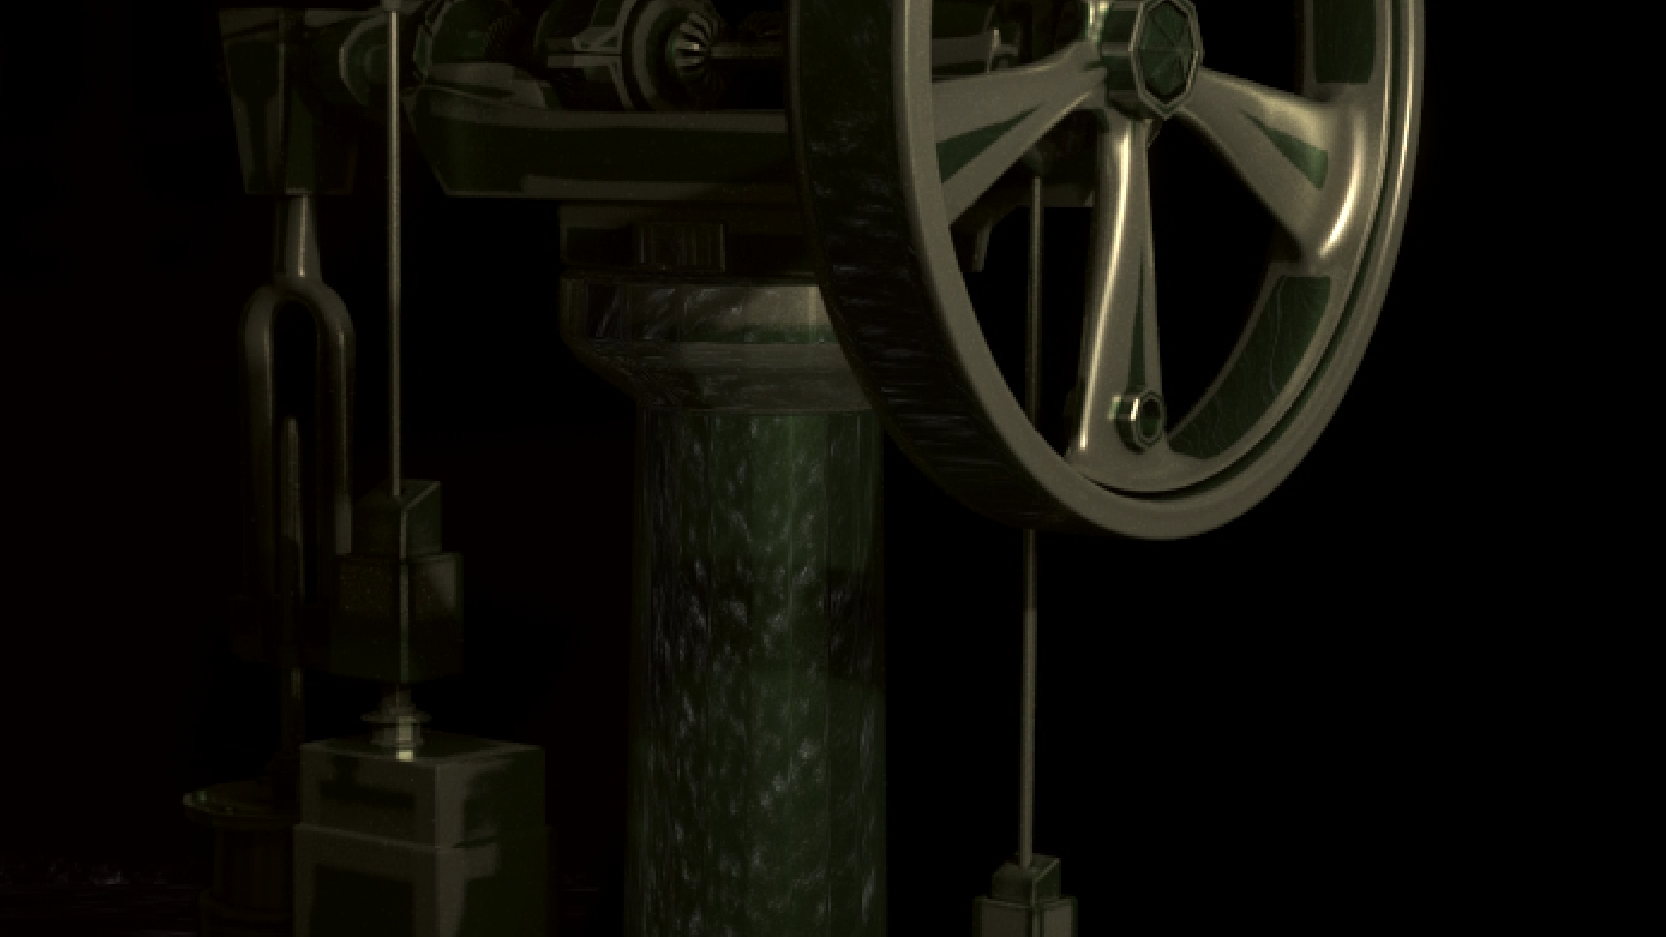
So here is the semi-final version for submission. As you can see, the roto is still missing and some color matching adjustment is needed.

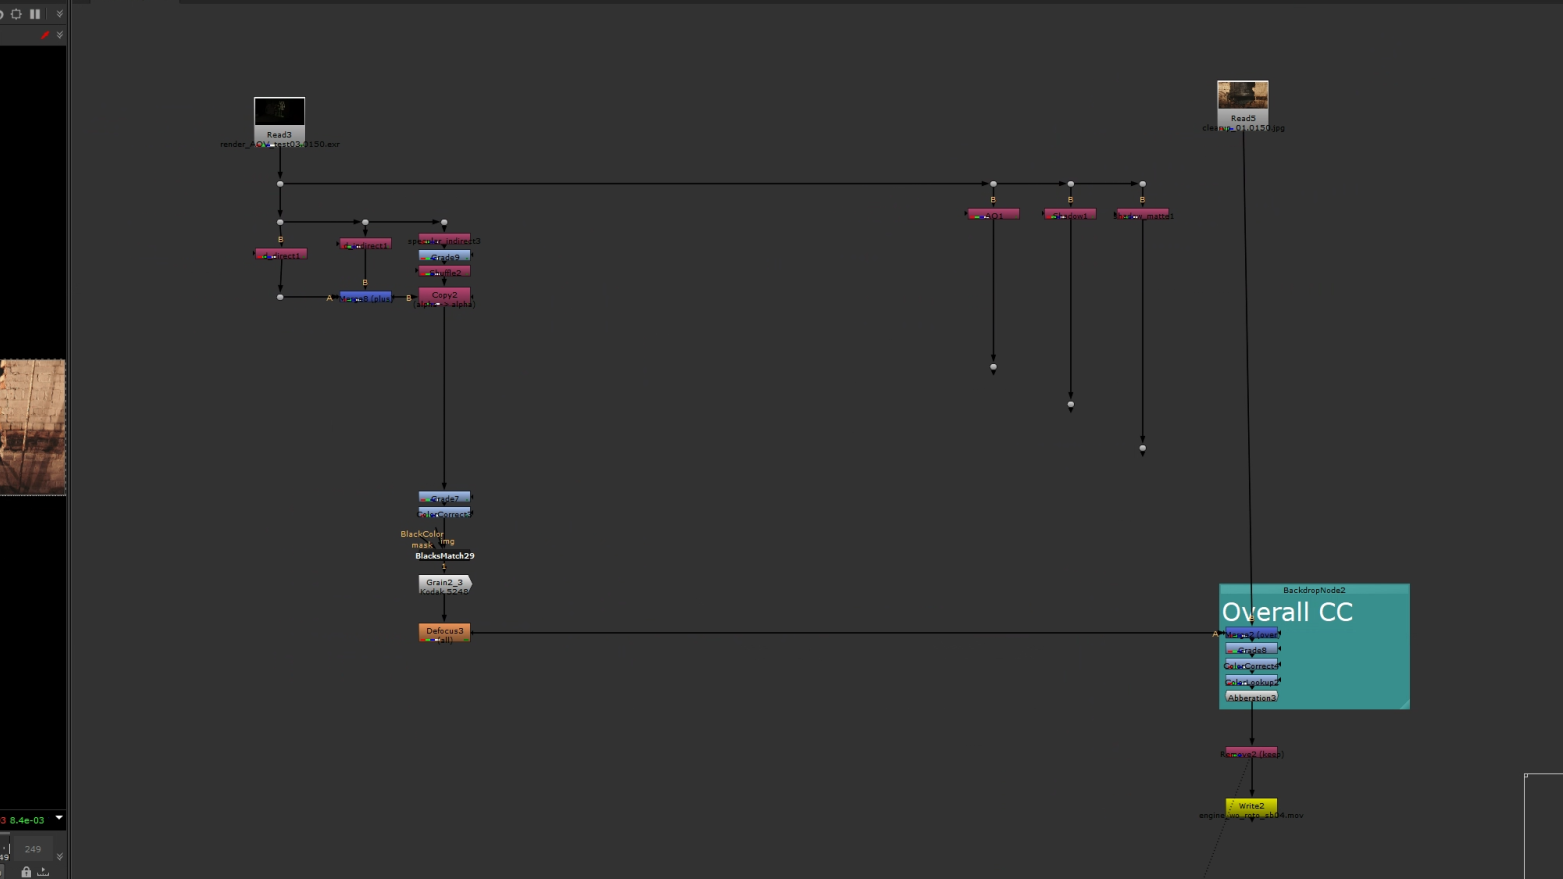
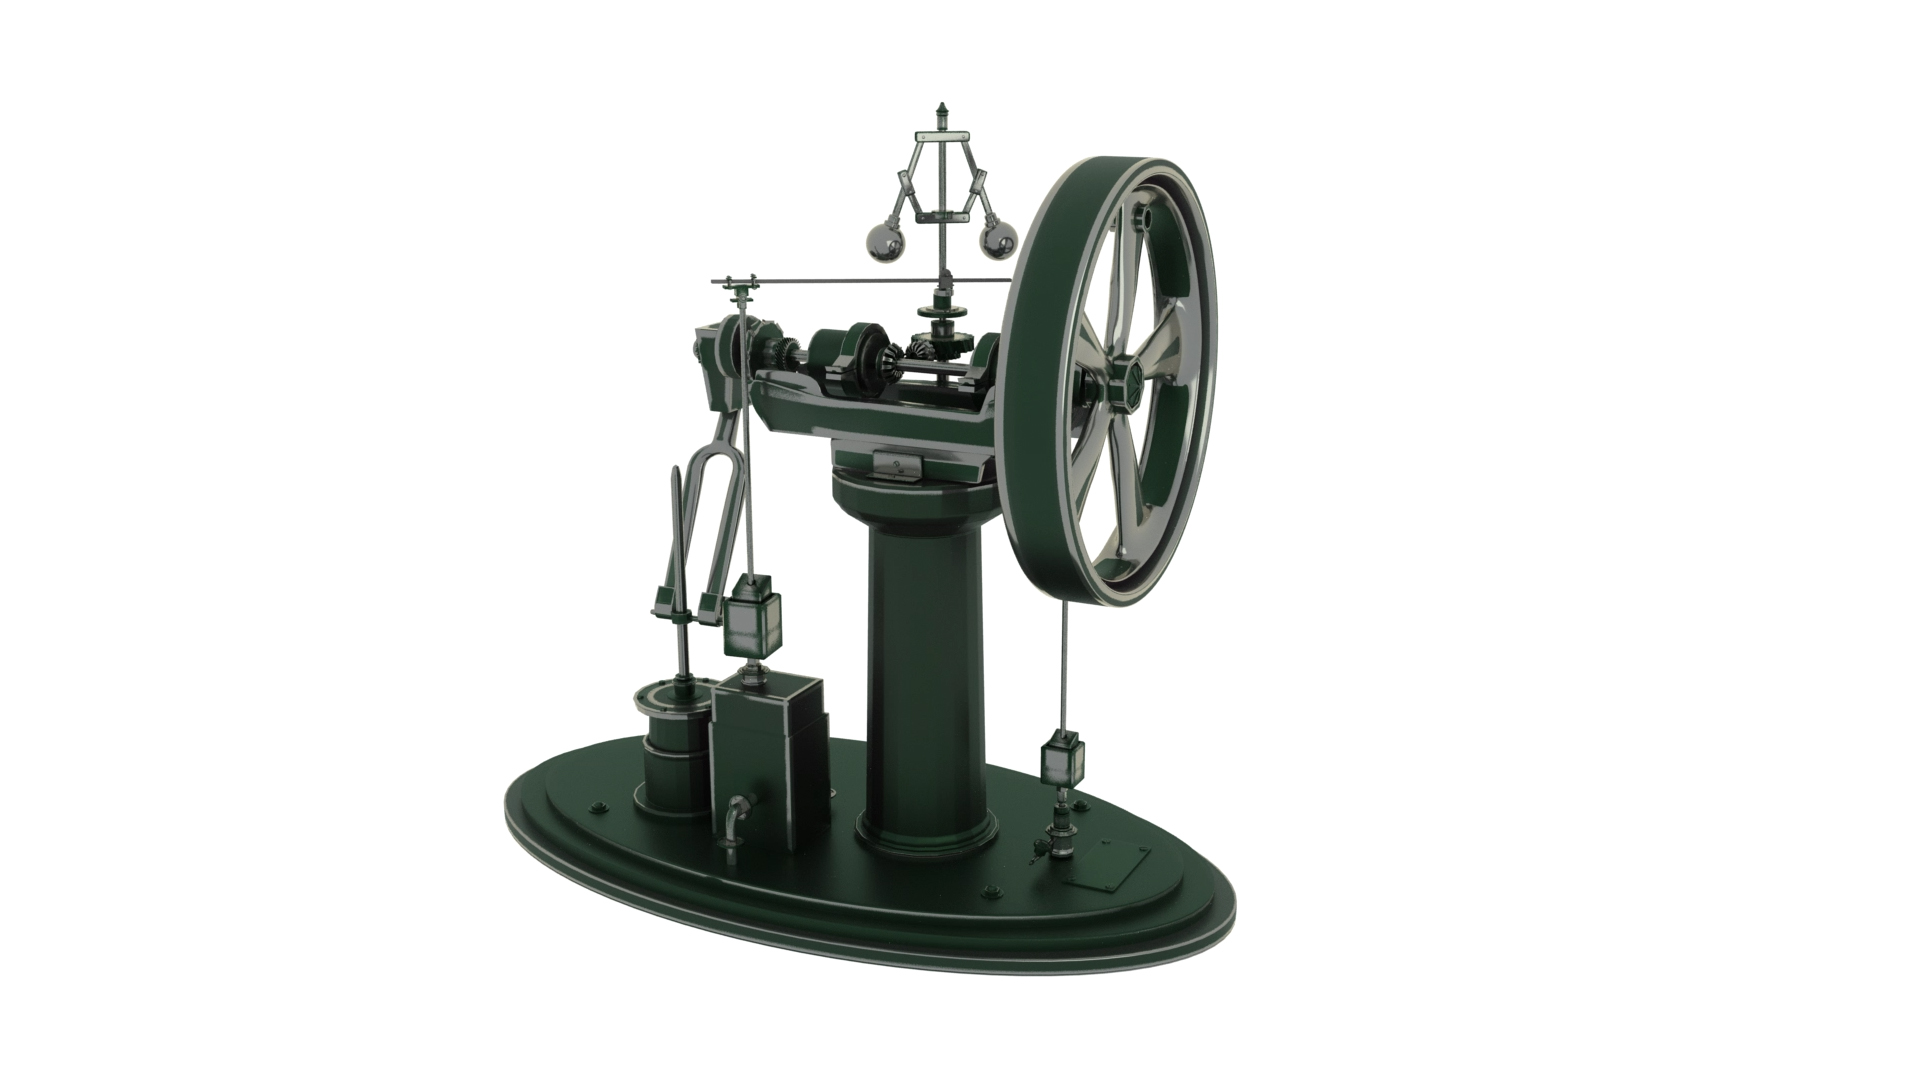
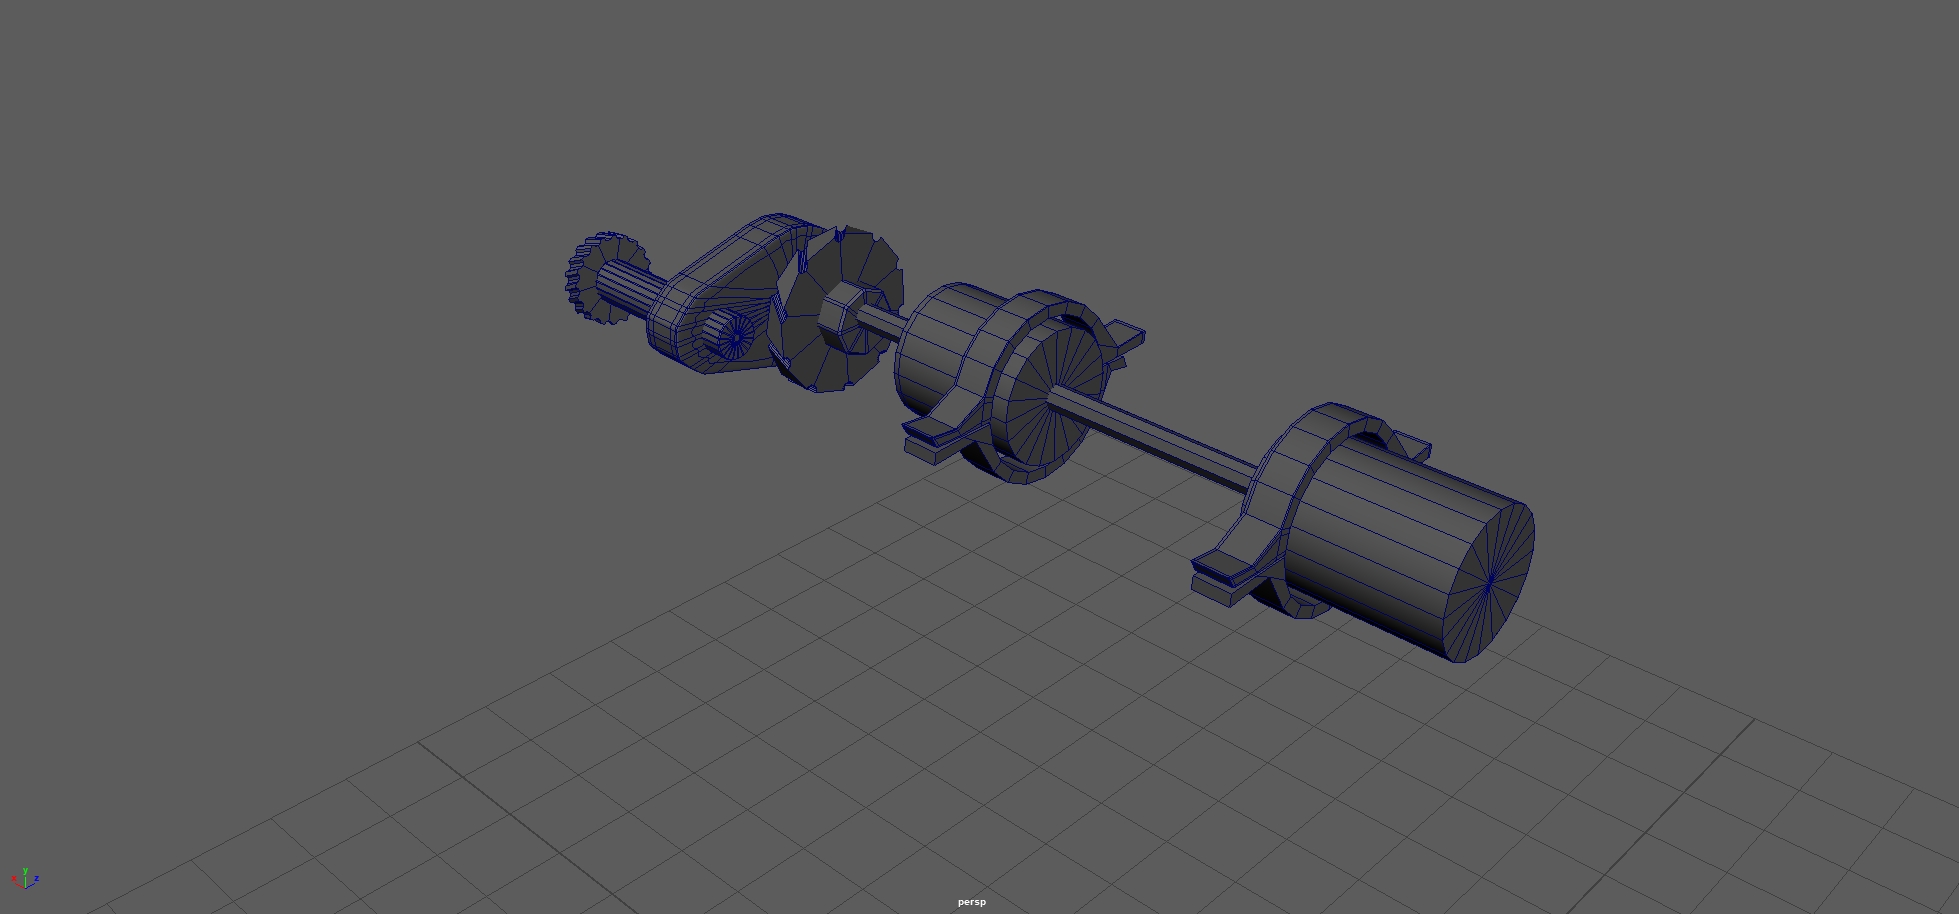
There is still a load of parts I havn’t complete yet.


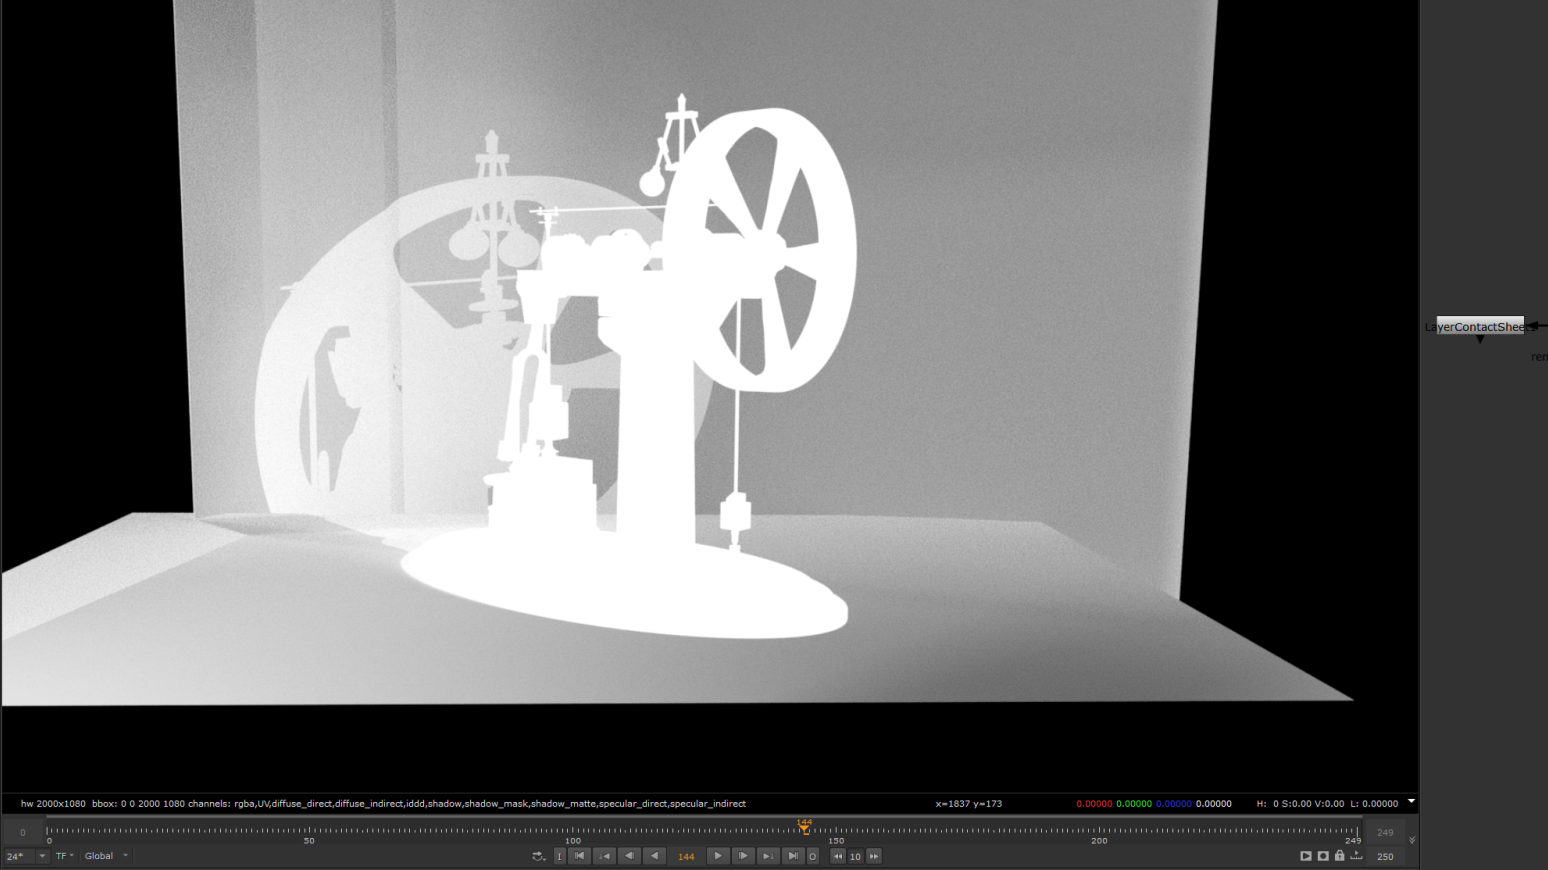
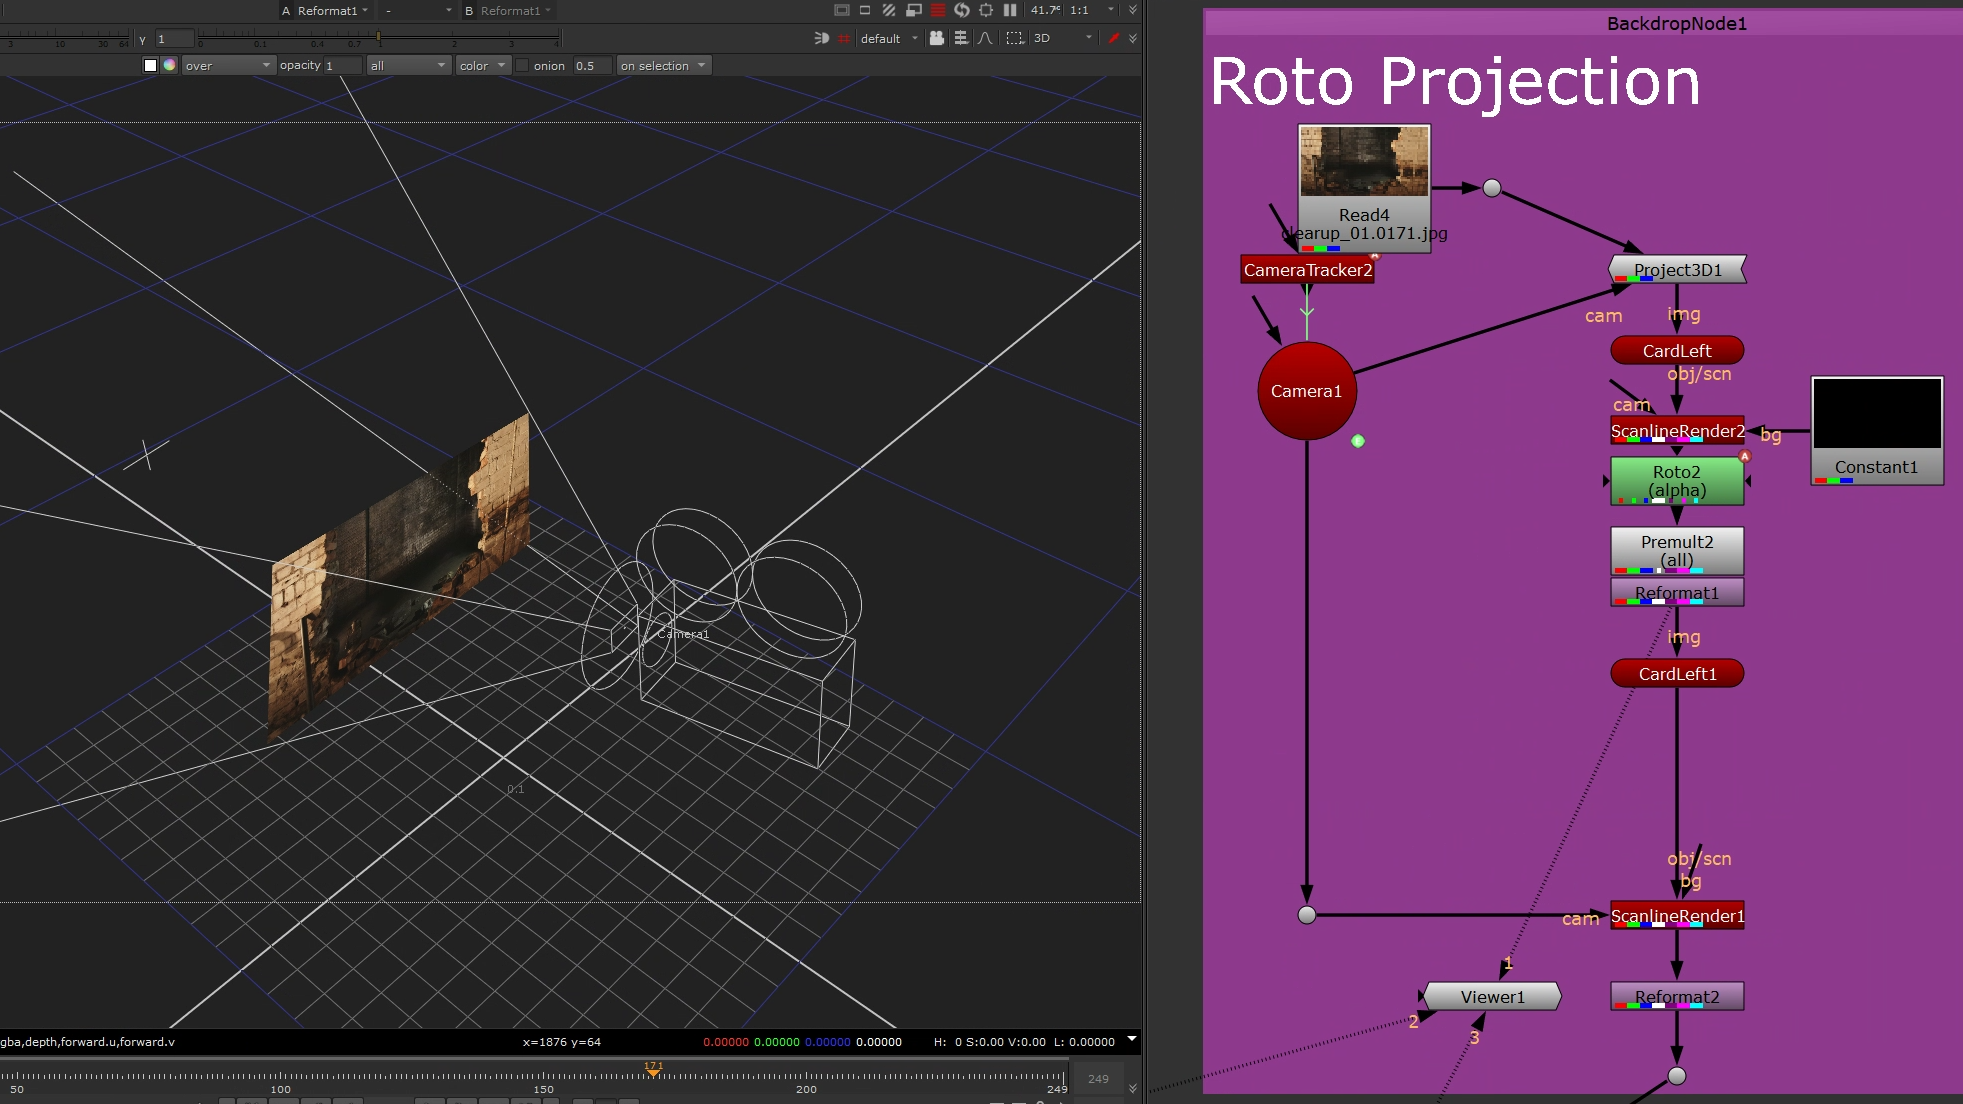
Roto with 3D Projection

Using 3D projection to project a card with UV mapping on the same card, to get a much easier workload in roto. Then merge the roto mask into the CG to get a nice roto.


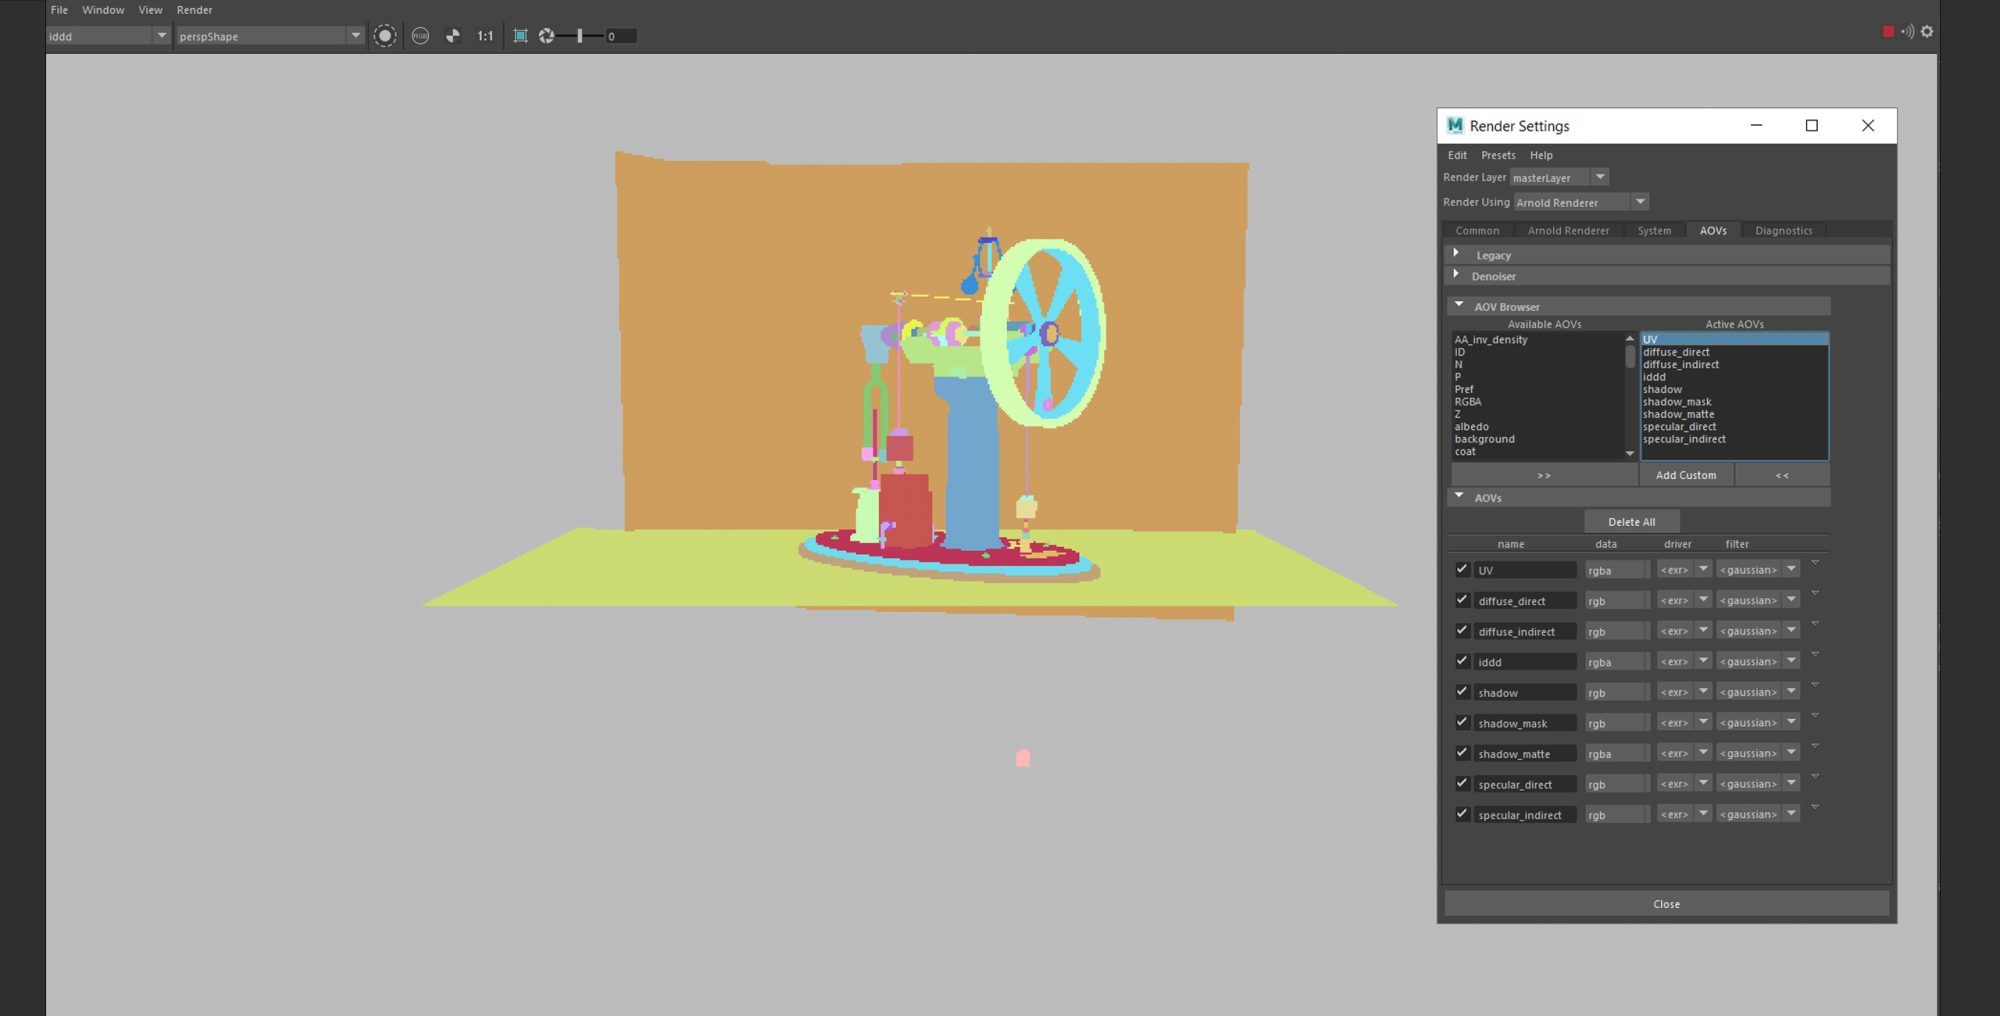
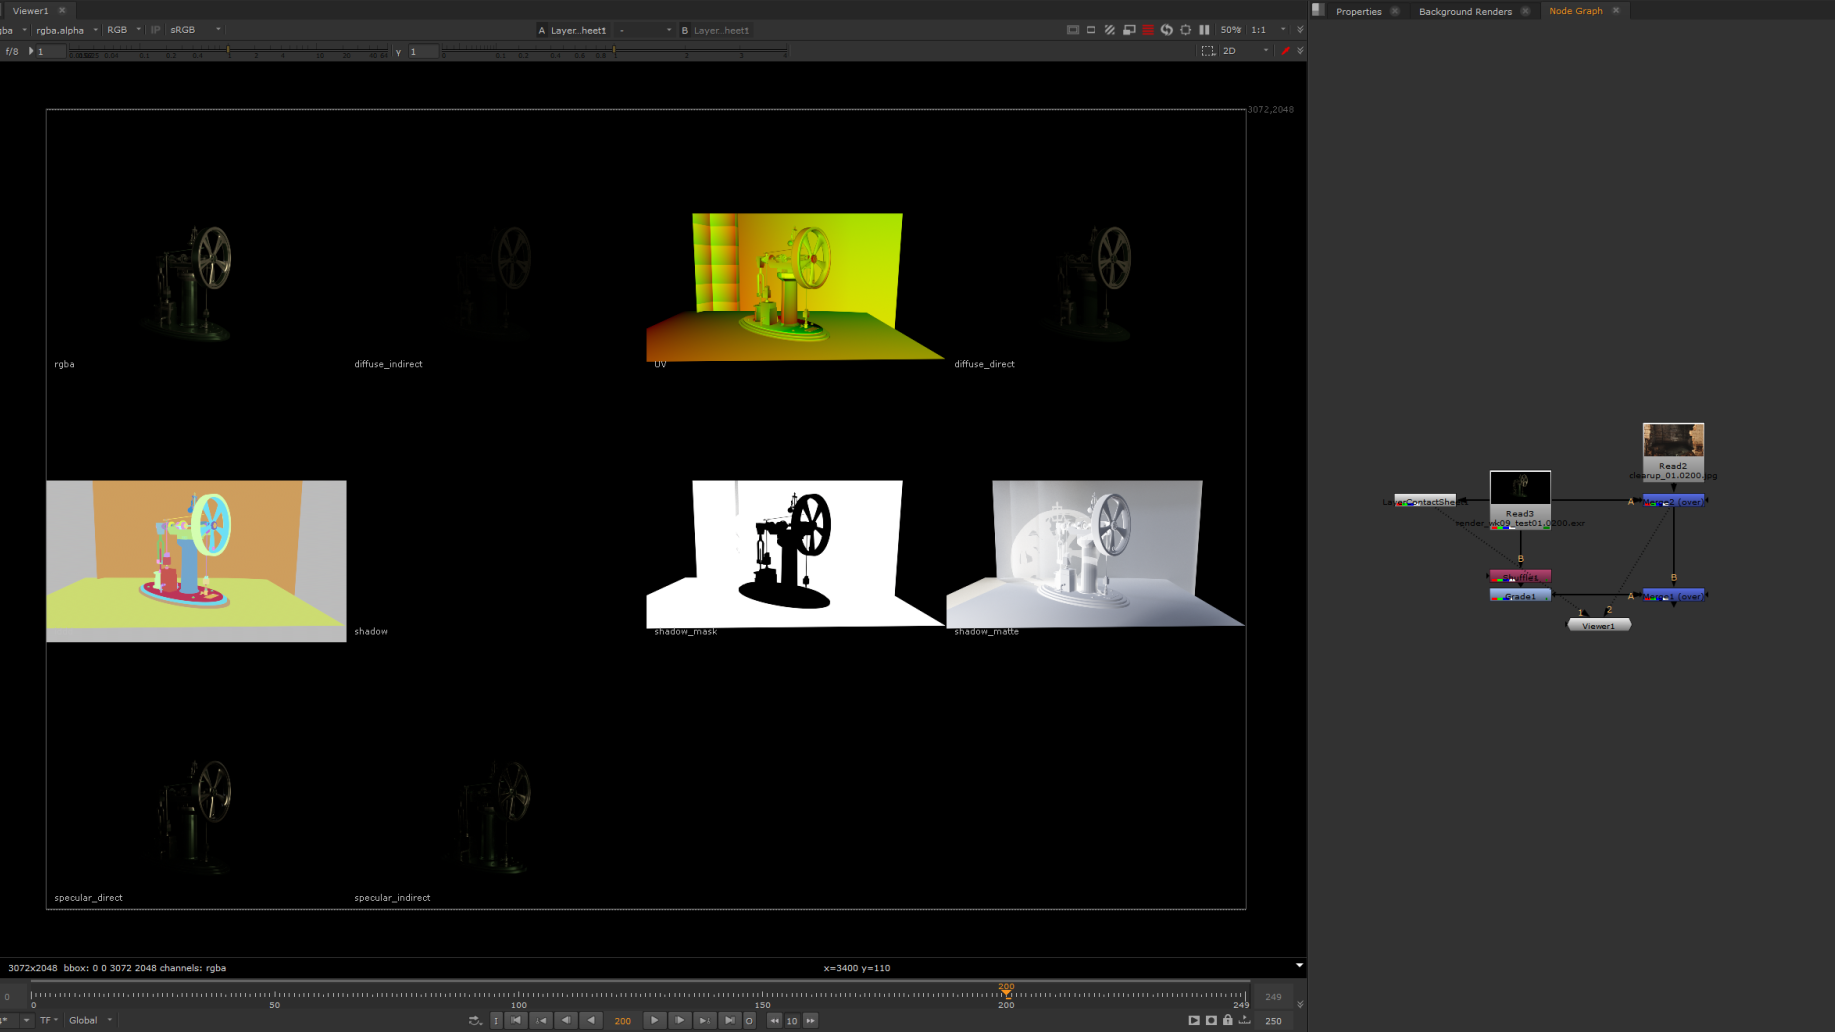
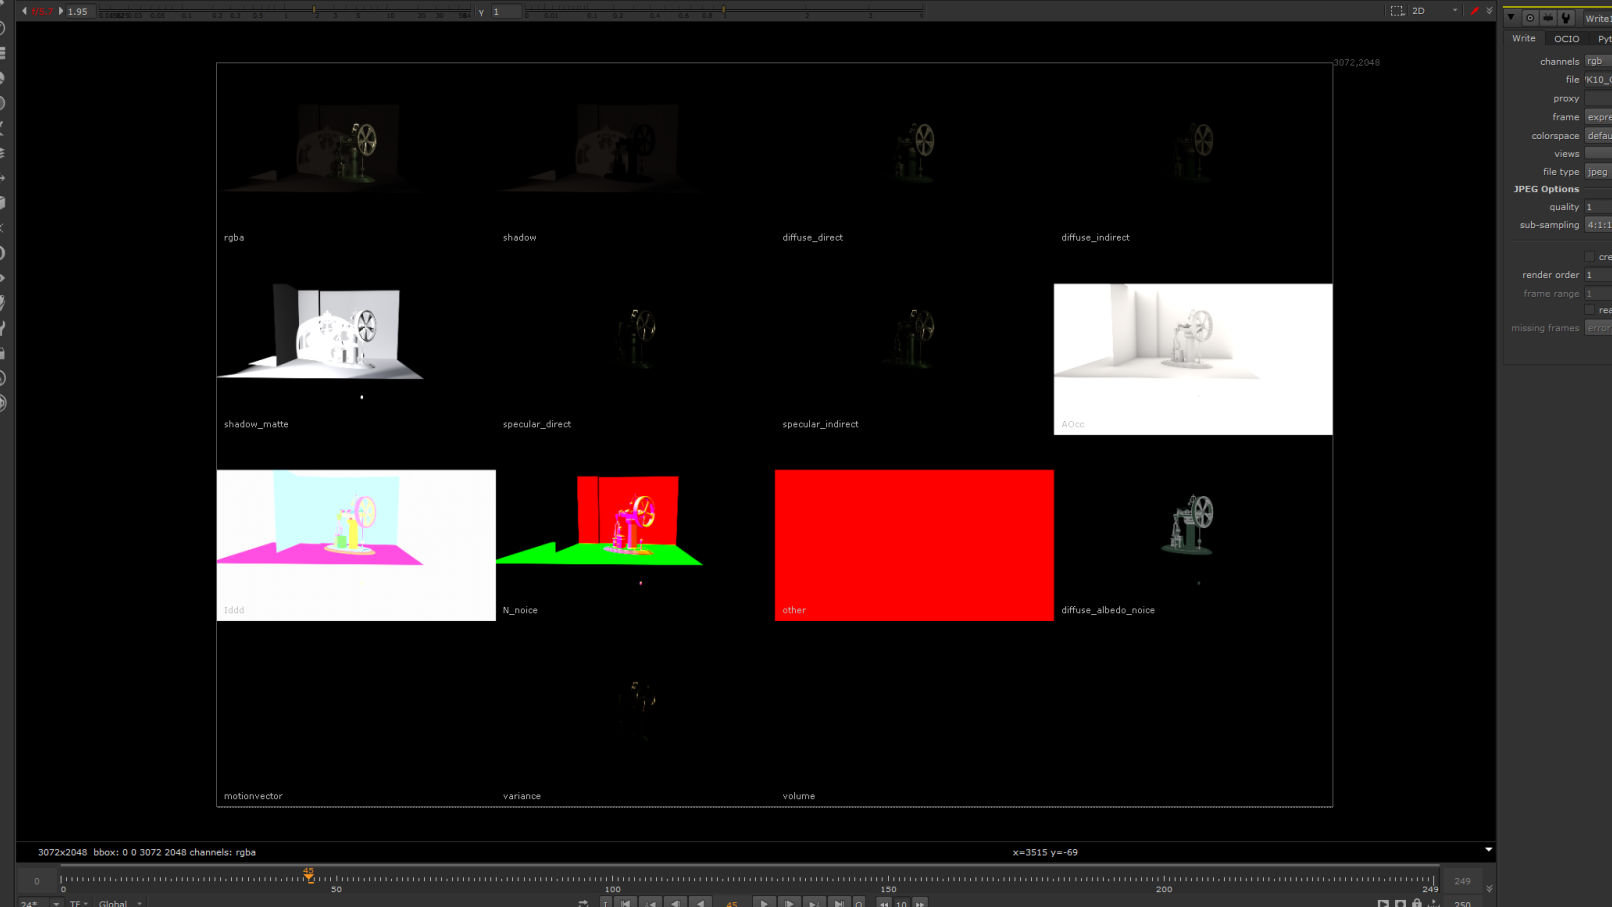
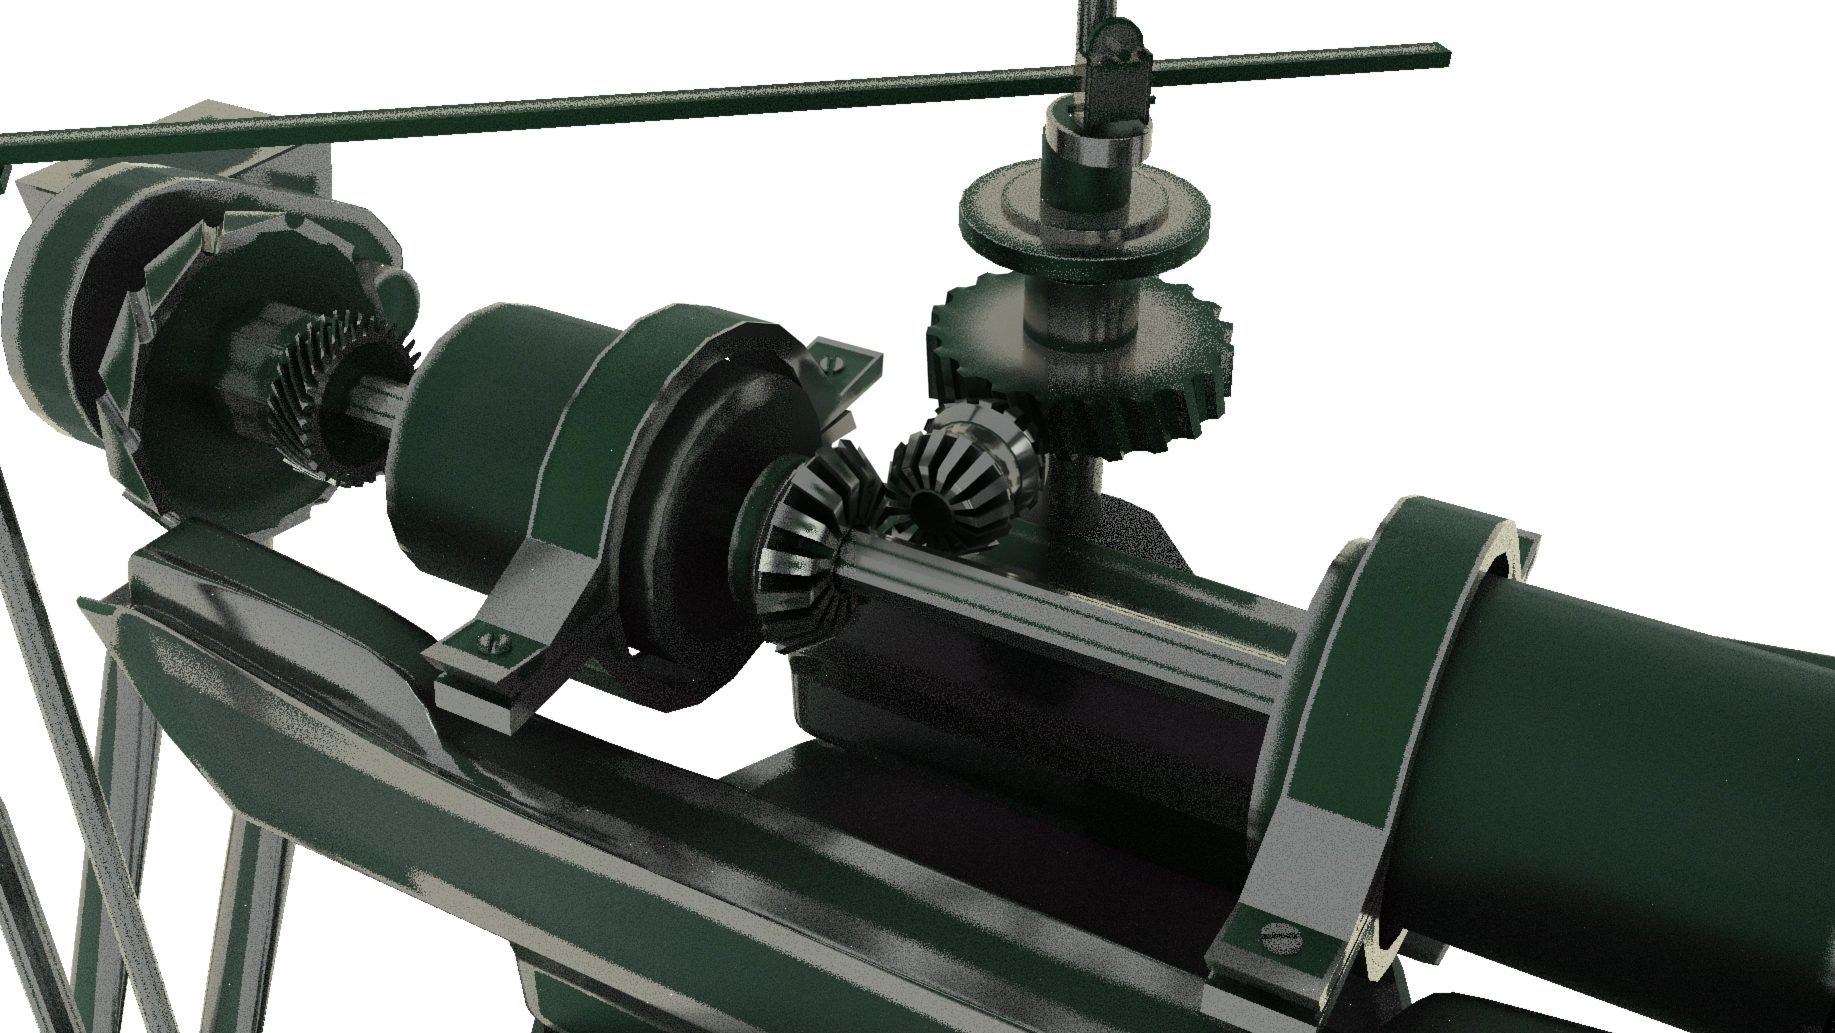
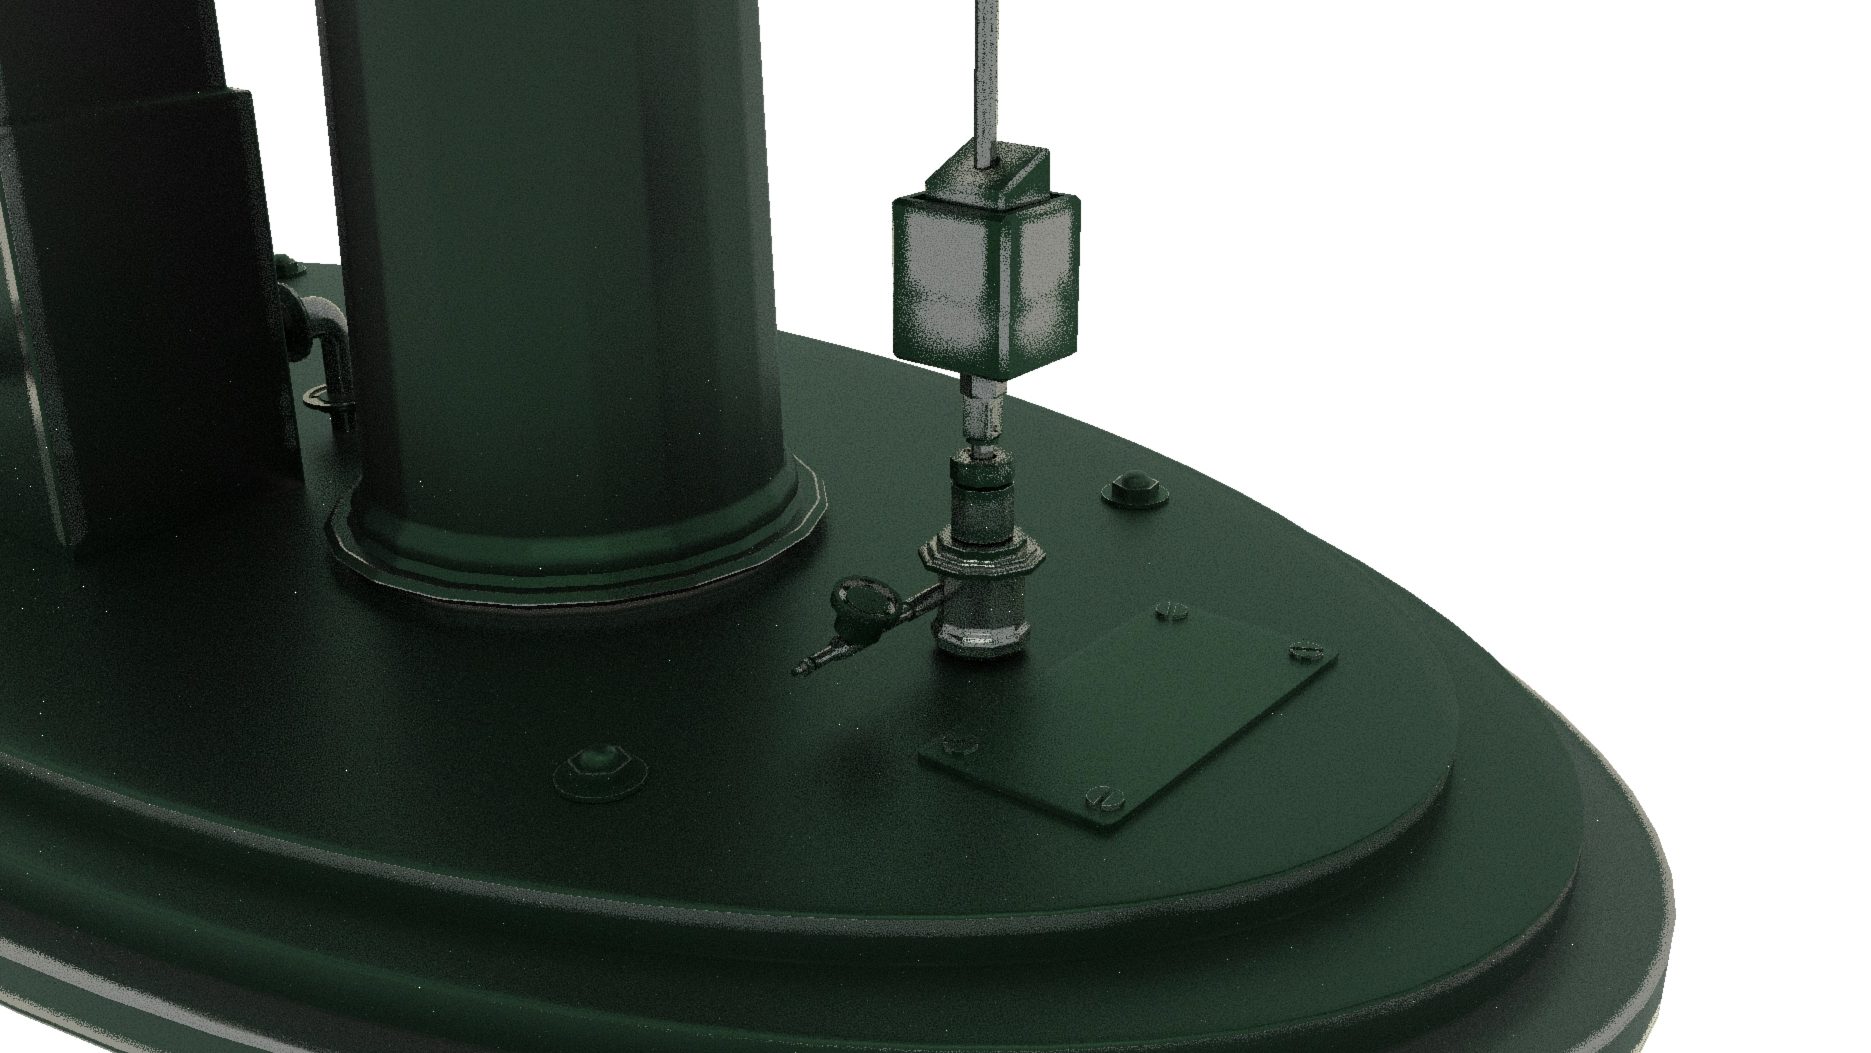
Adding Dusty Texture by ID and UV passes

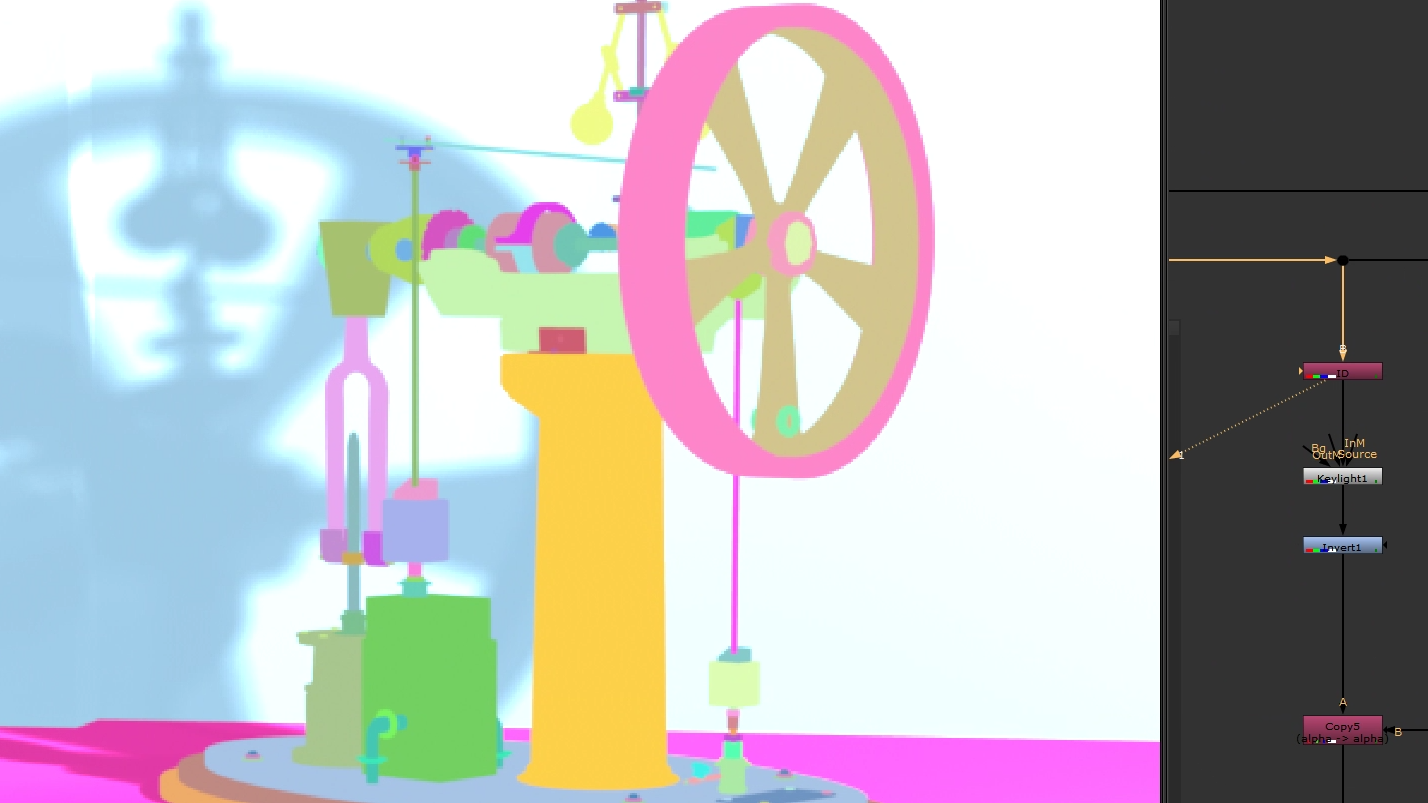
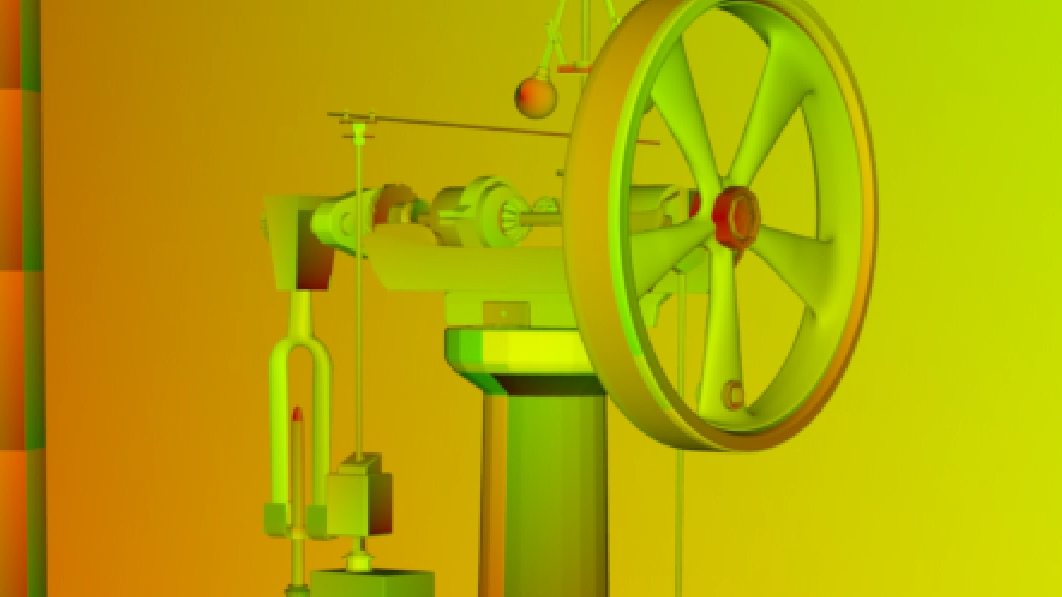
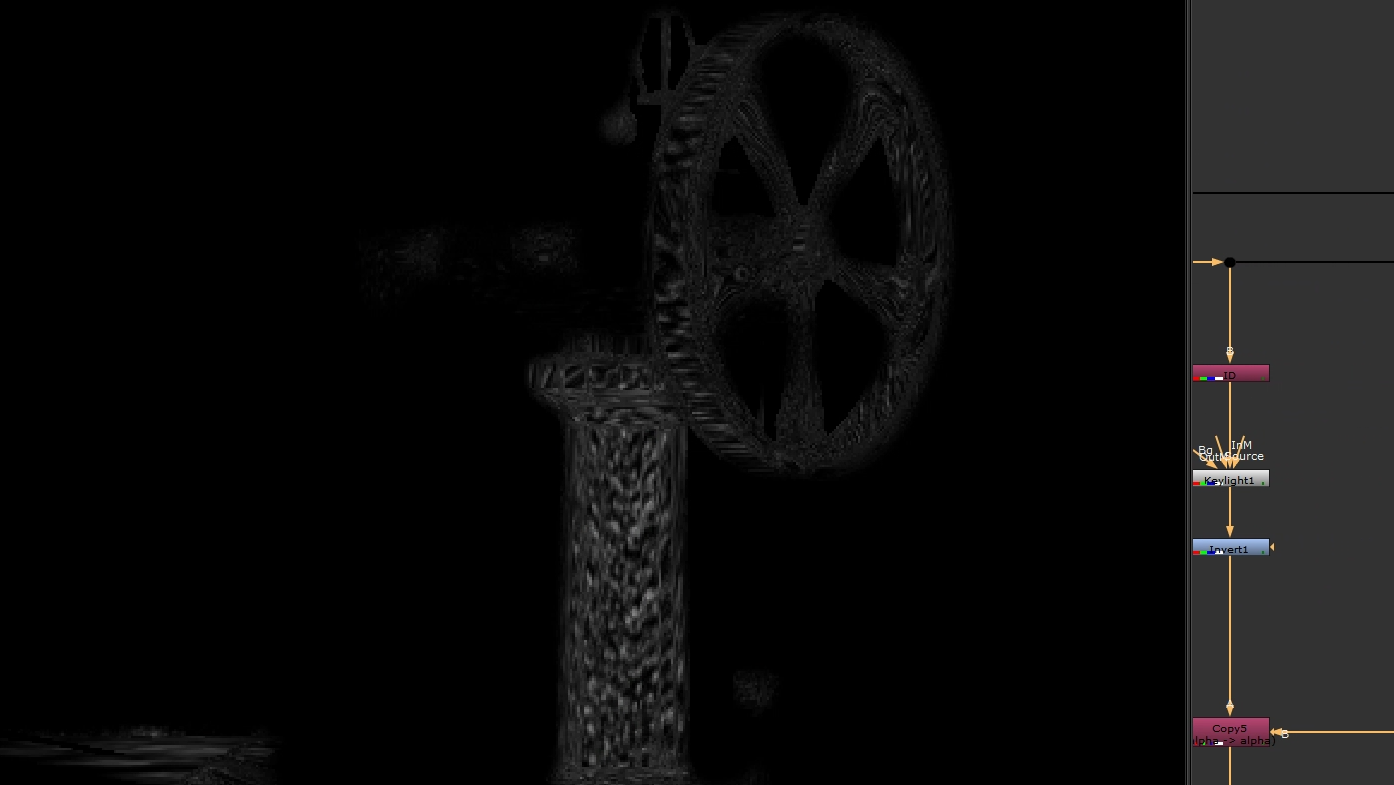
I think the metal surface of my machine is too perfectly smooth for that environment, therefore I used the Keylight node to select some area in the ID pass. Plus, using the UV pass, I can warp a layer dusty noise on top of my model. Hopefully, it can be a subtle imperfect to enhance the appearance.

WK10 Final From arnold Render

Work In Progress

This week, final adjustments in Maya are settled. This is a version with less shadow noise. In order to cast a harder shadow, I applied a spot light with its target on my model. And for its direction, I followed the shadow of the rock on ground.

Due to limited time, the rendering of other pipes on walls and other machine outdoor was skipped. As the lighting setting for outdoor area was different, I thought I d like to render in a different render output, to gain better result. However, it was predicted to spend a few more working days on it. As the submission deadline is coming, I finally decided to skip it.

Final version in Maya

Then I have to do the roto and color matching in Nuke.

WK9.5 AOVs Rendering

Regarding AOV output, it is crucial to predict what would I do in Nuke before I select which passes to be added in. There are no needs for me to render all passes, as it is too time consuming. For example, Sub-Surface Scattering (SSS) has been taken away from rendering, as the engine is solid metal texture machine. Also, I suppose depth, normal and motion vector are not relevant for the engine in this stage.

Therefore, UV and ID are added, mainly for slightly lighting and texture adjustment later. And, of course, other passes like diffuse, specular, and shadow are the must- have items on AOVs render list.

However, when I checked my passes in Nuke, the alpha pass showed a layer of soft shadow on shadow matte plane, which I don’t want that to happen. Perhaps I have to go back to Maya to fix the shadow matte. I hope I can get a solid, object-only shadow in my re-render.


2nd Rendering with Spot light

Using spot light to have soild shadow lighting and control target on object.

And more AOVs passes are rendered, including AO.

WK08 Lighting

For this week, the most challenging part is to simulate the lighting direction. Watching the shadow of the footage and set the lighting to cast shadow that similar to it.

With soft shadow
With hard shadow

Therefore, area light on the right hand side is the key light, while the cylinder light on its left is the fill light. The light blocker planes own their important roles to avoid the lighting that do not belong to the room of crypt.

And for the outdoor area, I used the pipe shadow on the wall at the left hand side as reference. You may see double shadow for one single pipe, which means at less two lighting source are set on site. However, not much further information for the direction, so I can only have a guess on it. Hopefully, I can have the time to output normal pass and position pass to do slightly re-lighting adjustment later in Nuke.

Week 07 Texture AND Lighting

This week, after settling the steam engine into the target axis point that I decided, I have to add texture and lighting to match with the scenario, which I think it is the most challenging parts, as it requires my eye judgement on color tone in pixel-details.

There are always somethings wrong in visual that I can’t explain by words, and I don’t know where to start to adjust it. I am quite frustrated at this moment. The main goal of doing vfx is to make things realistic, but for this week, it seems tough for me to get a breakthrough at this stage.

Moreover, regarding to shadow, the lighting source has not corrected yet, and the sample of shadow is not enough, so it only create soft, grainy one. I wish I can follow the shadow reference at the pipe of left hand side, to create some shadow for my other pipes on the right side.

Wk 06 Put Geo into Maya

This week, I have to export the camera, matchmove axis, wireframe and geometries into Maya. With the image plane linked with my clear up version of image sequence. My engine, in turn, “effortlessly” located on the axis which I decided.

Next stage, I would like to do a roto for the entrance of crypt. And maybe add some pipes objects on the wall of crypt as well. Also, I might re-design the pace of motion, as it didn’t hustle enough.

Week 05 UV and Texture

There are two types of material I used, they are both come from material source greenpaint and sliver_body. On the other hand, I added some aiNoise for aiCurvature for the object edges. Then I blended all materials with linking to two aiMixShader. First result is a greenpaint as the main compound with silver edges, and second one is the opposite one.

The result is quite satisfying. Of course, I supposed to do more detail adjustments on each parts of all gears to have a even better result. And I haven’t add any texture and bumpmap yet, probably I will do it later with lighting adjustment as well, while the object is put in scene. I think the reflection is too smooth and flawless at this stage.

Week 04 Motion Design

Actually, not much keyframing in this project, as it is inefficient to animatic every parts of the engine each by each. Most of the motion can be controlled by rigging and node graph for linking up all tiny parts.

For example, using node graph to link rotation of two gears.
The main and side gear one are designed to rotate clockwise, while the other one is anti-clockwise.

Other gears are using the same principle as well. Or just simply make it parent to another objects.

Here is another example for showing how I use rigging and node graph, instead of keyframing to do the motion.

With graph editor, motion of this arm should be more “industrial” with stronger force and heavy mechanic feeling. Comparing the two motions as below, I prefer the 2nd version with more dramatic feeling.


Final Motion Design

Week03 Rigging

This week, I have learnt how to do a simple rigging with locators and constraints. Only using one keyframe, all the motions seem convincing with rigging.

Also, I have learnt to animatic the texture on the object instead of the object itself, to create a belt conveyor. It is convincing to trick the eyes of audience that the belt conveyor is moving.

Then, same principles applied to my own engine. The U-shape objects has to always pointed to the hexagon gear, no matter it goes ups and downs. Therefore, a locator is set at the gear centre, which then U-shape is constrained to the movement of the gear.

Wk01,02 Idea And Modelling

Benson’s Vertical Engine

First of all, I would like to make it clear. I know nothing about engineering. Zero knowledge. None of it. However, when I research on steam engine. I saw this Benson’s Vertical Engine looks so cool with its vintage design. I just hooked by its appearance.

According to pollymodelengineering.co.uk,

“This type of engine was called by the Victorians a vertical engine. An engine with the cylinder above the crankshaft was called an inverted vertical. This engine was built in the middle of the nineteenth century and is typical of the type.

The good thing is I can always search for tons of reference for this engine as it is a object physically existed :

Work In Progress

Afterthat, I built models to follow all details parts with my reference photos. Again, I still don’t understand how it function, but I decided not to dig into it. I just adjusted my models by my own visual adjustment.