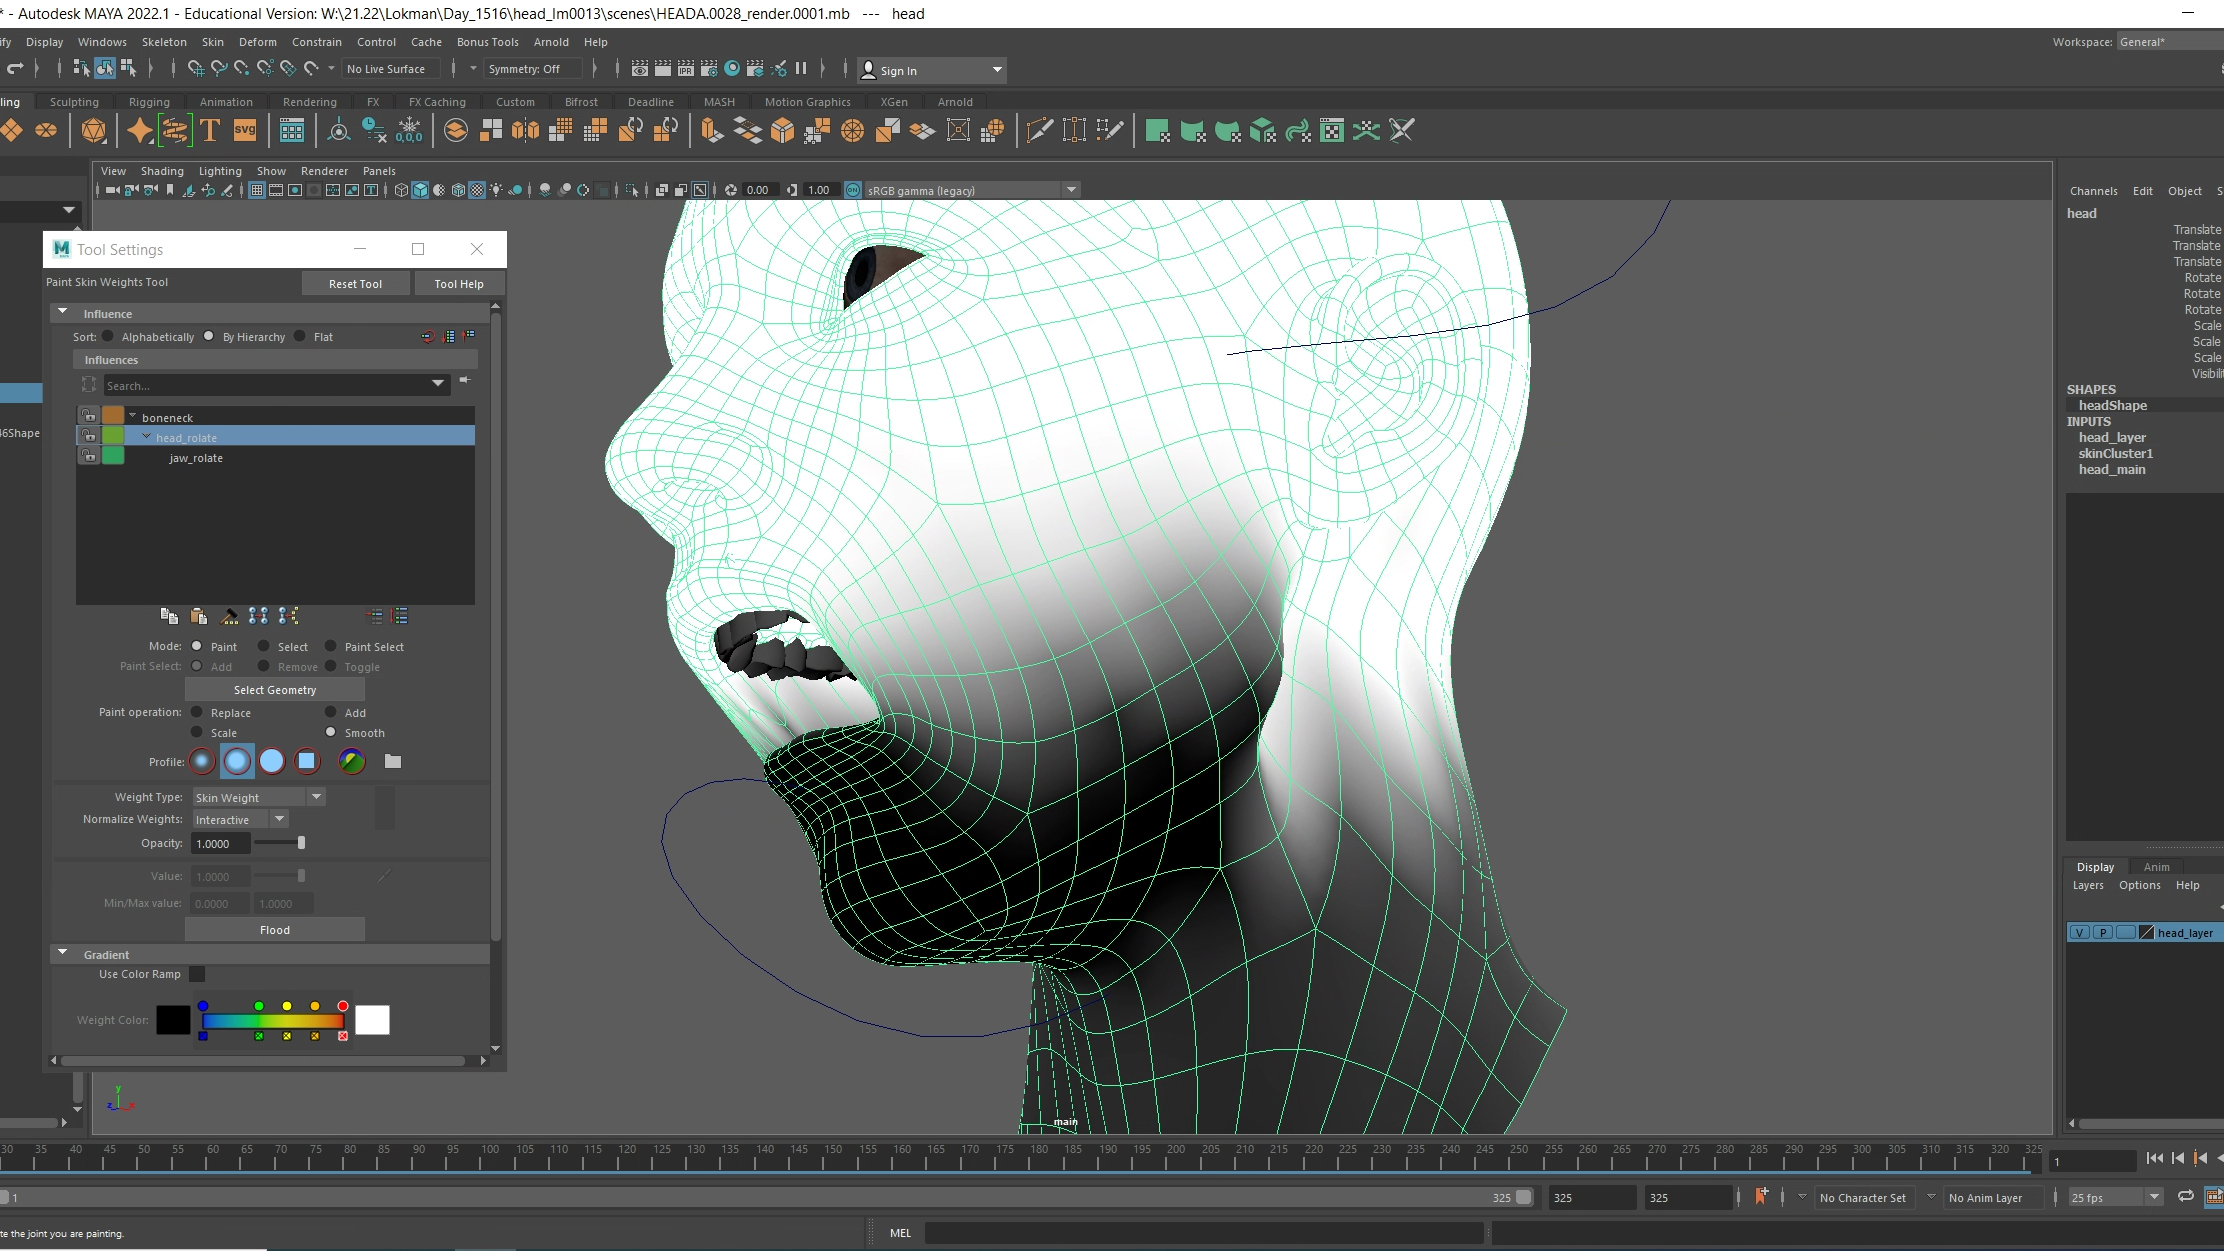
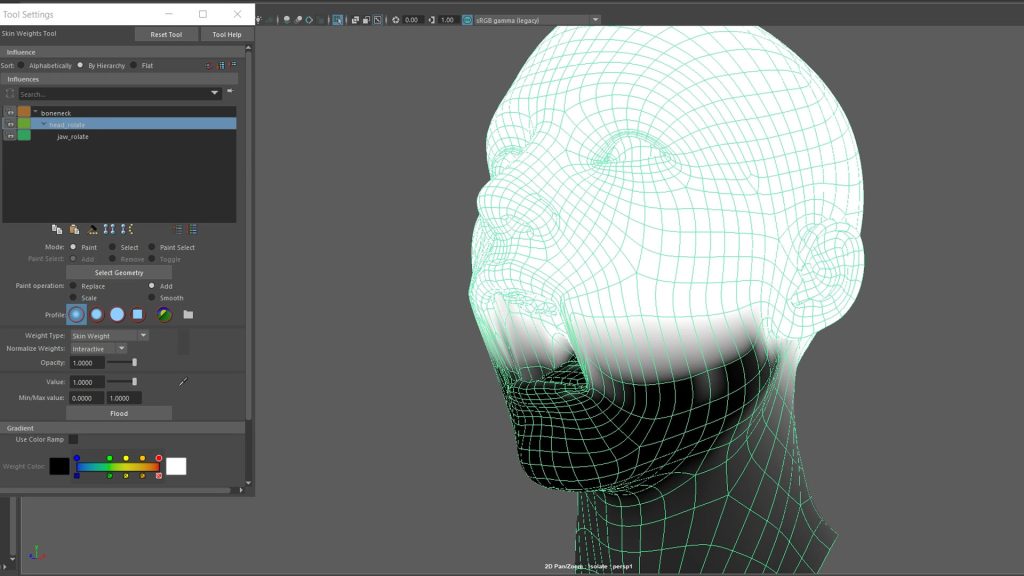
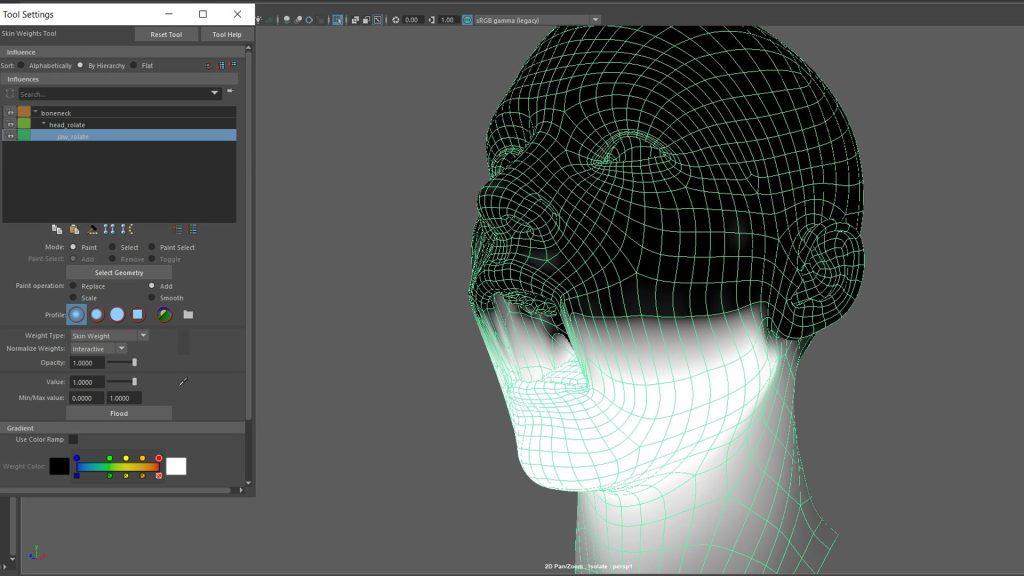
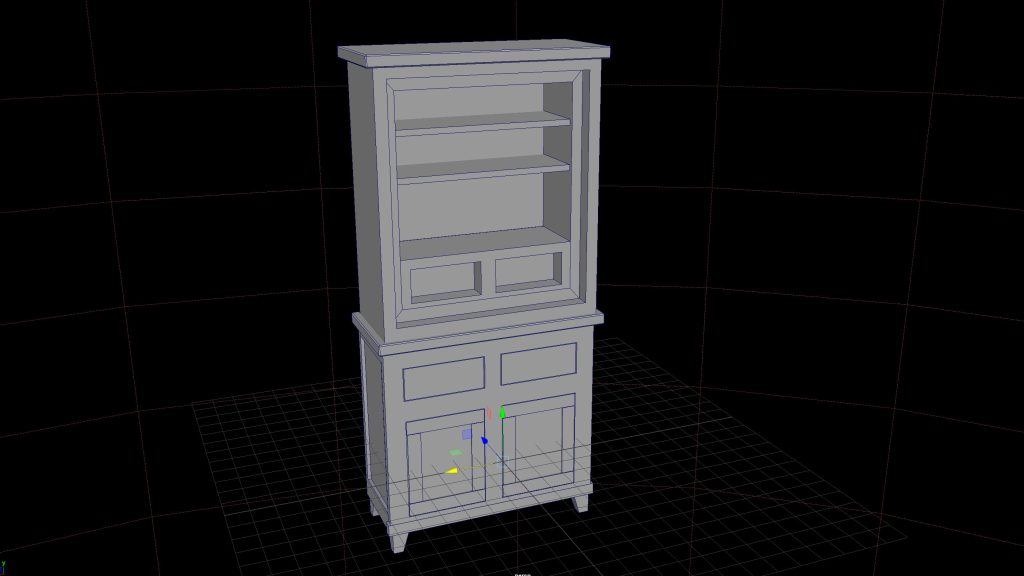
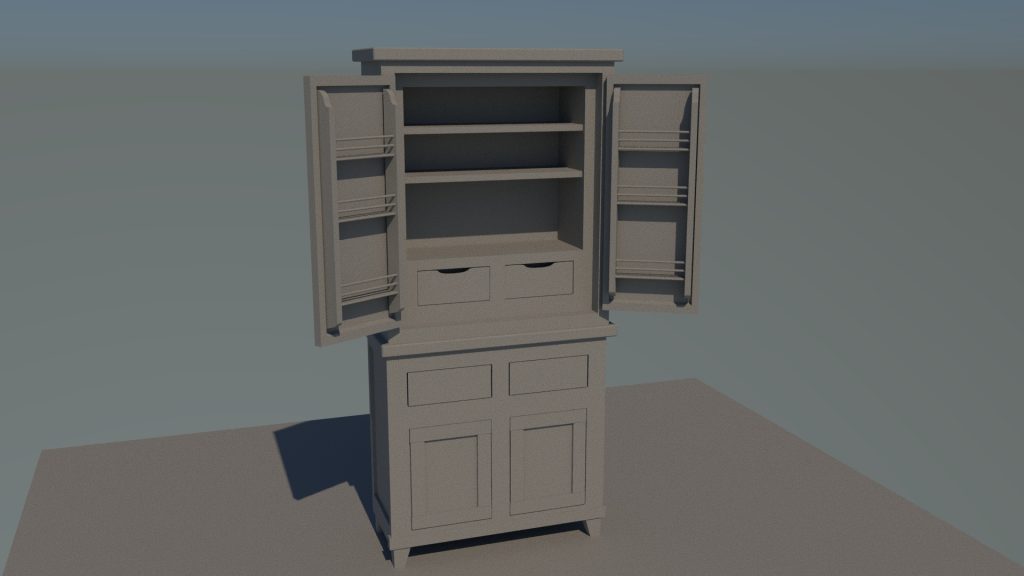
Category Archives: Term01 Maya

Modelling Artist | Animator | Texture artist | Environment artist

Modelling Artist

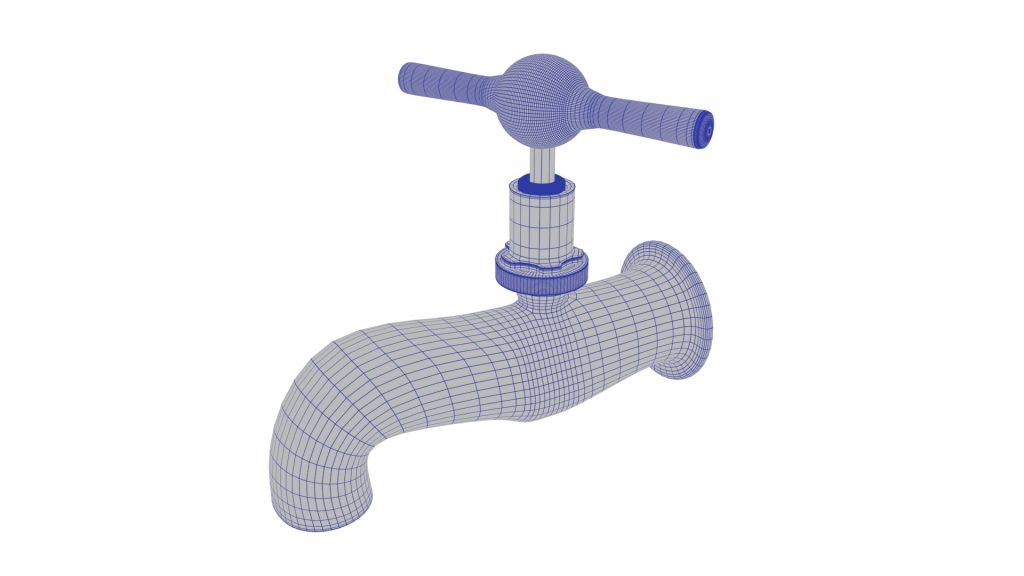
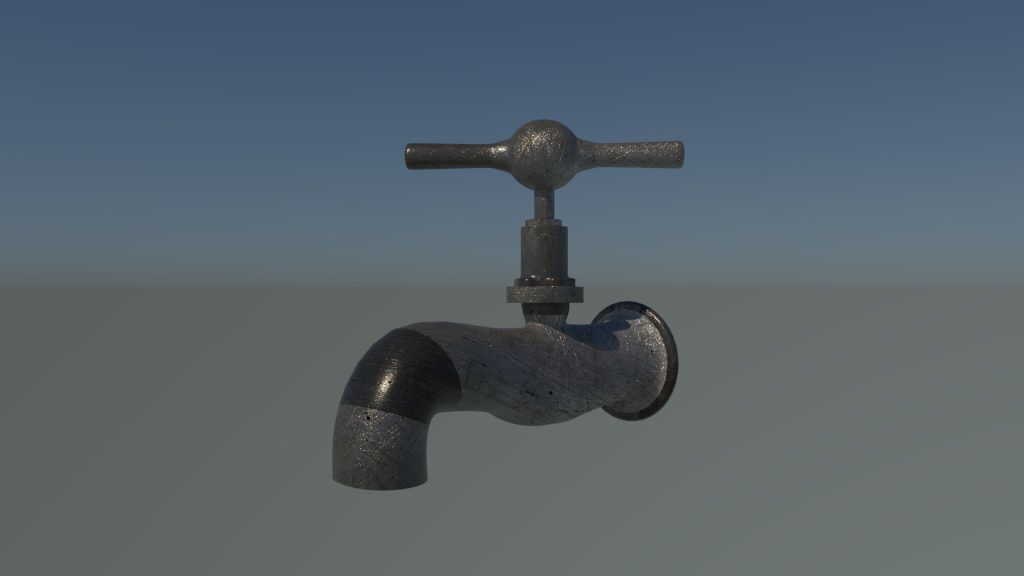
Modelling artists, also known as modeller, create art assists digitally by using a wide range of objects from 3D software, ranging from characters, vehicles to living creatures and environments. They creates every elements from mesh to final rendering, before they can be animated or VFX can be applied.

Image source from lugher3d.com

The software for modelling artists are not limited to Blender, Cinema4D, 3DsMax, Maya, Mudbox, Zbrush, other software, as well as Unity and Unreal, are also involved in modeller’s daily job tasks. Some companies may not distinguish between modelling, character design and texturing artist roles.

See example of a modelling artist’s showreel as below:

Showreel of Josh as a modeller

Animator

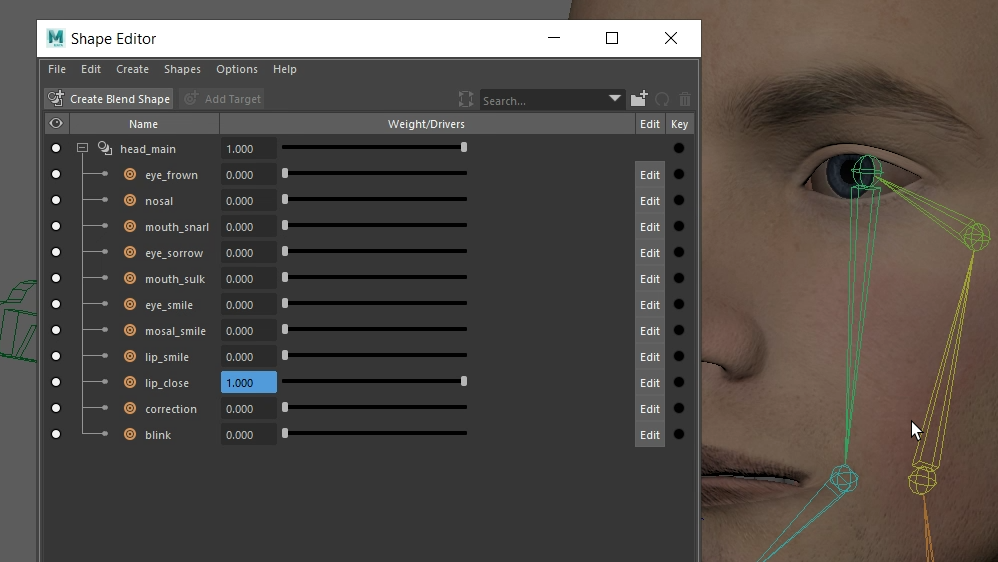
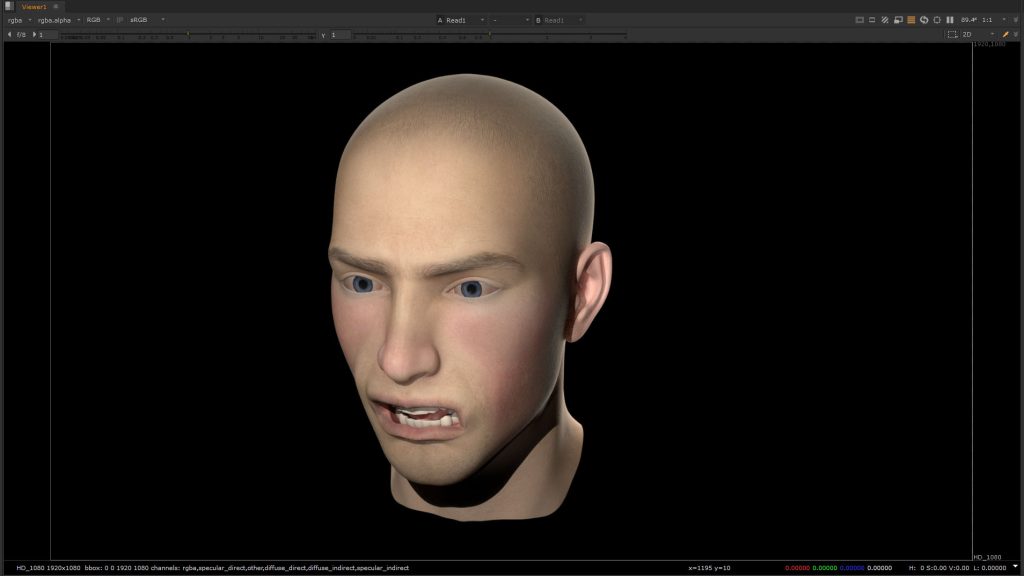
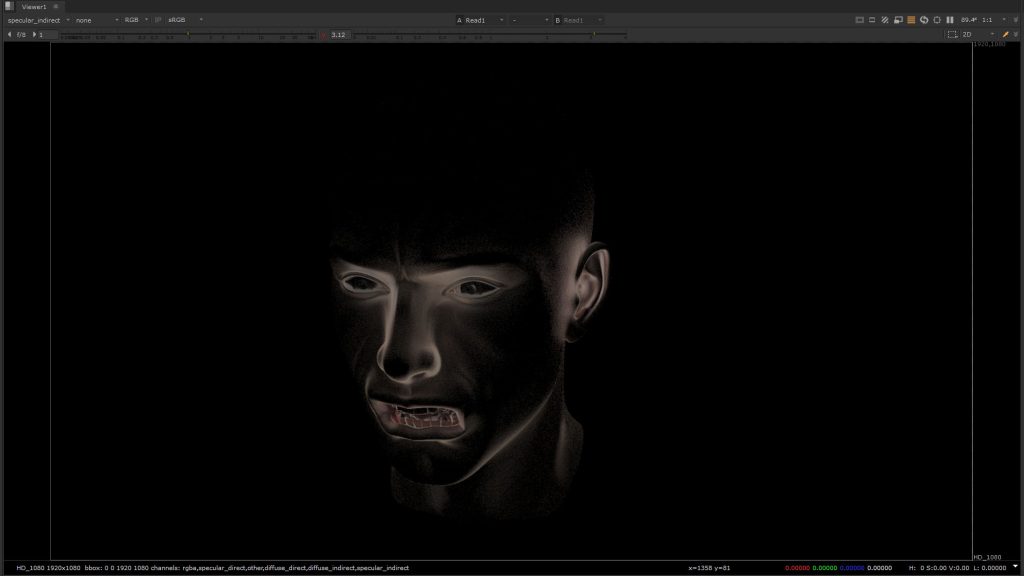
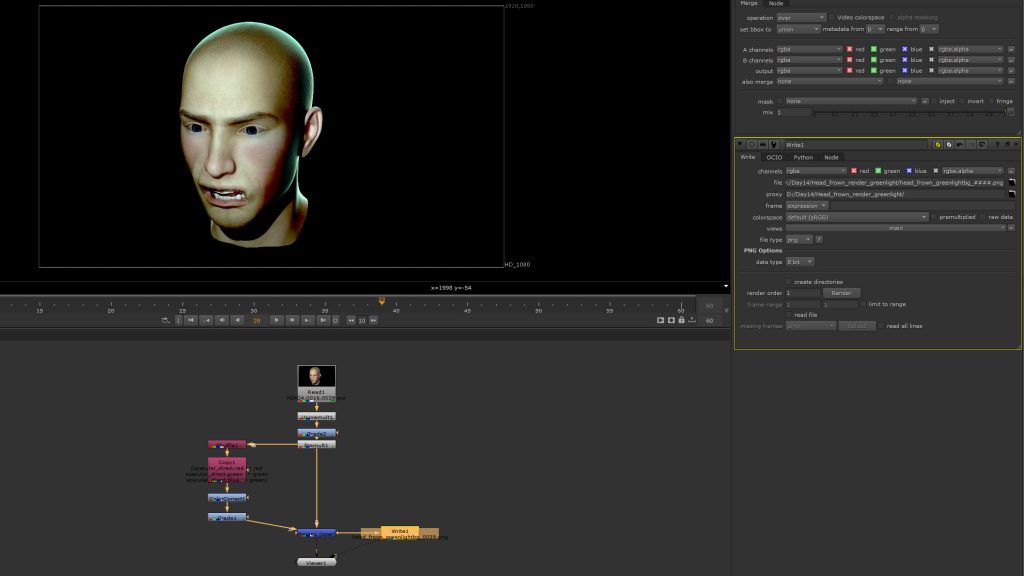
Animator is a position to animate characters and objects for conveying emotions and assisting audience to immerse themselves in the story being told. After modelling, rigging, and texturing, animators set keyframes and add in-between on objects to demonstrate living and convincing sequences in animation. In an attempt to entertain audience, animators have to work 25 frames per second for producing realistic and stylised animation, and thus adding captivation in moving images.

Besides key framing, the ability of motion capturing is also one of the job task for animators. By using motion tracking suits, animators can obtain the motion data from it to animate look-alike character.

(Failes, 2019) – Performer with his motion tracking suits wearing

And here is example of an animator’s showreel :
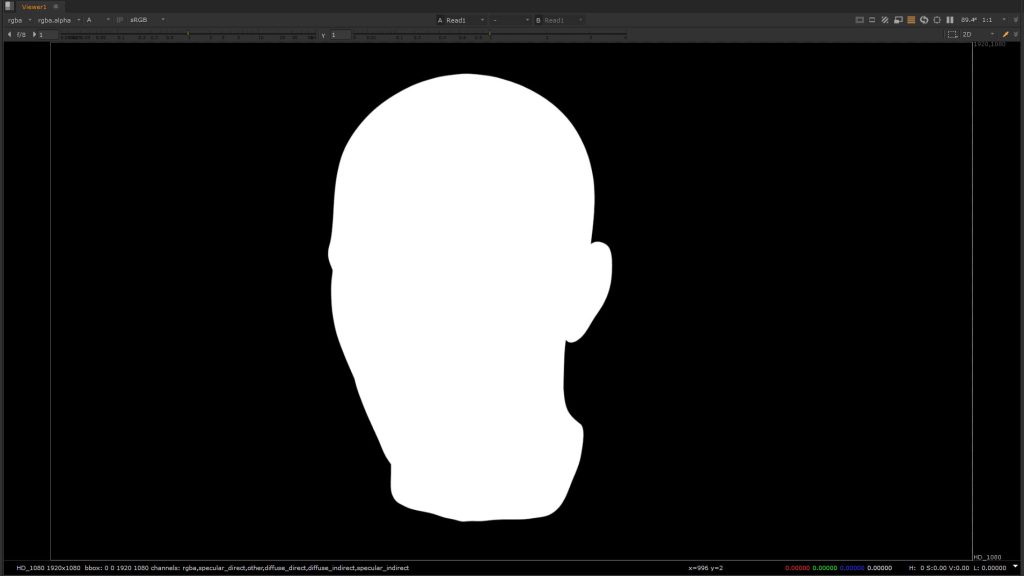
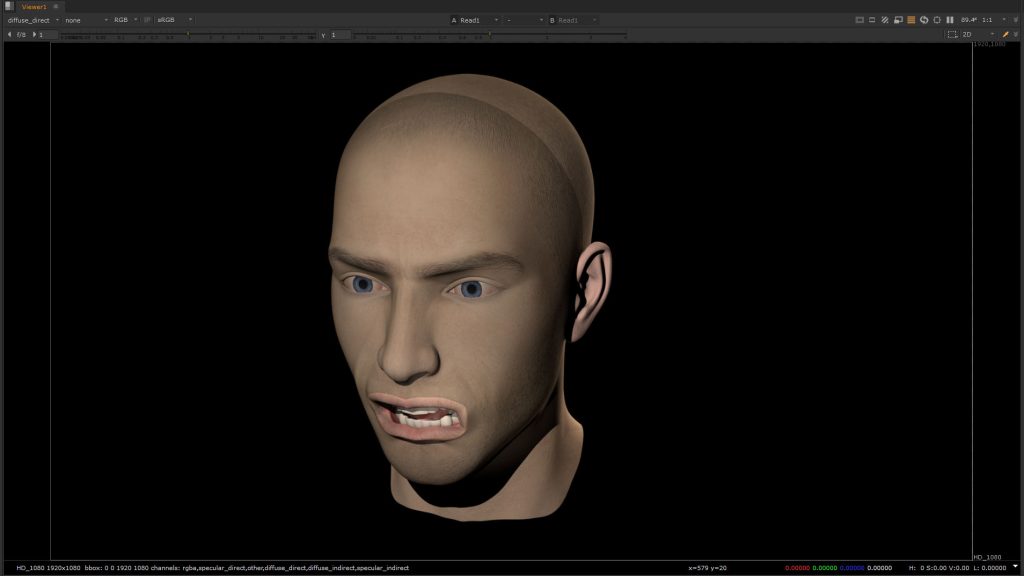
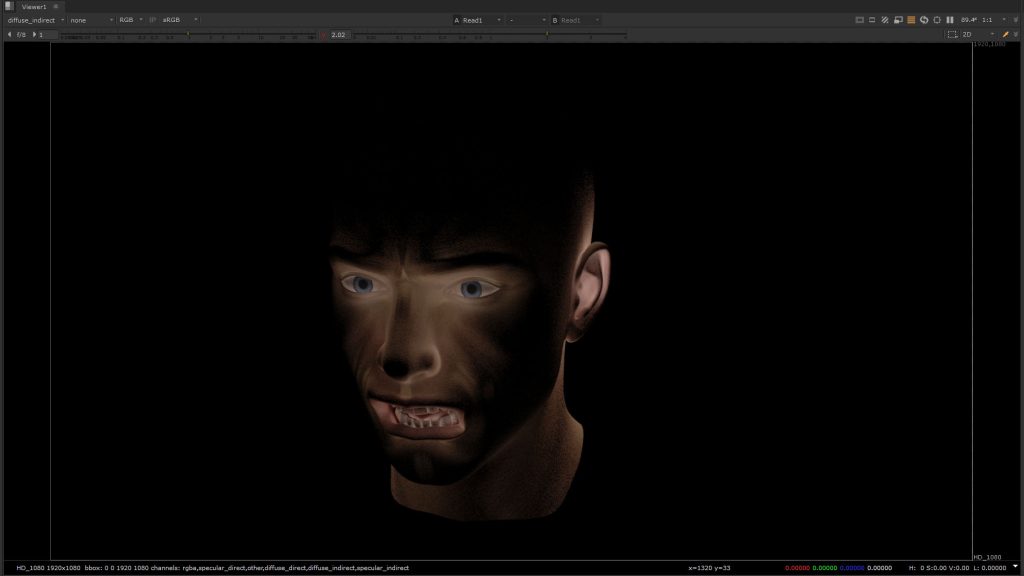
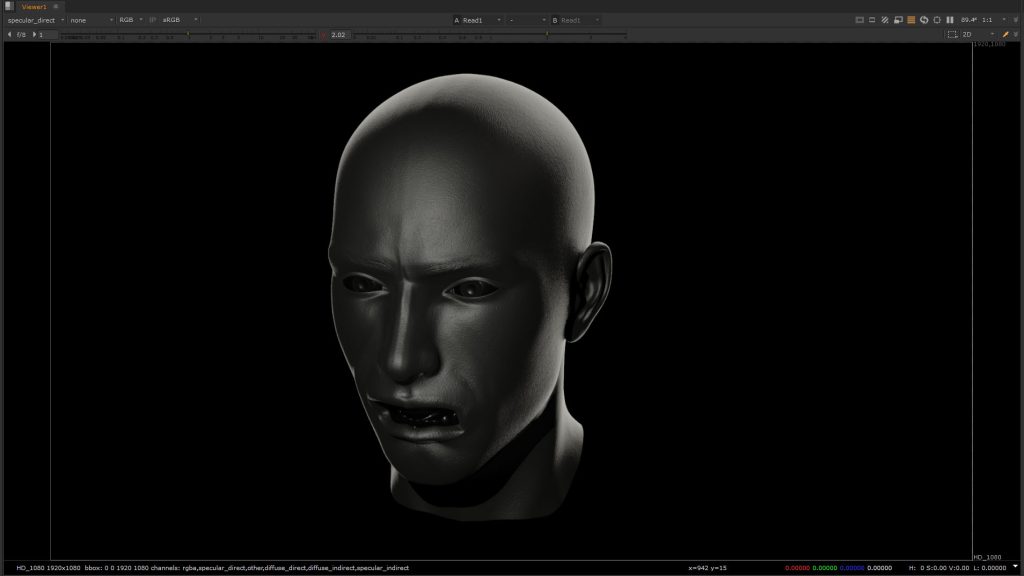
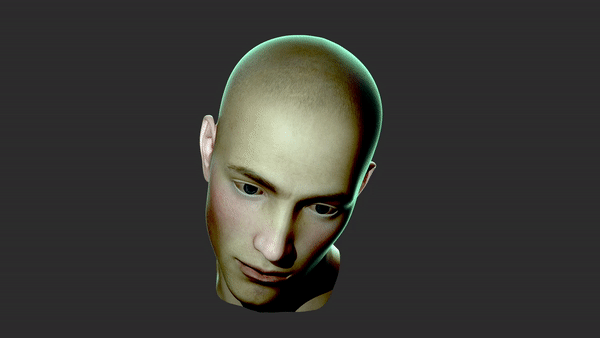
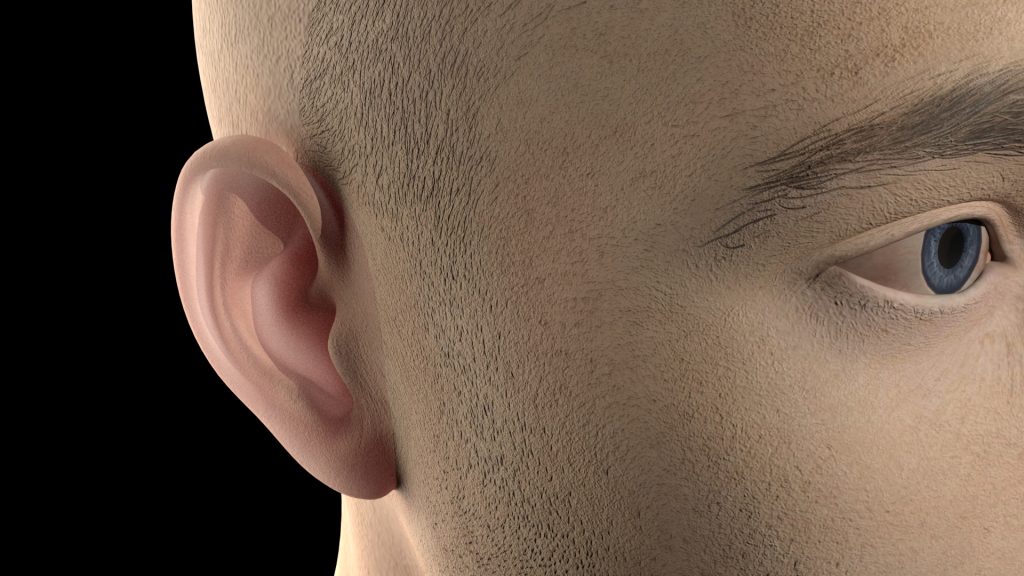
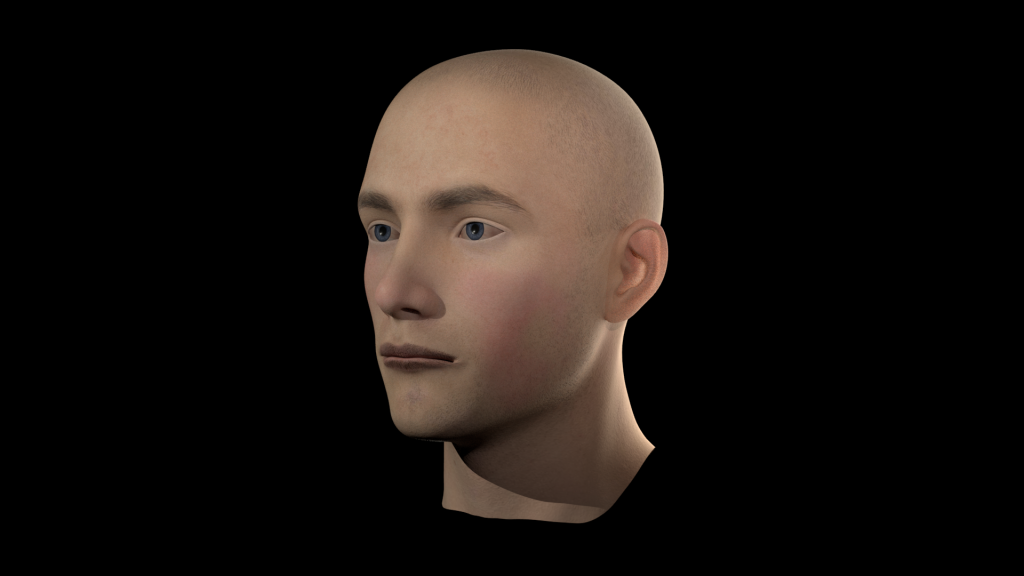
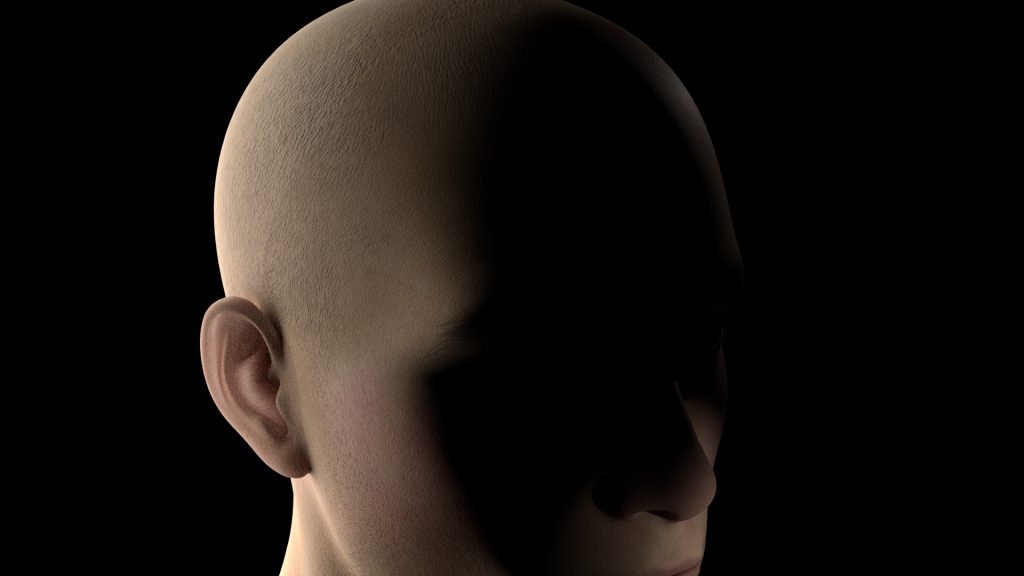
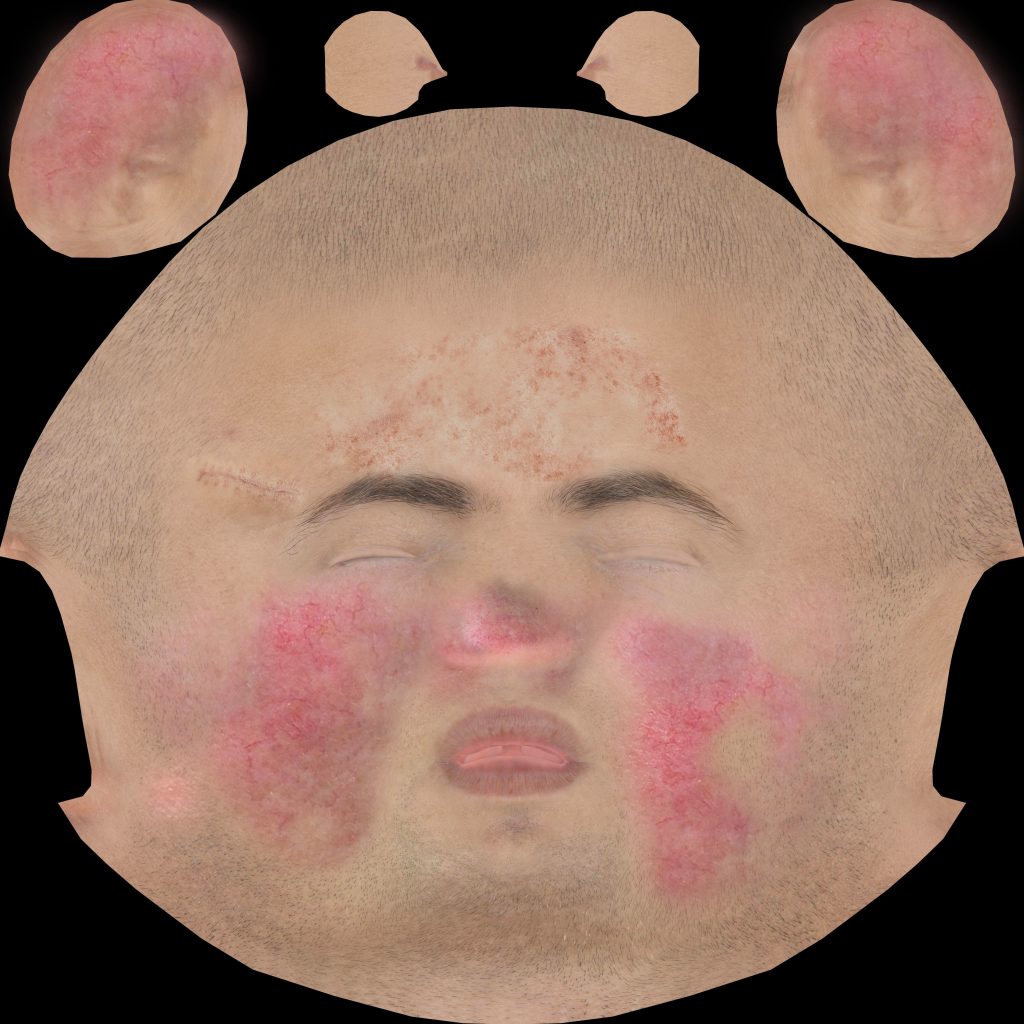
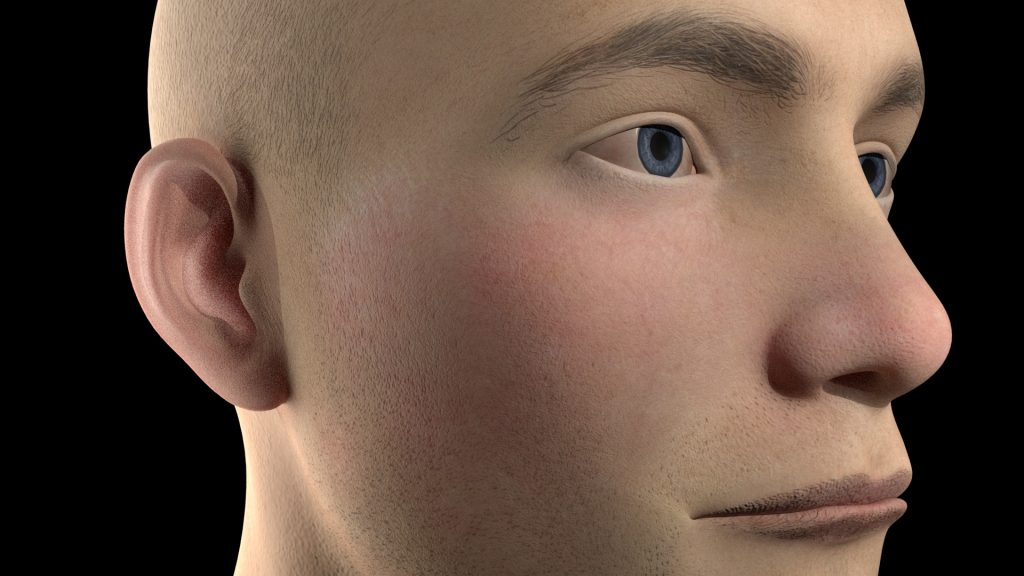
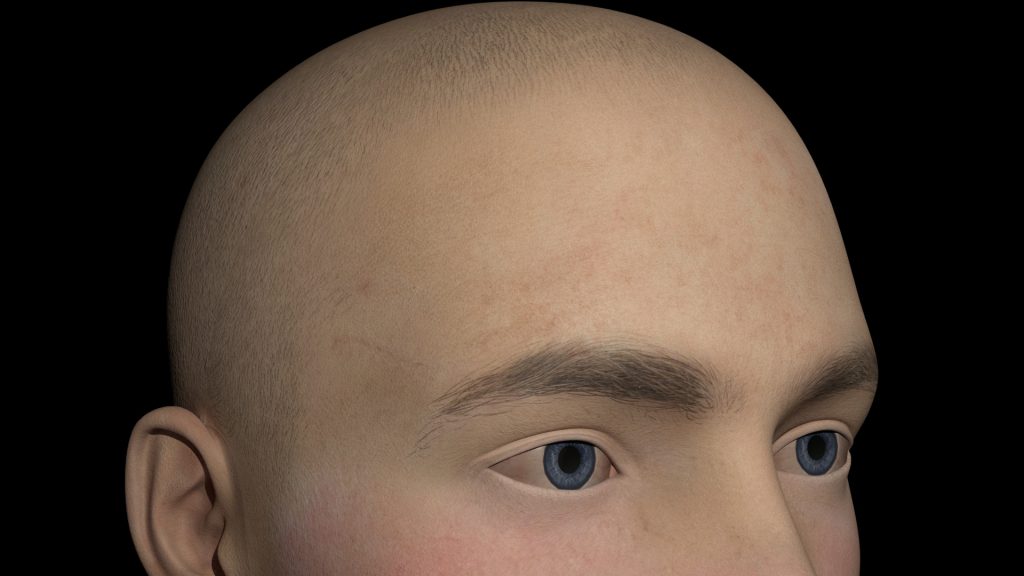
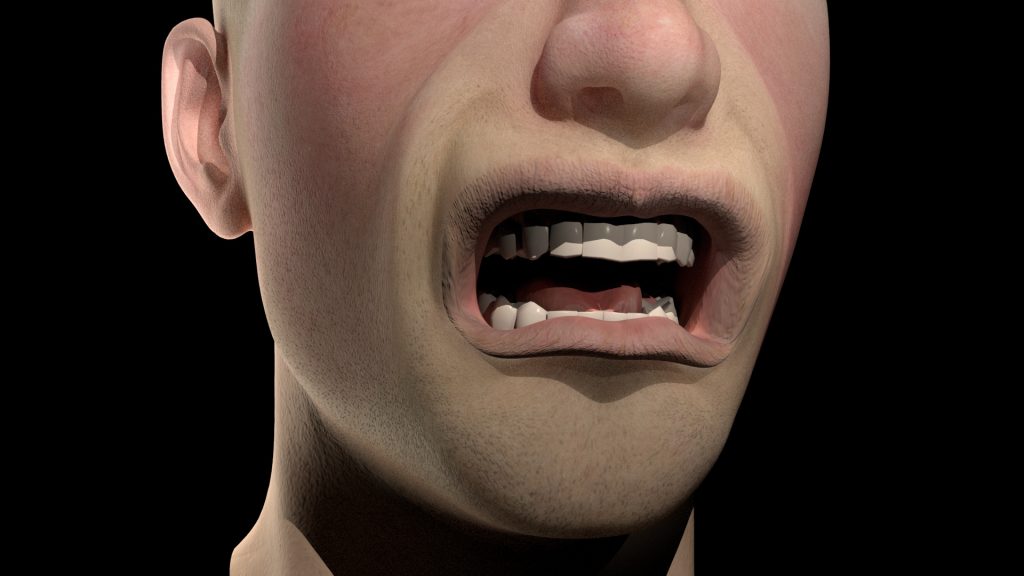
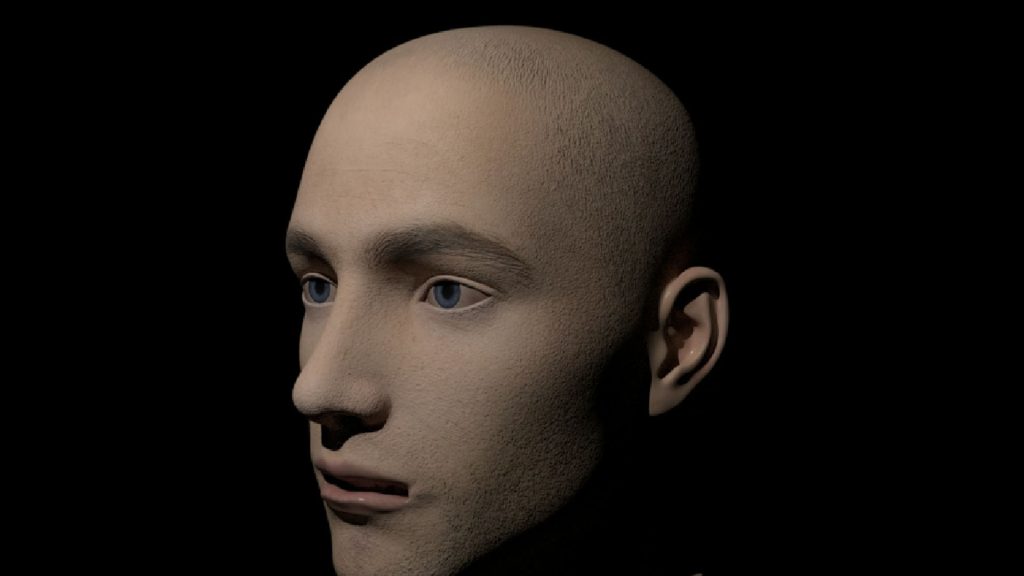
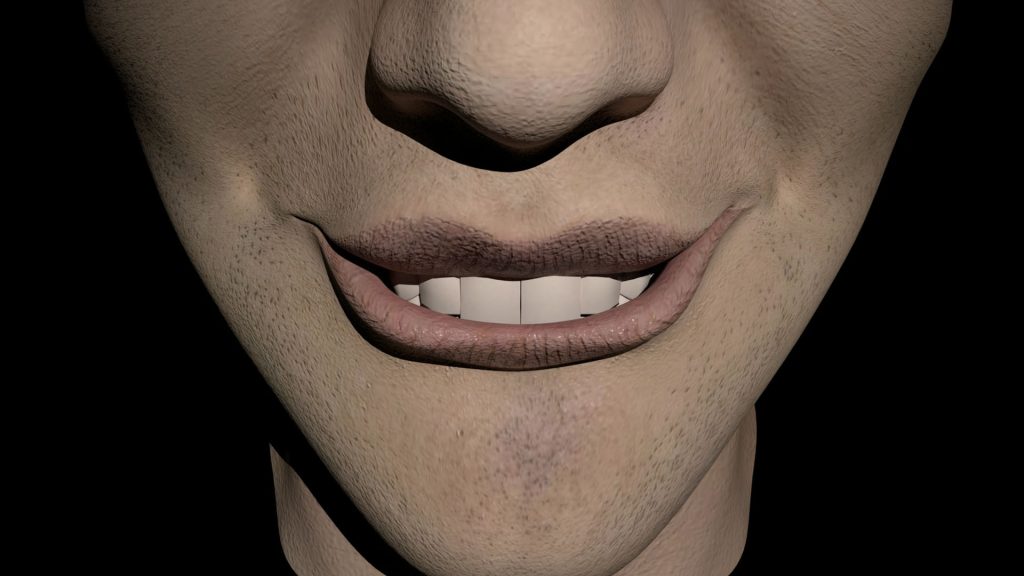
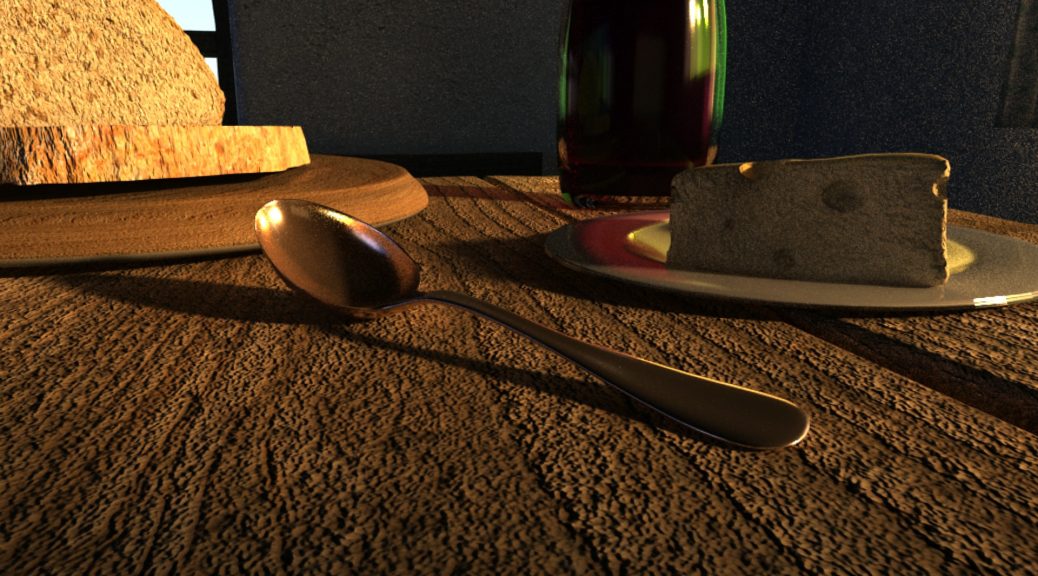
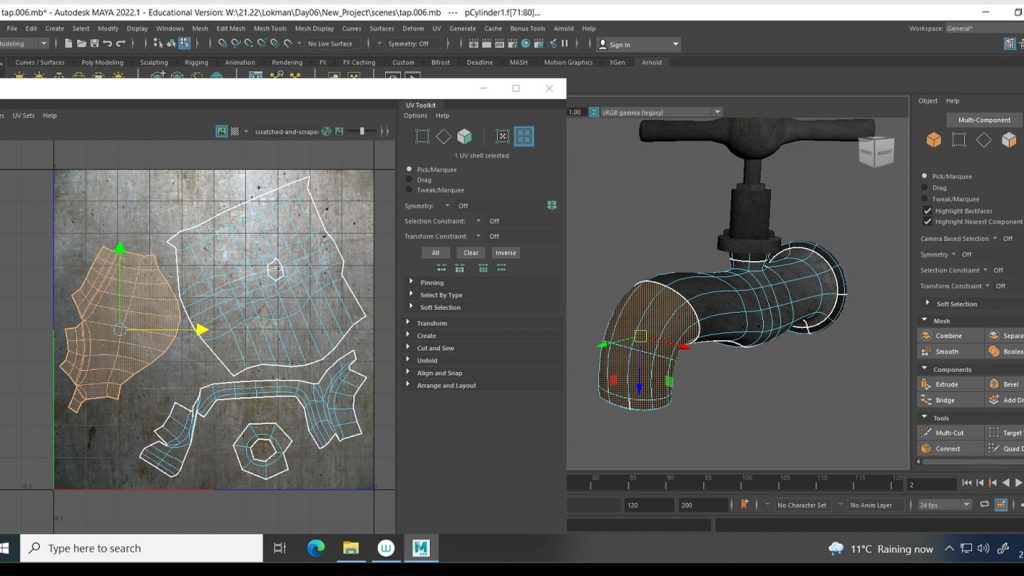
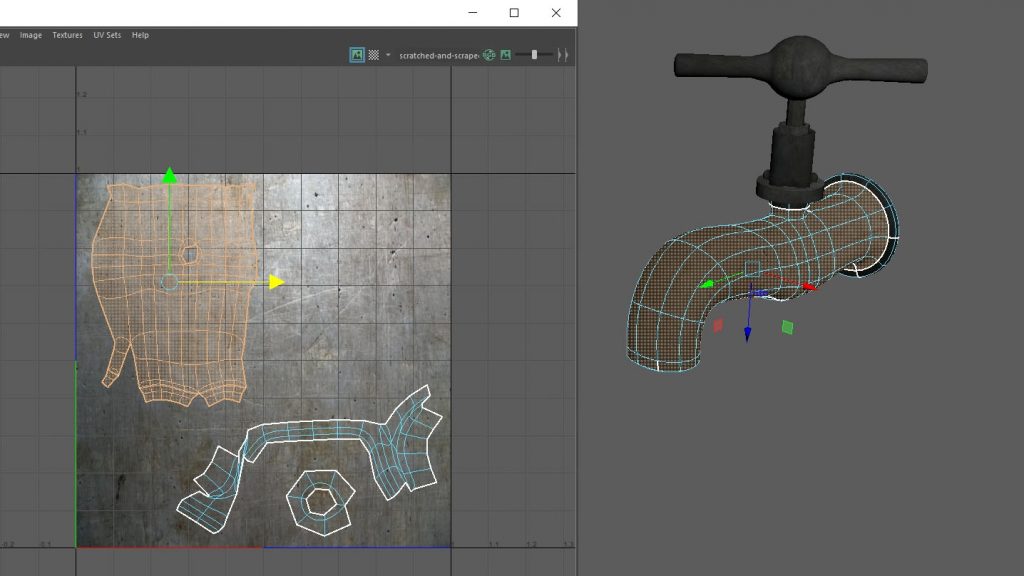
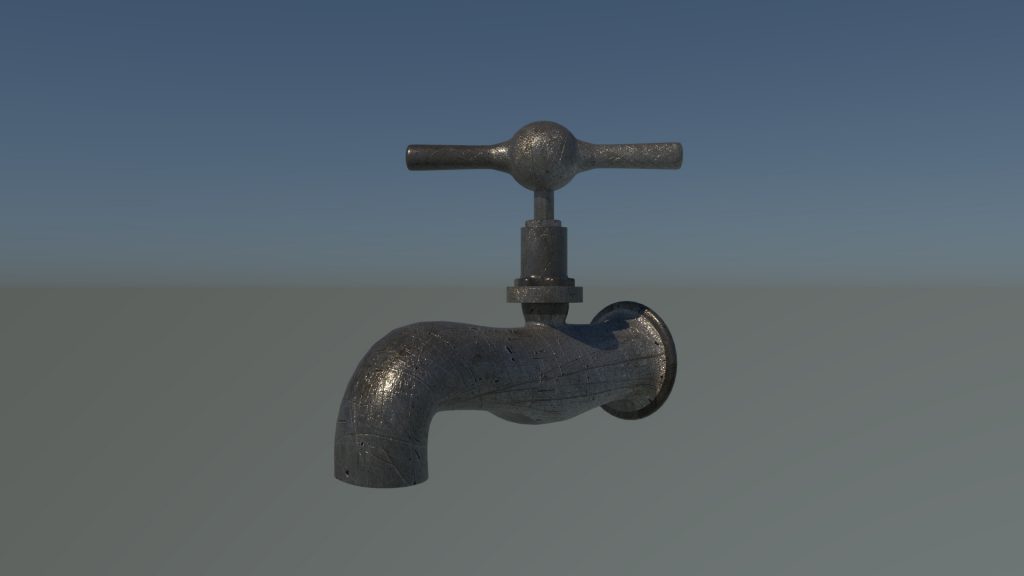
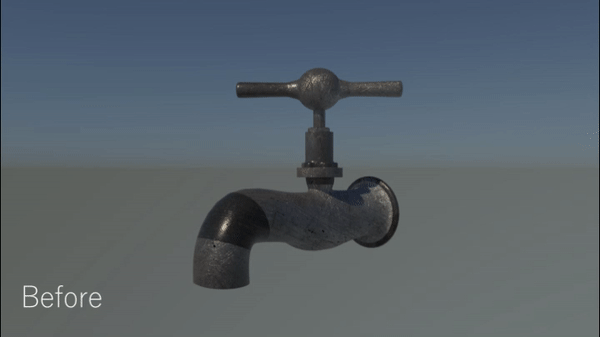
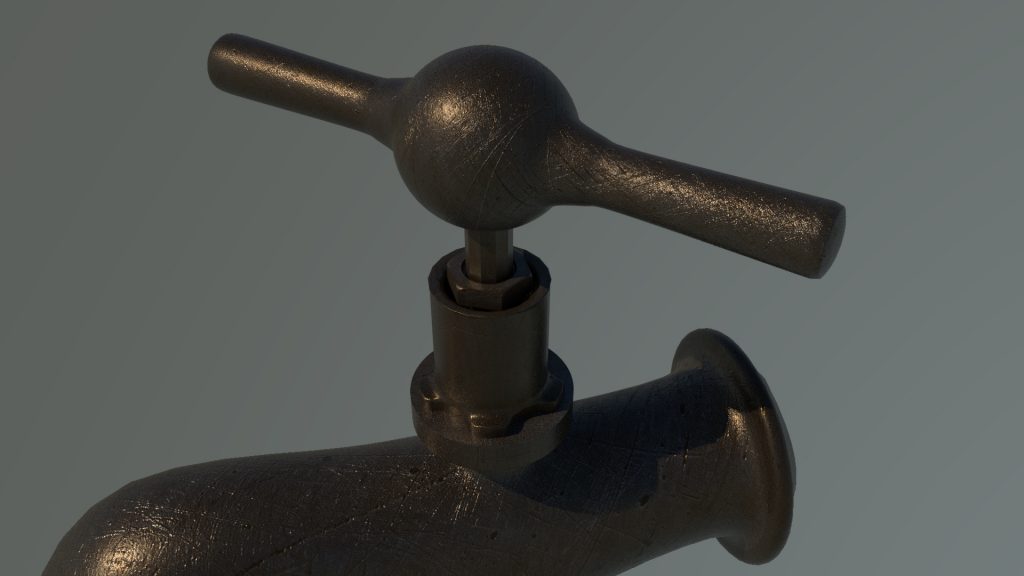
Showreel of Lior as an animator

Texture Artist

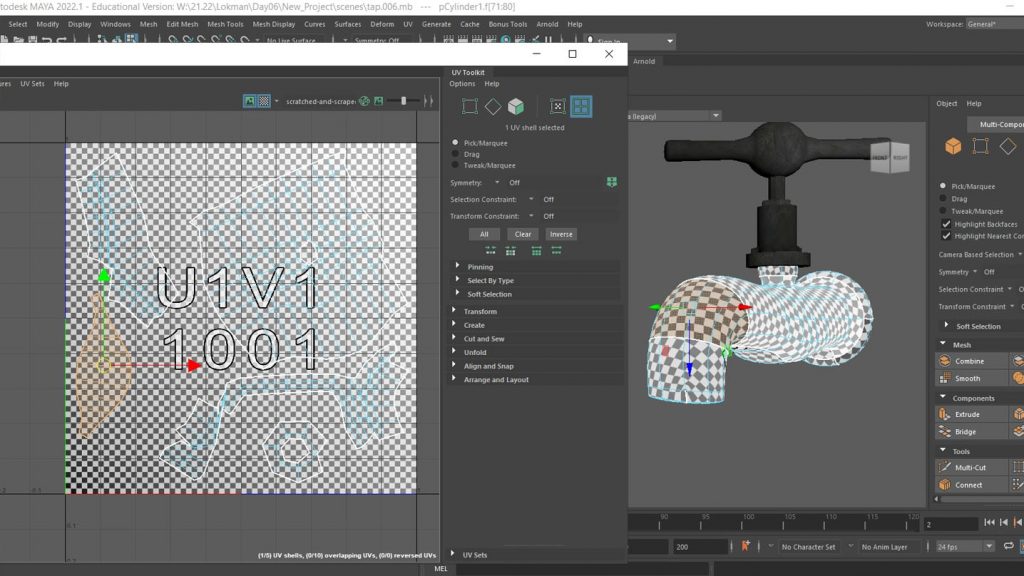
Texture artists design the surfaces of object, in order to look indistinguishable from the real thing, by applying shaders to the plain grey mesh. As an illustration, they rough objects up or they make them shine – scales on a crocodile’s skin, reflections on car doors, skid marks on roads, creases in trousers. In other words, texture artists apply “skin” to characters and objects, which, in turn, be able to adjust the shading, and lighting of the surface as well.

Image Source from Adam Spring

Similar to modelling artist, this job position required a wide range of software knowledge on Photoshop, ZBrush, Mudbox, 3ds Max, V-Ray, Maya, Nuke, etc.

See more details of what texture artist’s daily routine is with the interview of Solene as below:
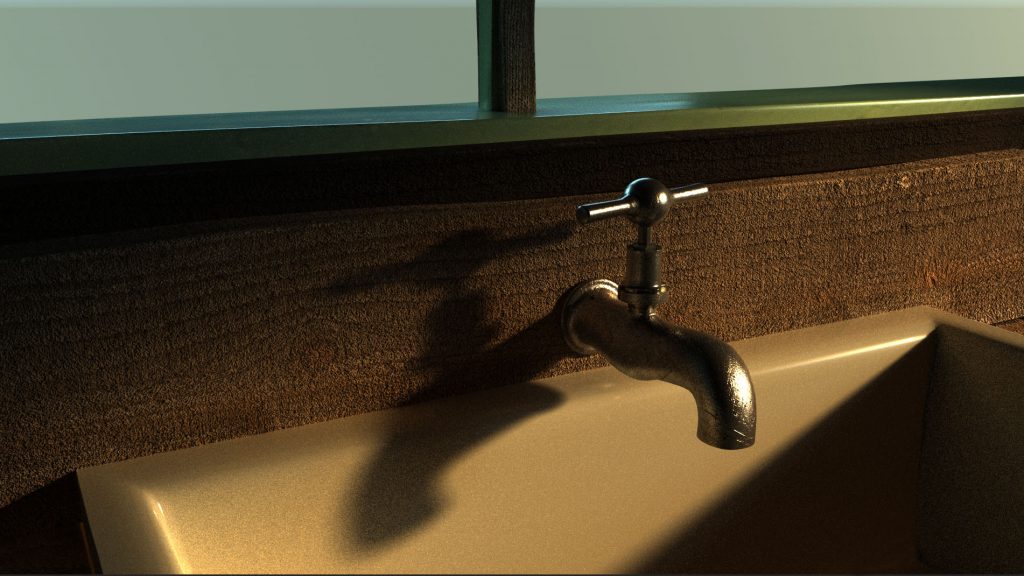
Interview of Solene as a texture artist

Environment Artist

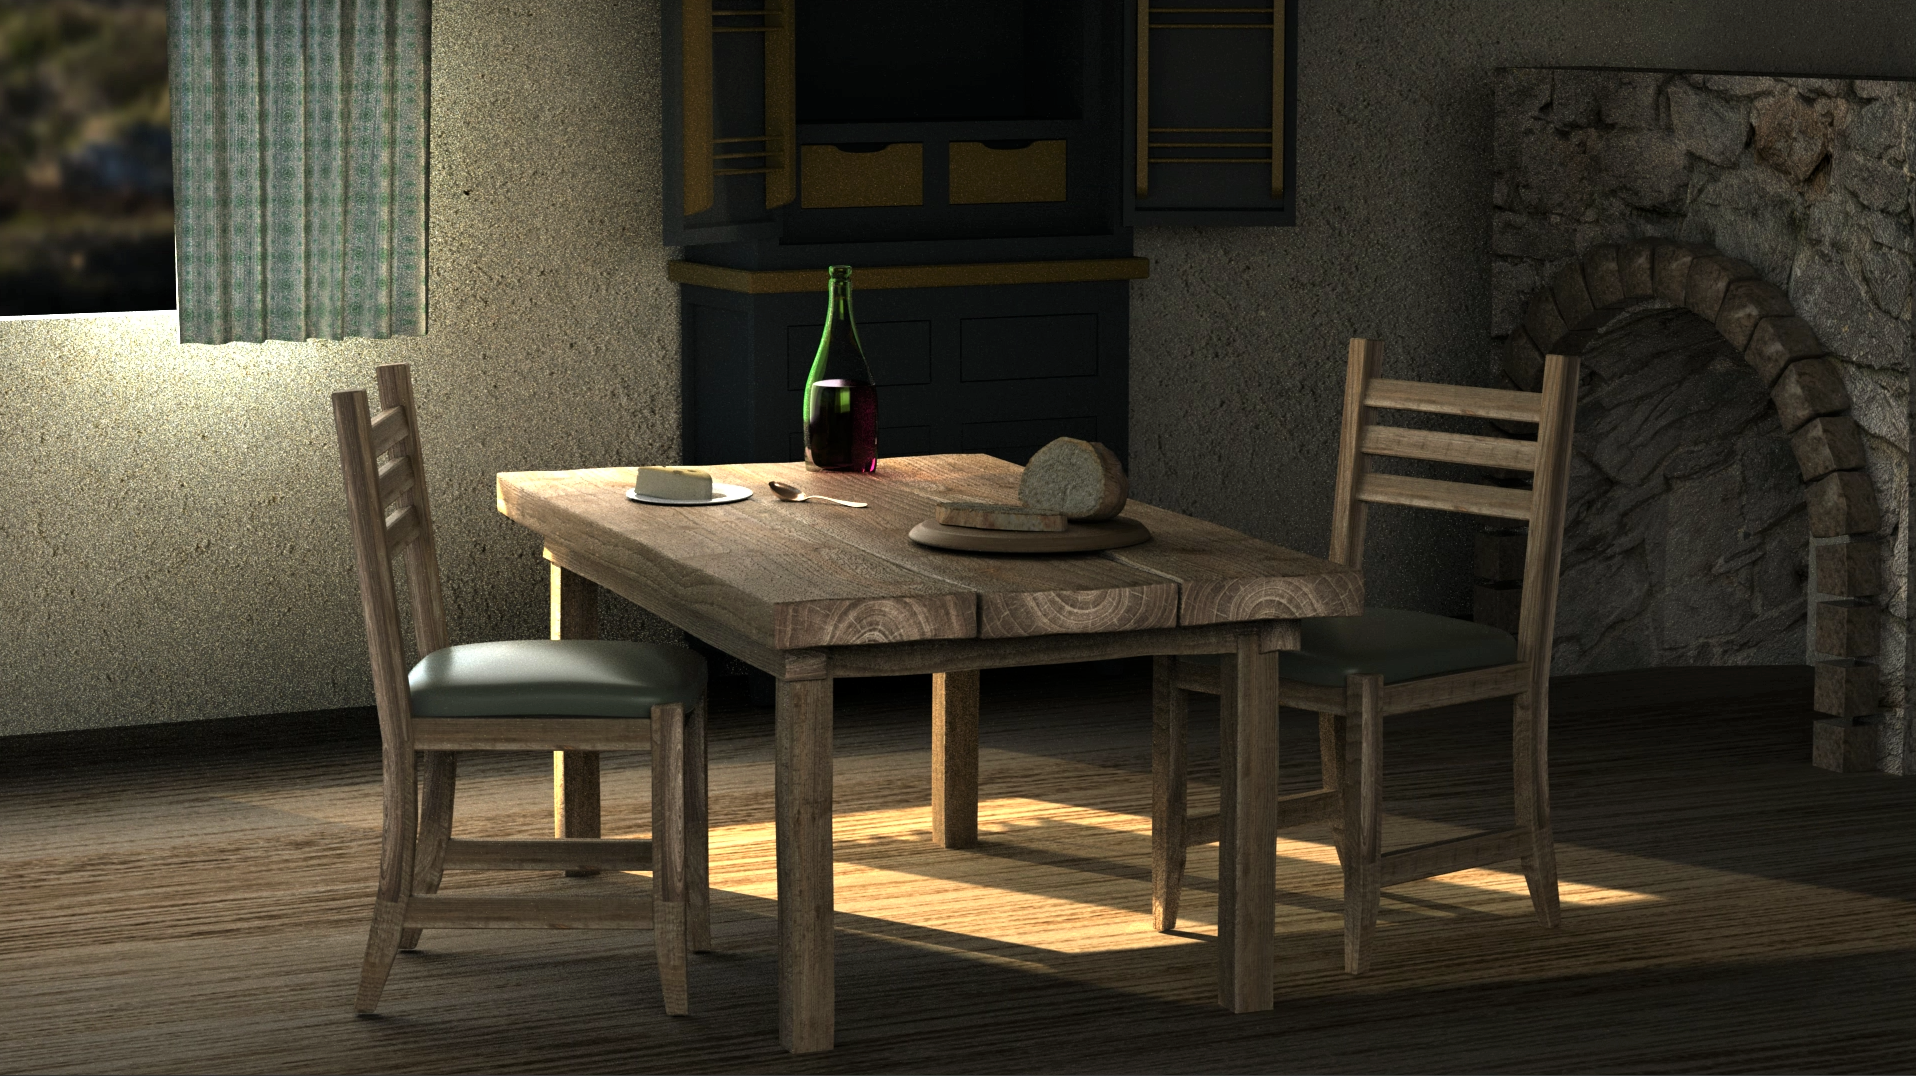
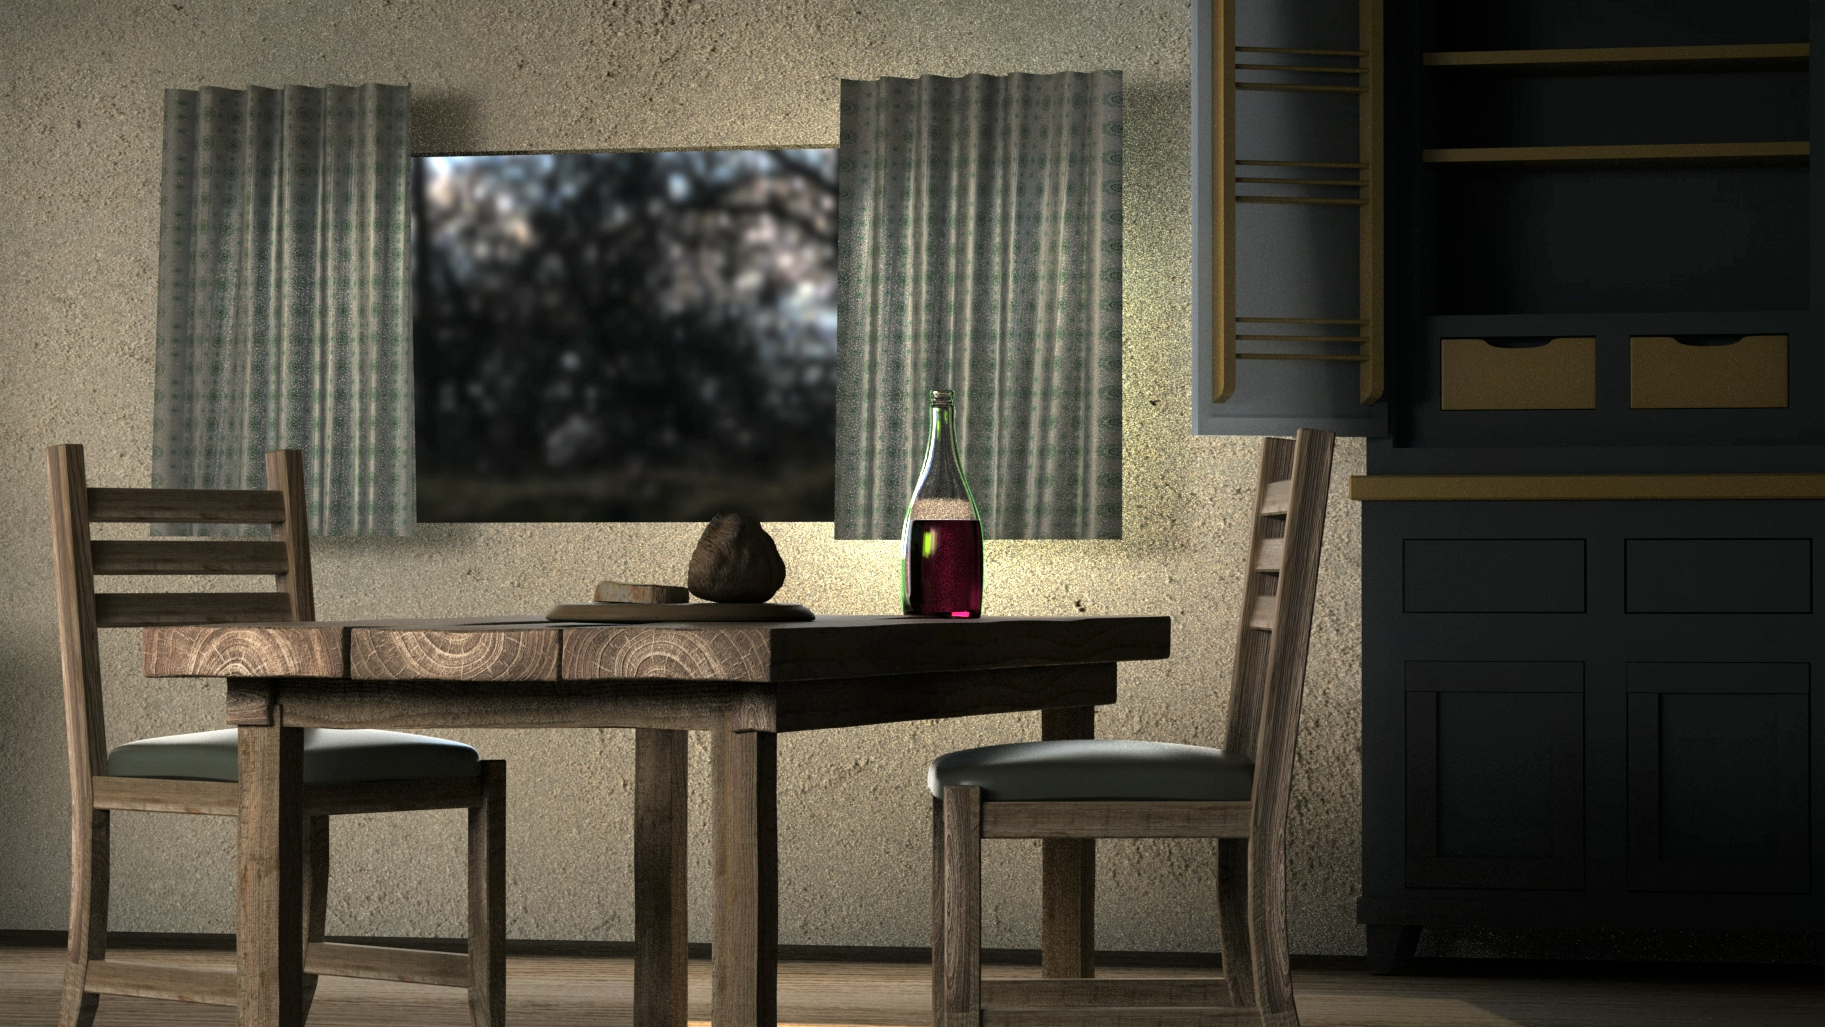
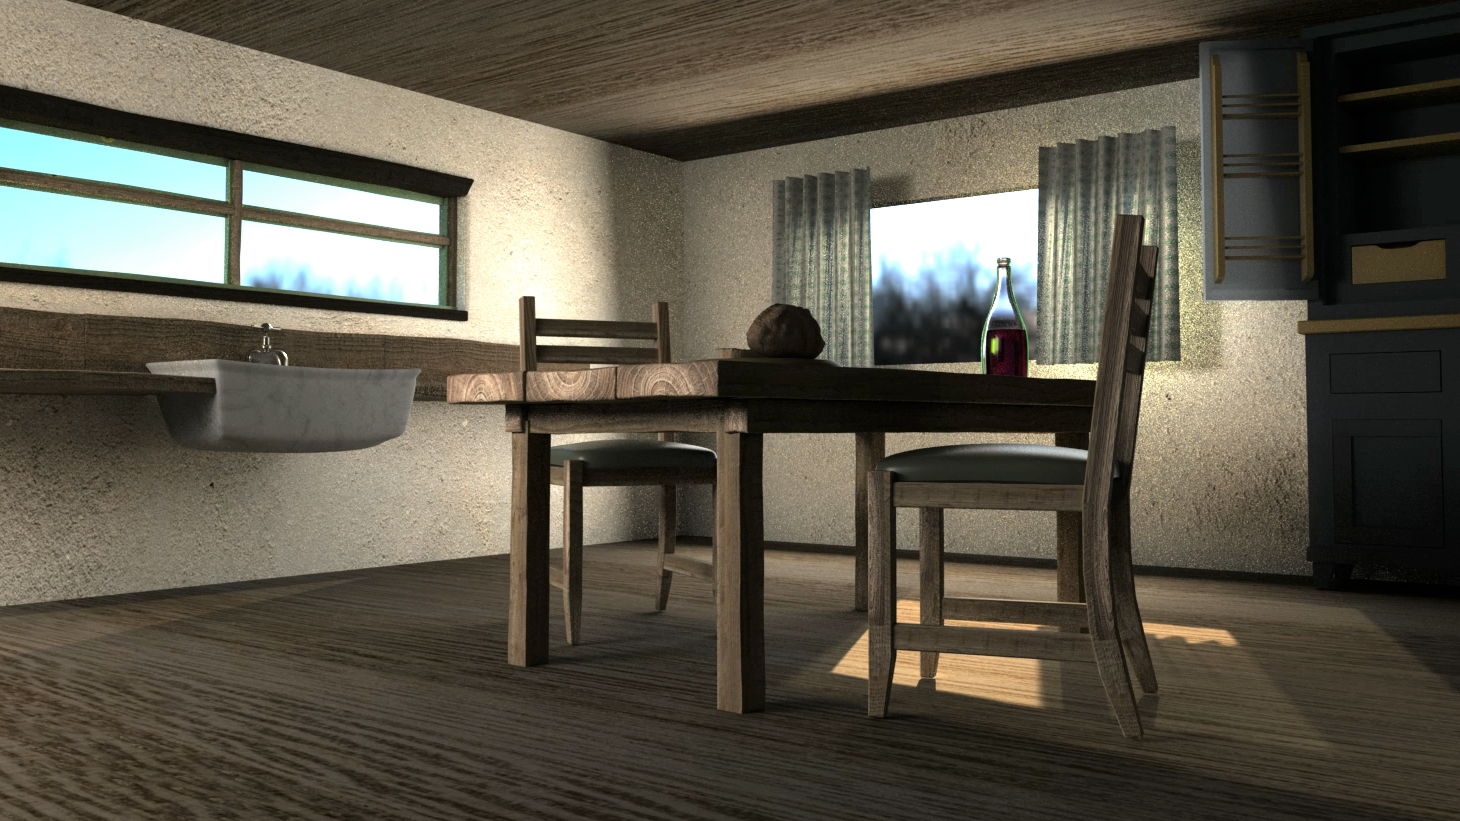
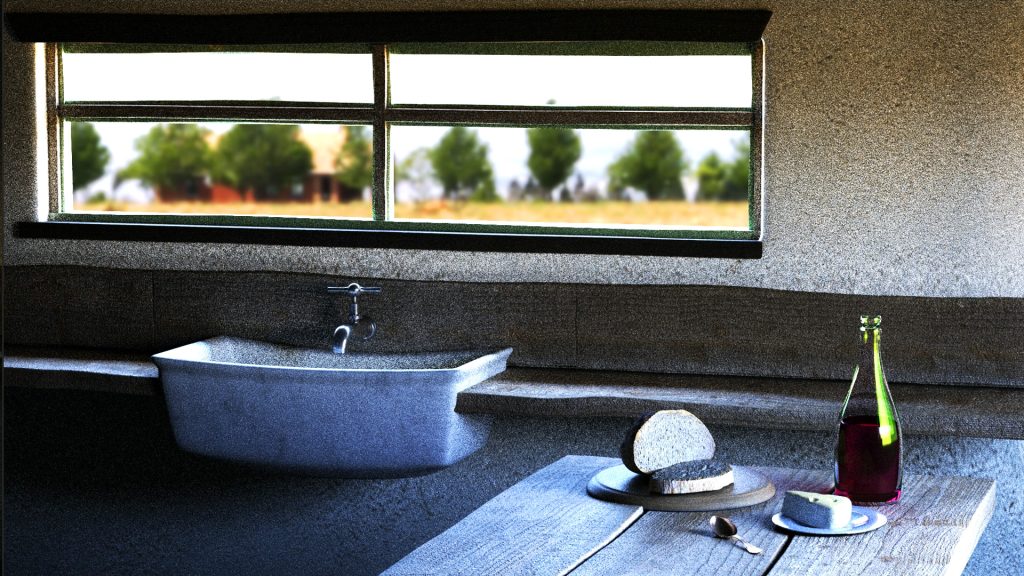
 Environment artists are specialized artist that build anything from terrain  to sky and everything in between, which are construction of world assets. They also able to make the mundane feel interesting. With a basic layout, they transform it become a fully-fledged world, with subtle details that fits the story. And as always,  the more detailed the environment is, the more photorealistic it looks to convince the audience.

Image source from Gilberto Jimenez

Some VFX companies or studios may not distinguish between environment, modelling, and texturing artist roles. Therefore, the series of software they access are quite similarly same.

See the showreel of the environment artists at MPC for details as below:

https://vimeo.com/356862827
Gilberto Jimenez as Environment Artist and CG Generalist in MPC Vancouver

Reference:

1.ScreenSkills (n.d.). Careers in VFX. [online] ScreenSkills. Available at: https://www.screenskills.com/job-profiles/browse/visual-effects-vfx/

2.UK Screen Alliance. (n.d.). Careers advice for VFX, animation, post production, TV & film studios or SFX. [online] Available at: https://www.ukscreenalliance.co.uk/subpages/careers-advice/?section=skills

3.Failes, I. (2019). Life as a motion capture performer. [online] befores & afters. Available at: https://beforesandafters.com/2019/08/19/life-as-a-motion-capture-performer/

4.Okun, J.A. (2015). The VES handbook of visual effects : industry standard VFX practices and procedures. Oxford: Focal.

5.www.accessvfx.org. (n.d.). Careers. [online] Available at: https://www.accessvfx.org/careers

6.80.lv. (2020). Tutorial: Rigging and Texture Blending Digital Humans with FACS. [online] Available at: https://80.lv/articles/tutorial-rigging-and-texture-blending-digital-humans-with-facs/

09 | Facial expression

Result

I enjoy working at this animation for facial expression very much. Comparing with the motion in last version (08 | Rendering And Nuke Color Correction), the squarely mouth problem was solved. All facial expressions are able to deliver the emotion accordingly. Even the smile one is still not since enough, it may needs much more mesh for me to set keyframe on cheeks and eyes, which is a long process for me to study on.

Basic movement

3 types of emotion movement

The whole progress is challenging but with a steep learning curve, especially for the skin area at the neck. It is not easy to define which is which to separate the upper part and lower part in paintweight tool. And when the motion is too exaggerated, it got distorted, which is obviously not the thing I want to see.

Smooth the paintweight for the jaw movement

Reflection

At this self-practise, I need to bear in mind with uncanny valley as well. As my model is a human-like one, my motion is tend to be as humanize as possible, with other elements not quite finalized yet. It became a sense of unease when I reviewed my result. But still, it is quite a nice way for me to practise the the facial expression motion with shape editor in Maya.

08 | Rendering and Nuke color correction

For this week, I’ve slightly animate the facial expression as a test. Then I rendered my outputs with separated passes, which I then able to input in Nuke to adjust coloring. I’ve also learnt the concepts of passes in Nuke are actually quite similar to other 3D software, such as Cinema4D.
In this way, with similar methods, I can take the frames and then layer them using blending modes to rebuild the beauty pass in Nuke, so from there I can make my choices meticulously and adjust how the shot can be improved.

Facial Motion Test
Maya output for the frown face

Work In Progress

The facial expression are separated into various sliders in shape editor to animate them controllably.

Nuke passes

RGB
Alpha
Direct diffuse
Indirect diffuse
Direct specular
Indirect specular

Color grading in Nuke

Result

In my color adjustment, I mainly adjusted my direct specular and indirect diffuse to add greenish in lighting for some spooky feeling. I didn’t spend too much time on it, it is just a first trial for me to understand how Nuke function and get familiar for my finger muscle with interface of Nuke.

Regarding to the facial expression, I suppose I should not animate all parts of meshes in same timing. I will definitely enhance the facial expression, especially the mouth movement, as it is too squarely in this version. As always, it is believed that subtlety is the key for all kinds of eye-comforting and realistic motion.

Nuke output

07b | Subsurface on ears and face

Result

This week, it is aiming to add subsurface to ears and face. As human ears are commonly pinkish with thinness that slightly showing blood vessels, subsurface scattering in this case can able work with texture in similar ways. Also it stimulates when light penetrates a translucent surface like a grape, and is absorbed and scattered.

The subsurface texture on ears
Subsurface texture for my model on cheeks, nose and forehead.

Work In Progress

It is the work in process for my model. As ears are slightly transparent in their texture, I adjusted the subsurface to create a transparent texture for the ears. Meanwhile, the texture of red veins have applied, to provide a little bit details and imperfection to my model.

Here is my reference of how to show realistic eyes with correct lighting in subsurface.

Youtube Channel: Alan’s Art Log
Showing the subsurface texturing with backlight only

Adding veins, blood vessels, scar mark and pigment on UV

Furthermore, for subsurface of cheeks, nose and forehead.

Reddish veins on cheeks and nose
Scar mark and skin pigmentation on forehead

Last but not least, adding bumpmap to lip.

Bumpmaping on lip

Reflection

So far, I am quite satisfied with my result, I have learnt how to make my character realistic with imperfections. All of these slightly details create an unique identify for my character. Again, I believe the key to adding subsurface is subtlety with adding imperfection to create realistic face model. Overall, there are no perfect human face in reality world.


07A | Facial Emotion

Result

This week I set keyframe for all mesh to the final design of each emotion. However I haven’t confirmed with the motion yet. Therefore, it is a result for some screenshot for each emotion first.

Original face

Angry face

Sorrow face
Fake smiley face


Work In Progress

Rigging and paint skin weight

Do you know how much muscles involved in one single smile ?
According to howstuffworks.com :

If we look at a smile that only raises the corners of the lips and the upper lip, it takes only five muscle pairs, or 10 total muscles, to do so. However, if the smile is further reduced to a robotic expression of just raising the corners of the mouth, then it takes only two muscle pairs (four muscles) to smile.

Therefore, I believed the smile facial expression is the most challenging facial expression to animate. The geometry for this model is not quite enough for me to adjust the minor expression.
In human being interaction, insincere smile can quite easy to identify by human being. That is our nature to read others facial expression for us to interact with others in this nowadays society. Therefore, the animation to modify a sincere smile is the most difficult one. I am not satisfied with my result, but I think it is a good start for me to improve my animate skill as character design is not my familiar subjects.
Paintweight for jaw upper part
Paintweight for jaw bottom part
Mirror skin Paintweight for the inside part of the mouth
Adding bumpmap
Lip bumpmap

Reflection

For me, controlling the paintweight brush is quite challenging. Sometimes, my brush was not accurate enough for me to paint the skin area I targeted, and in turn it made me spend loads of time to smooth for a blurry area between and black and white area.

Next step, I would like to animate them in one final showreel to show all emotion. In this way, I can demonstrate how the rigging and shape editor helps me to animate the model.

06b | Rigging and motion

Result

Figure 6b.1 – Classwork for picking up a ball

Try to imagine what would you do with a lost item, such as a wallet on street?
In reality, it is expected that pedestrian will pick it up cautiously with head turning to look around for its owner. However, in my character’s design, adding exaggerating body language to present his personalities, tipping toe to look around, and holding his arms on waist while observing the object, communicate to my audience with his personalities,
eg. conscientious and inquisitive, without a word of dialog. Being extreme is a way for me to follow the animation principle (Figure 6b.5) and add excitement in the motion for audience to understand my character.

With adding animation principles as below.

Figure 6b.2 – Version 01 – Pick up motion

Figure 6b.3 – Version 02
– Pick up motion with object followed, character staging and secondary action on his left hand.

Figure 6b.4 – Version03 – Adding exaggeration to show character personality.

Figure 6b.5 – the 12 principles of animation

06 | Maya Keyframe

This week, it is the classwork for animating two types of weight, hard ball and soft ball in Maya.


Image source from The Animator’s Survival Kit

With The Animator’s Survival Kit, every animators know bouncing ball on floor depends on spacing and timing. However, when it apply on stairs, I have to implement the textbook knowledge into practical situation.


Result

Hence, loads of eyeballing adjustments of work in this classwork, which I can hardly descript in written English. I observed my ball in loop play, and somethings were still not right to my eye. After over and over, finally this result is the most acceptable version as the types of weight can be easily identified between hard ball and soft ball.

04B | Final Kitchen Scene

Result

Maya was the software I had used it around 5 years ago, and I shifted to Cinema4D for a while, as I thought the Maya default render engine didn’t perform well even if I put so much efforts in it. However, after all these years, with Arnold renderer, I am quite surprise with its rapid respond and excellent performance. Despite Maya still crashed for tiny things sometimes, I think I feel more confidence to work with Maya again, as Maya is still the major 3D software in VFX industry. I don’t think there is any reason for me to not work hard to overcome it.

Finally, after weeks, all assets were put into the kitchen scene. What a nice kitchen dinning area for two! I am glad I did it!

Still, for these kitchen scene, I am not satisfied with the texture of cupboard, curtain and fire stove. The wall is too rough as well. Too much exposures around the windows. Loads and loads of things I can keep on complaining. However, within this period of Term 01, I have trained my finger muscle to get use to Maya. Moreover, I’ve kept myself focus in details with aesthetic judgement, which I think it is another endless topics for every artists and designers in this ever-changing industry.

04a | Spoon And Cupboard

It is a classwork for practising modelling and texture. Also, I learnt how to use maya camera to frame one single frame to output a snapshot.

Result

I think the noise for this scene is way to much, but lighting is quite easy to control. I only used three points lighting for my objects, especially for the glass bottle, the Arnold render is way more qualified than my expectation. Comparing with my experience a few years before, I only used physical render for my output, which is much more time-costuming.


Work In Progress

Then, I would like to add a metal spoon on table.

I would like to add this cupboard to my scene, some details have not decided yet. But I think it is a good practise for me to deal with Maya software, as it is not same as Cinema4D, even some concept may be familiar but I need to train my finger muscles to do all the shortcuts correctly.

03b | UV Mapping for the tap

Week 4 classwork

Building a water tap model and adding UV mapping on it


Result

And put it into a scene

Work In Progress

Metal texture from lostandtaken.com

I would like to apply the texture to my model.

The UV for my tap goes wrong ..

I shouldn’t cut it that way…

After severe hours of the cut and sew surgery …
Sometimes, Maya don’t know how to unfold my UV and crashed.
That one is much more better.
I fixed my tap !
The Result
With bumpmap and color correction

Reflection

I suppose I will not very keen on this topic of UV mapping in my future career, as it gave me such a huge frustration after hours and hours working time. Even I can fix my tap in this assignment, hard to imagine another task for UV again with aims of as distortion-free as possible.
As UVs are vital because they provide the link between a surface mesh and how an image texture gets applied onto that surface. They are basically marker points that control which pixels on the texture corresponds to which vertex on the 3D mesh. But still I am gonna say, I hope I can be a specialist in other fields other than UV mapping.