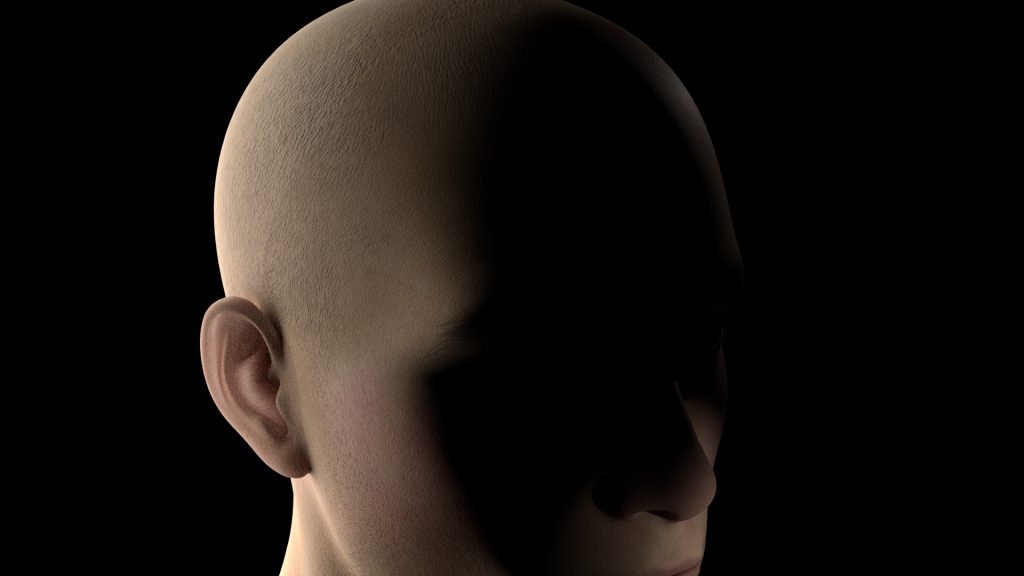
Category Archives: 21/22 Visual Effects Fundamentals

Runner | Prep artist | Roto Artist

Runner

Runners are an entry level job in VFX industry. They are given the opportunity to access the industry as they works as assistants in multitude aspects. For instance, beside, organising meetings and schedules, they have to clean and tidy throughout the studio and plan the re-stocking for office space as well. Also, catering all staff and client needs and providing ad-hoc service are the daily job task of runners.

Occasionally, runners are permitted to access to equipment for training by mentor to help them develop their career. It will be a benefit for runners to obtain an early consideration for internal vacancies, if they perform themselves as a competitive employee.

See the description of a runner working at The Mill for details as below:

A day in the life of a Runner @ The Mill
Written by ACCESS VFX June 17, 2019 :

https://www.accessvfx.org/blog/a-day-in-the-life-of-a-runner-the-mill
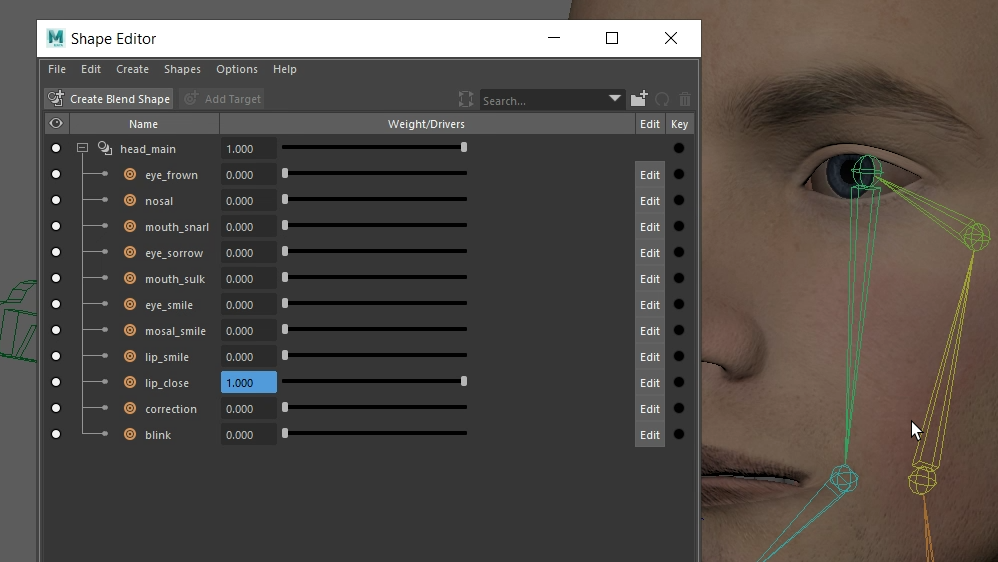
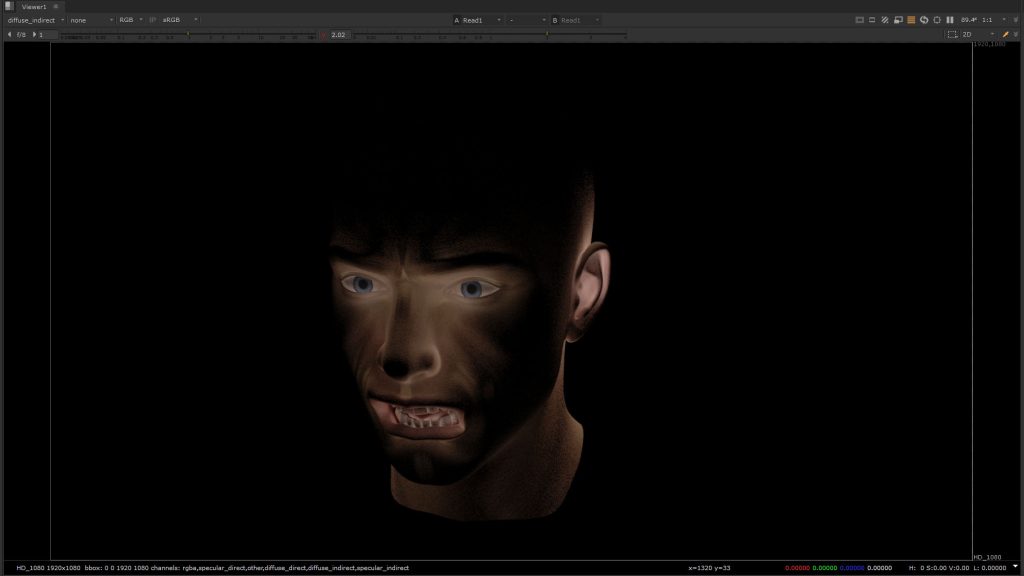
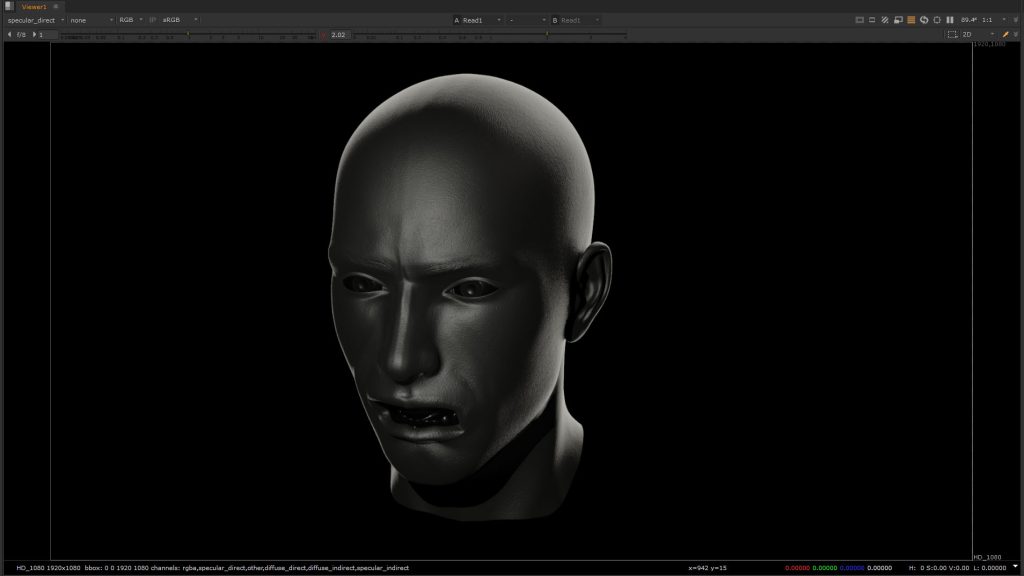
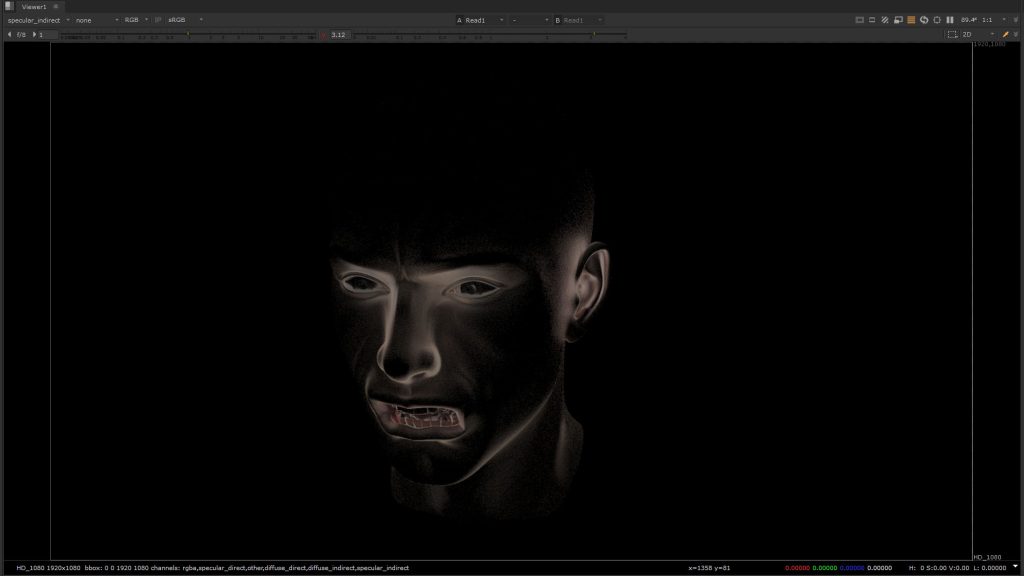
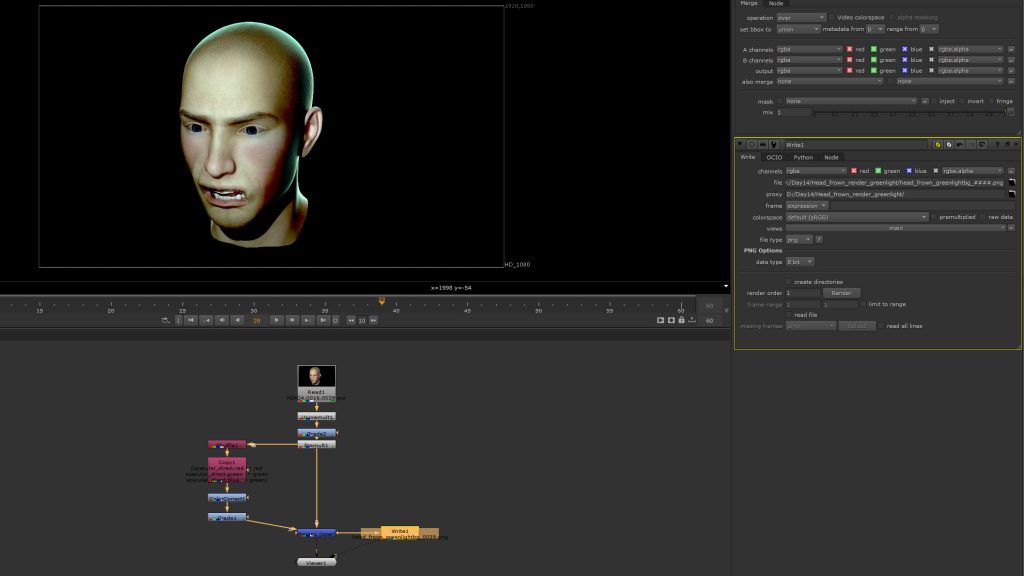
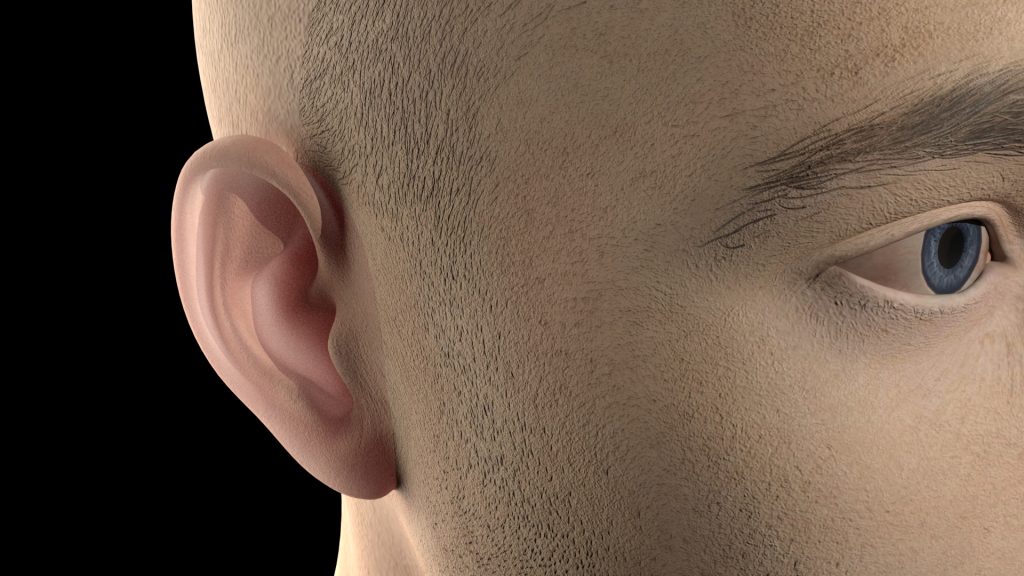

Prep Artist

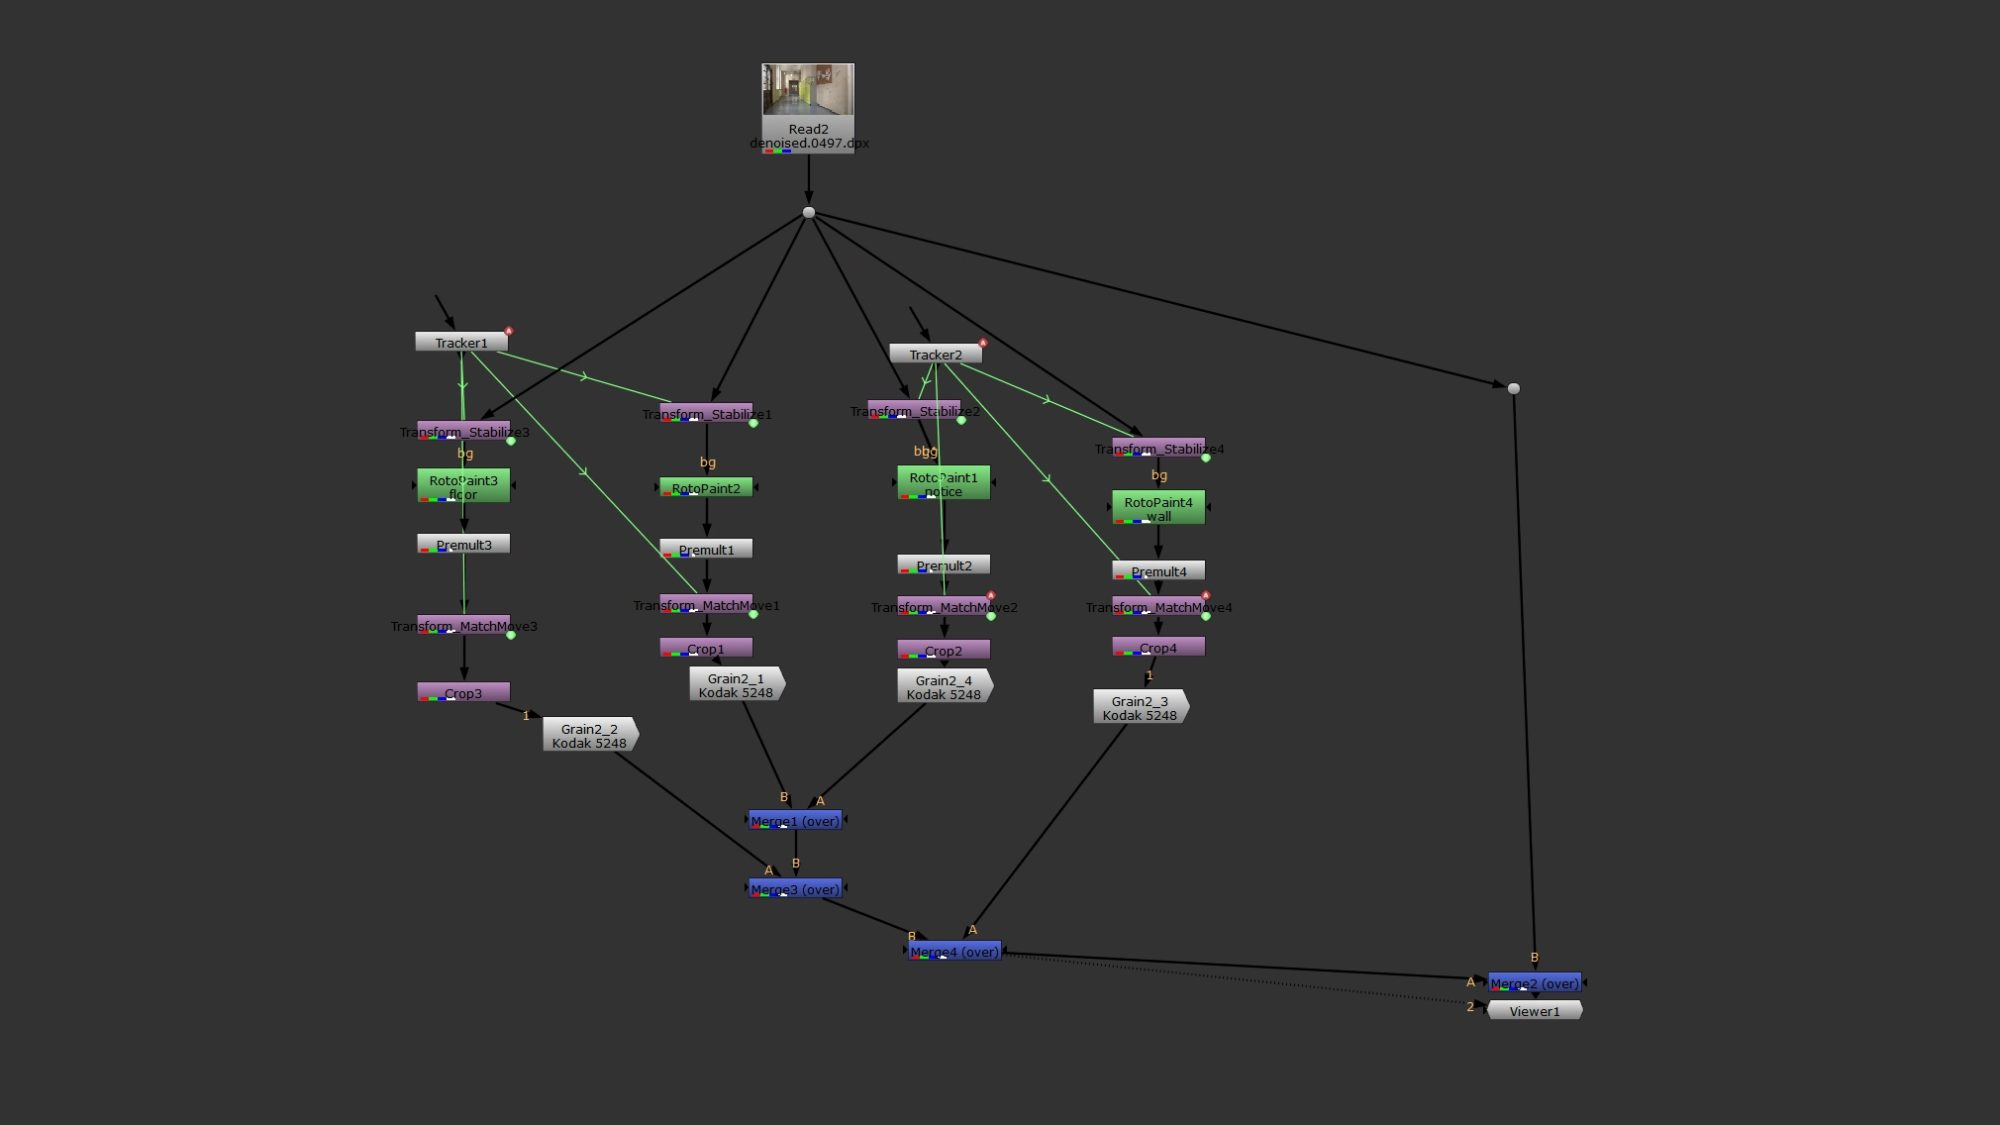
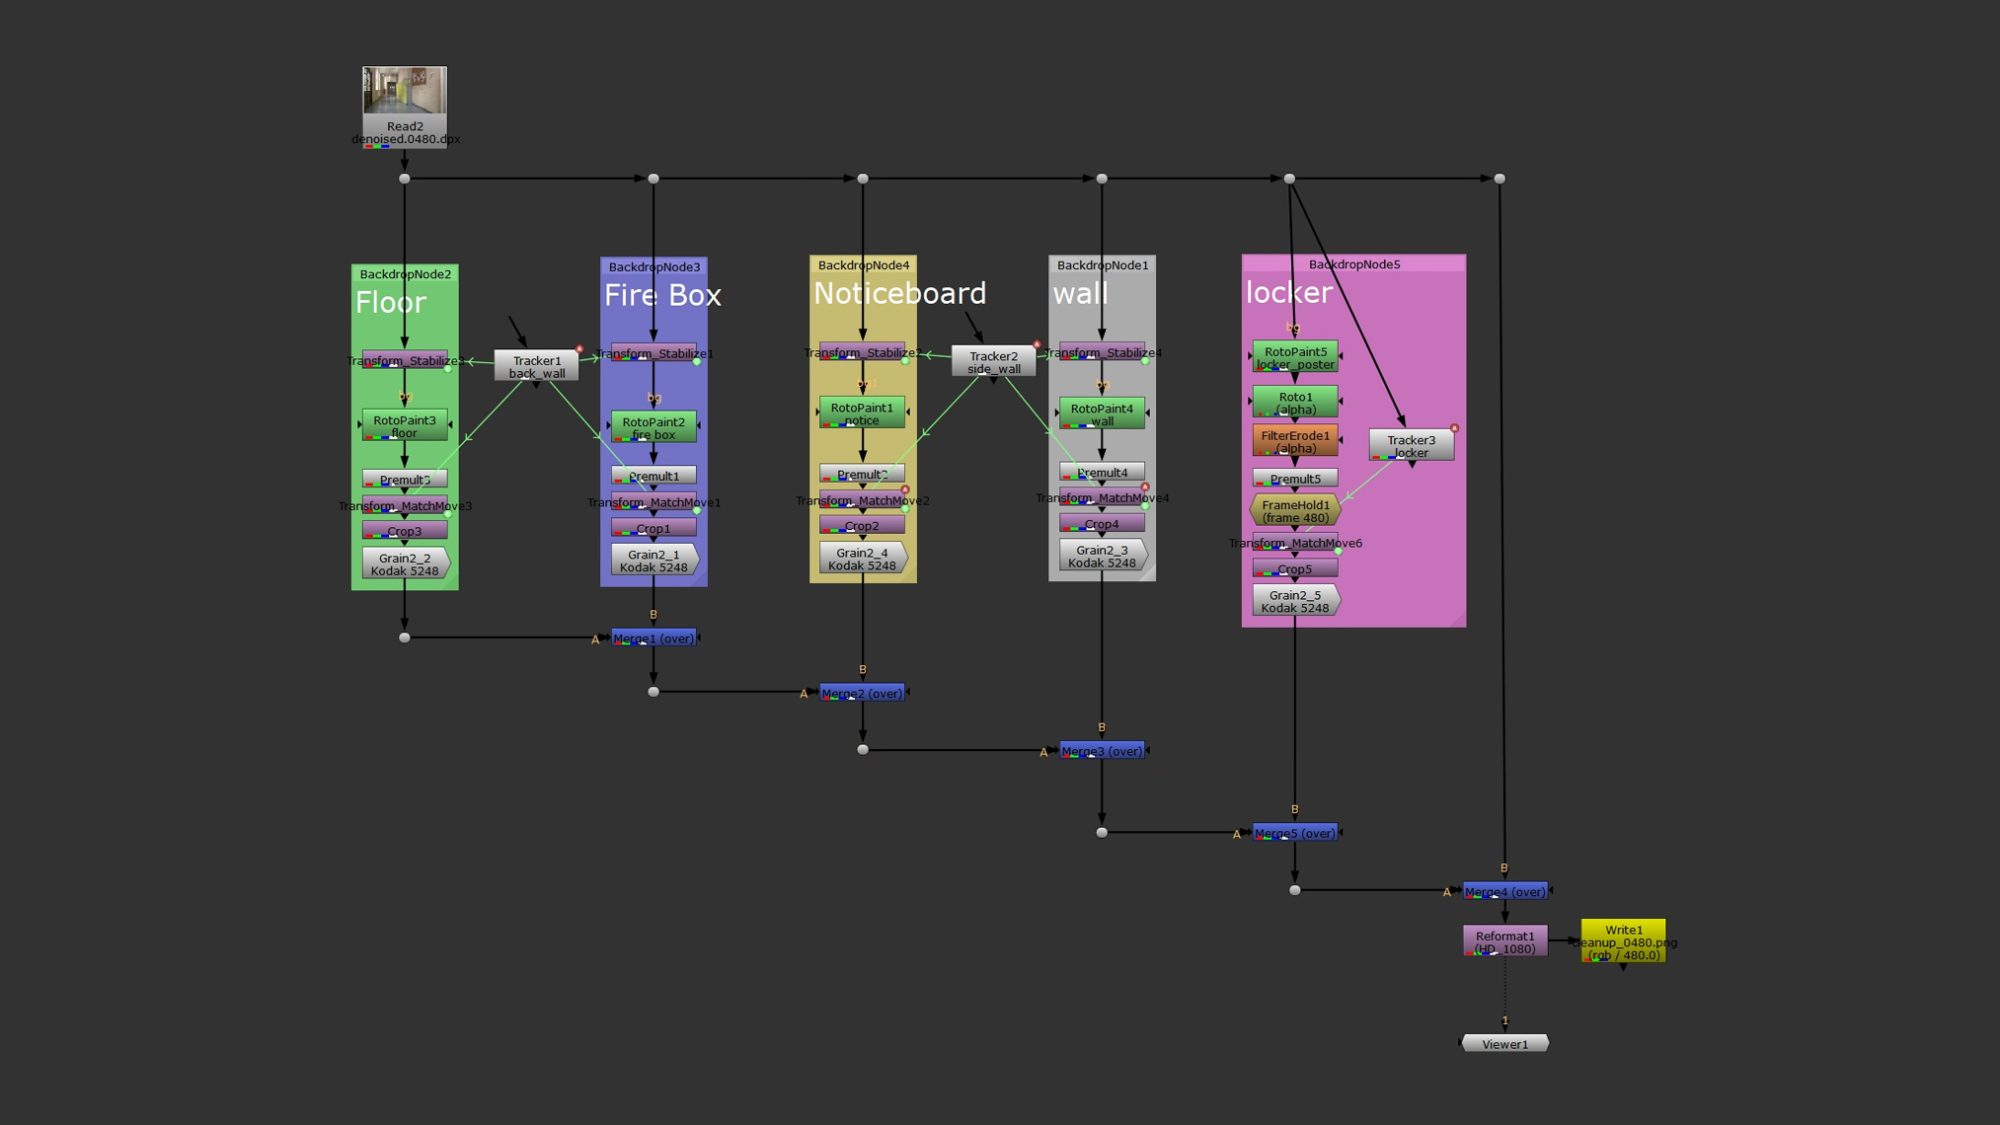
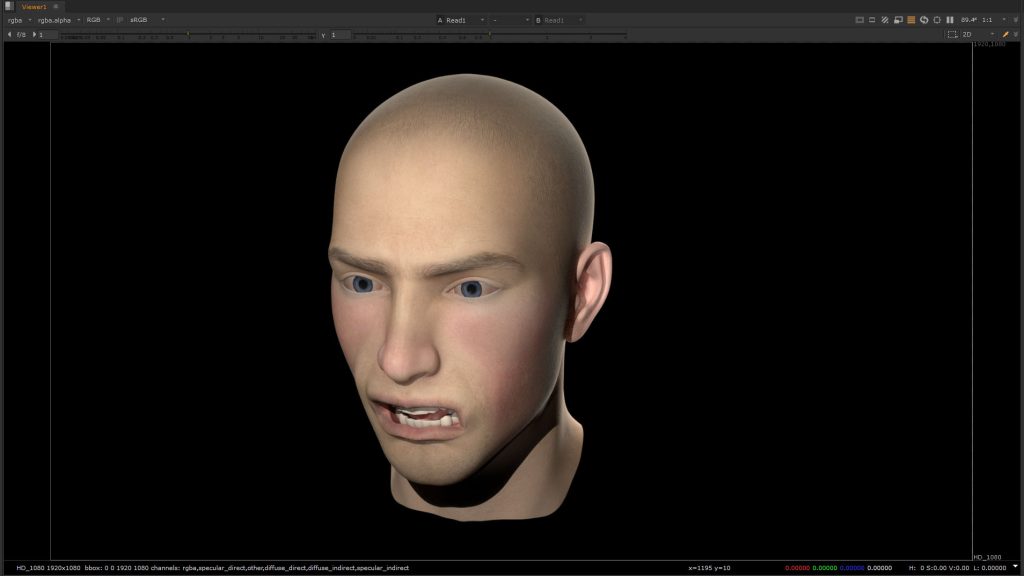
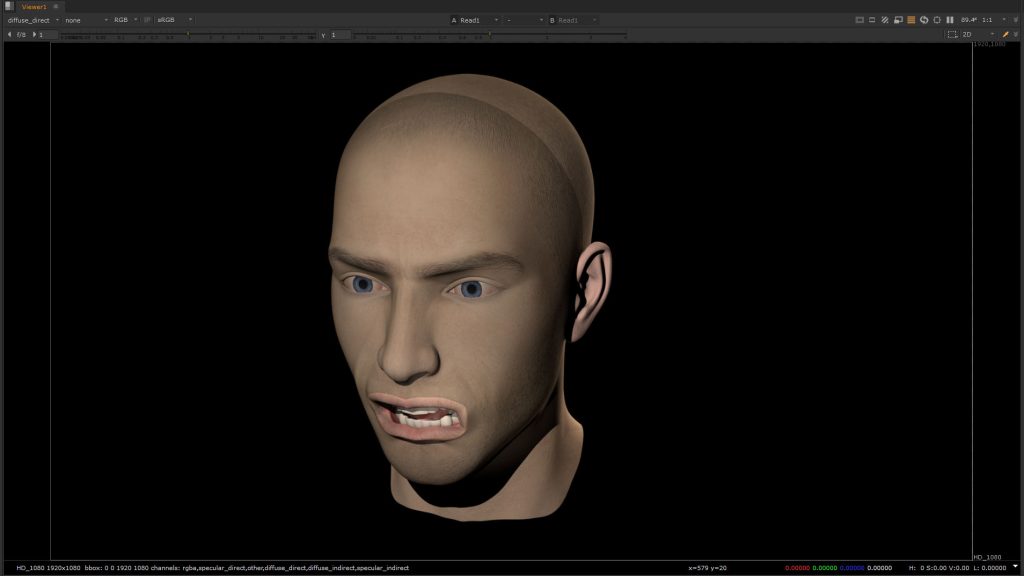
Prep artists are also an entry level job in VFX industry. Their main job task is to use VFX software to clean plates, which means they clean up footage by removing unwanted items, such as mocap people tracking markers, wire and rig removal of the frame.

Prep artists work closely with compositors to help them integrate all elements of an image, including CG and live action, to create film visual effects shots. They clean up the backgrounds of live action-footage ready for the effects to be layered onto it by the compositor.

The job requirements mainly included their skill of using Nuke and Photoshop. In addition, conscientious attitude to work with pixel-perfect output is also crucial.

See the job recruitment of a prep artists at MPC for details as below:

Prep Artist
Job Recruitment by Technicolor :

www.jobs.smartrecruiters.com/Technicolor/743999710075152-prep-artist

And here is example of an prep artist showreel :
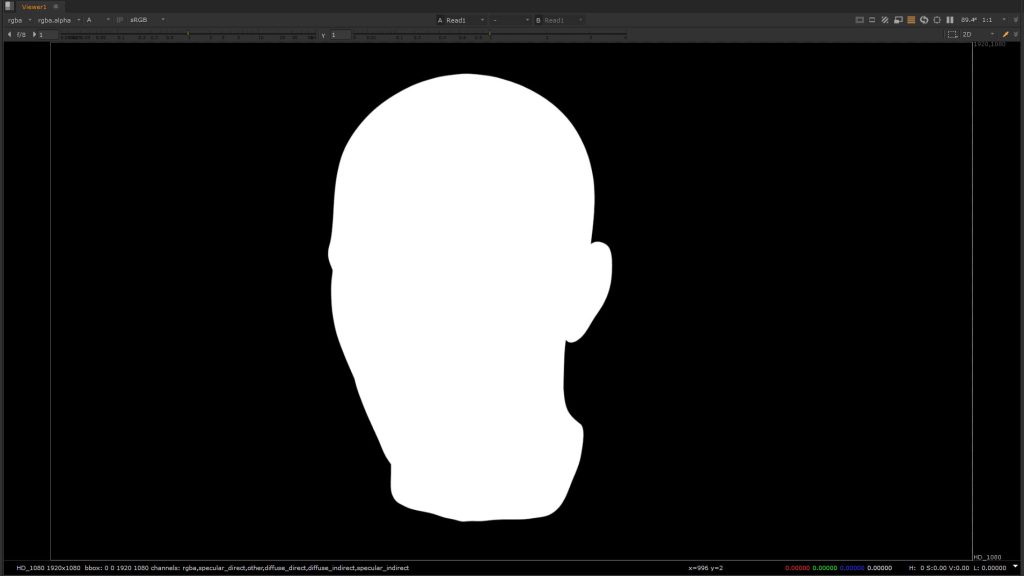
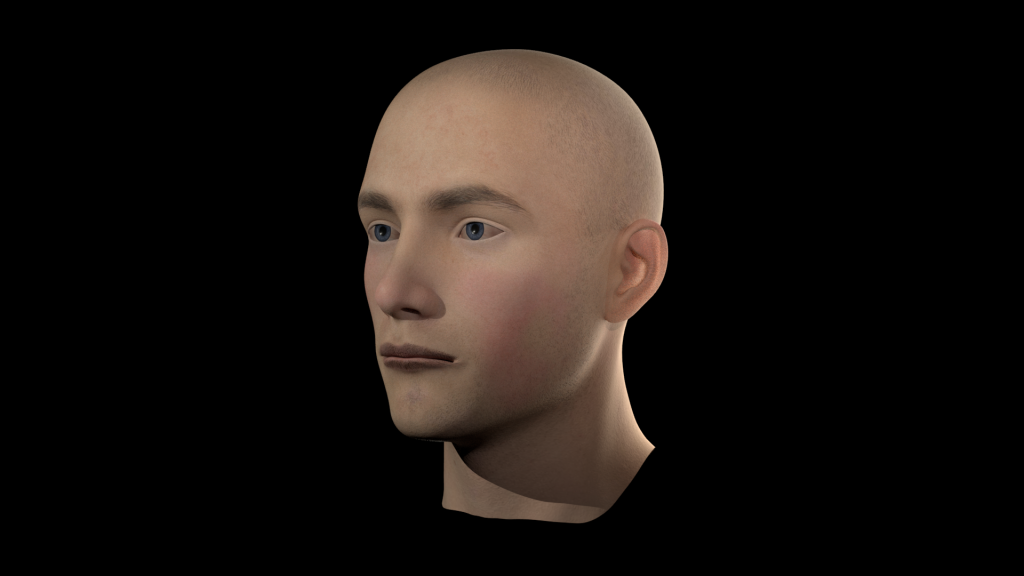
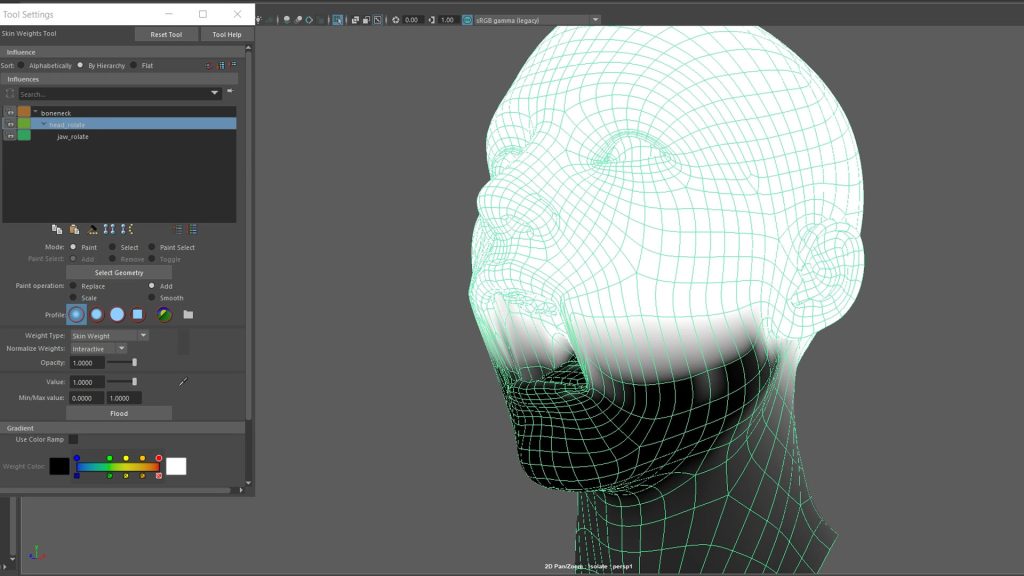
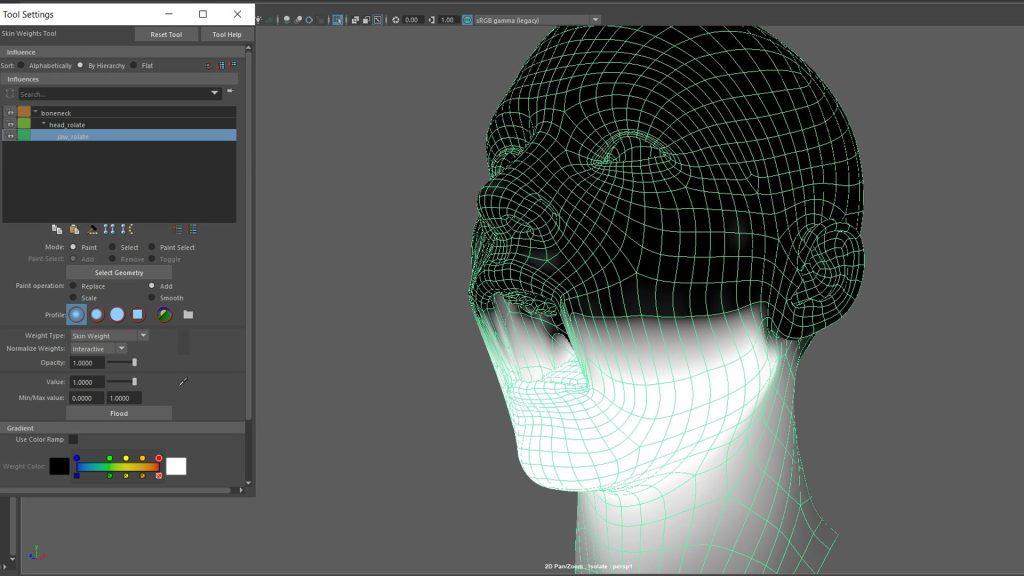
Prep artist Showreel by FARJI GAMING

Roto Artist

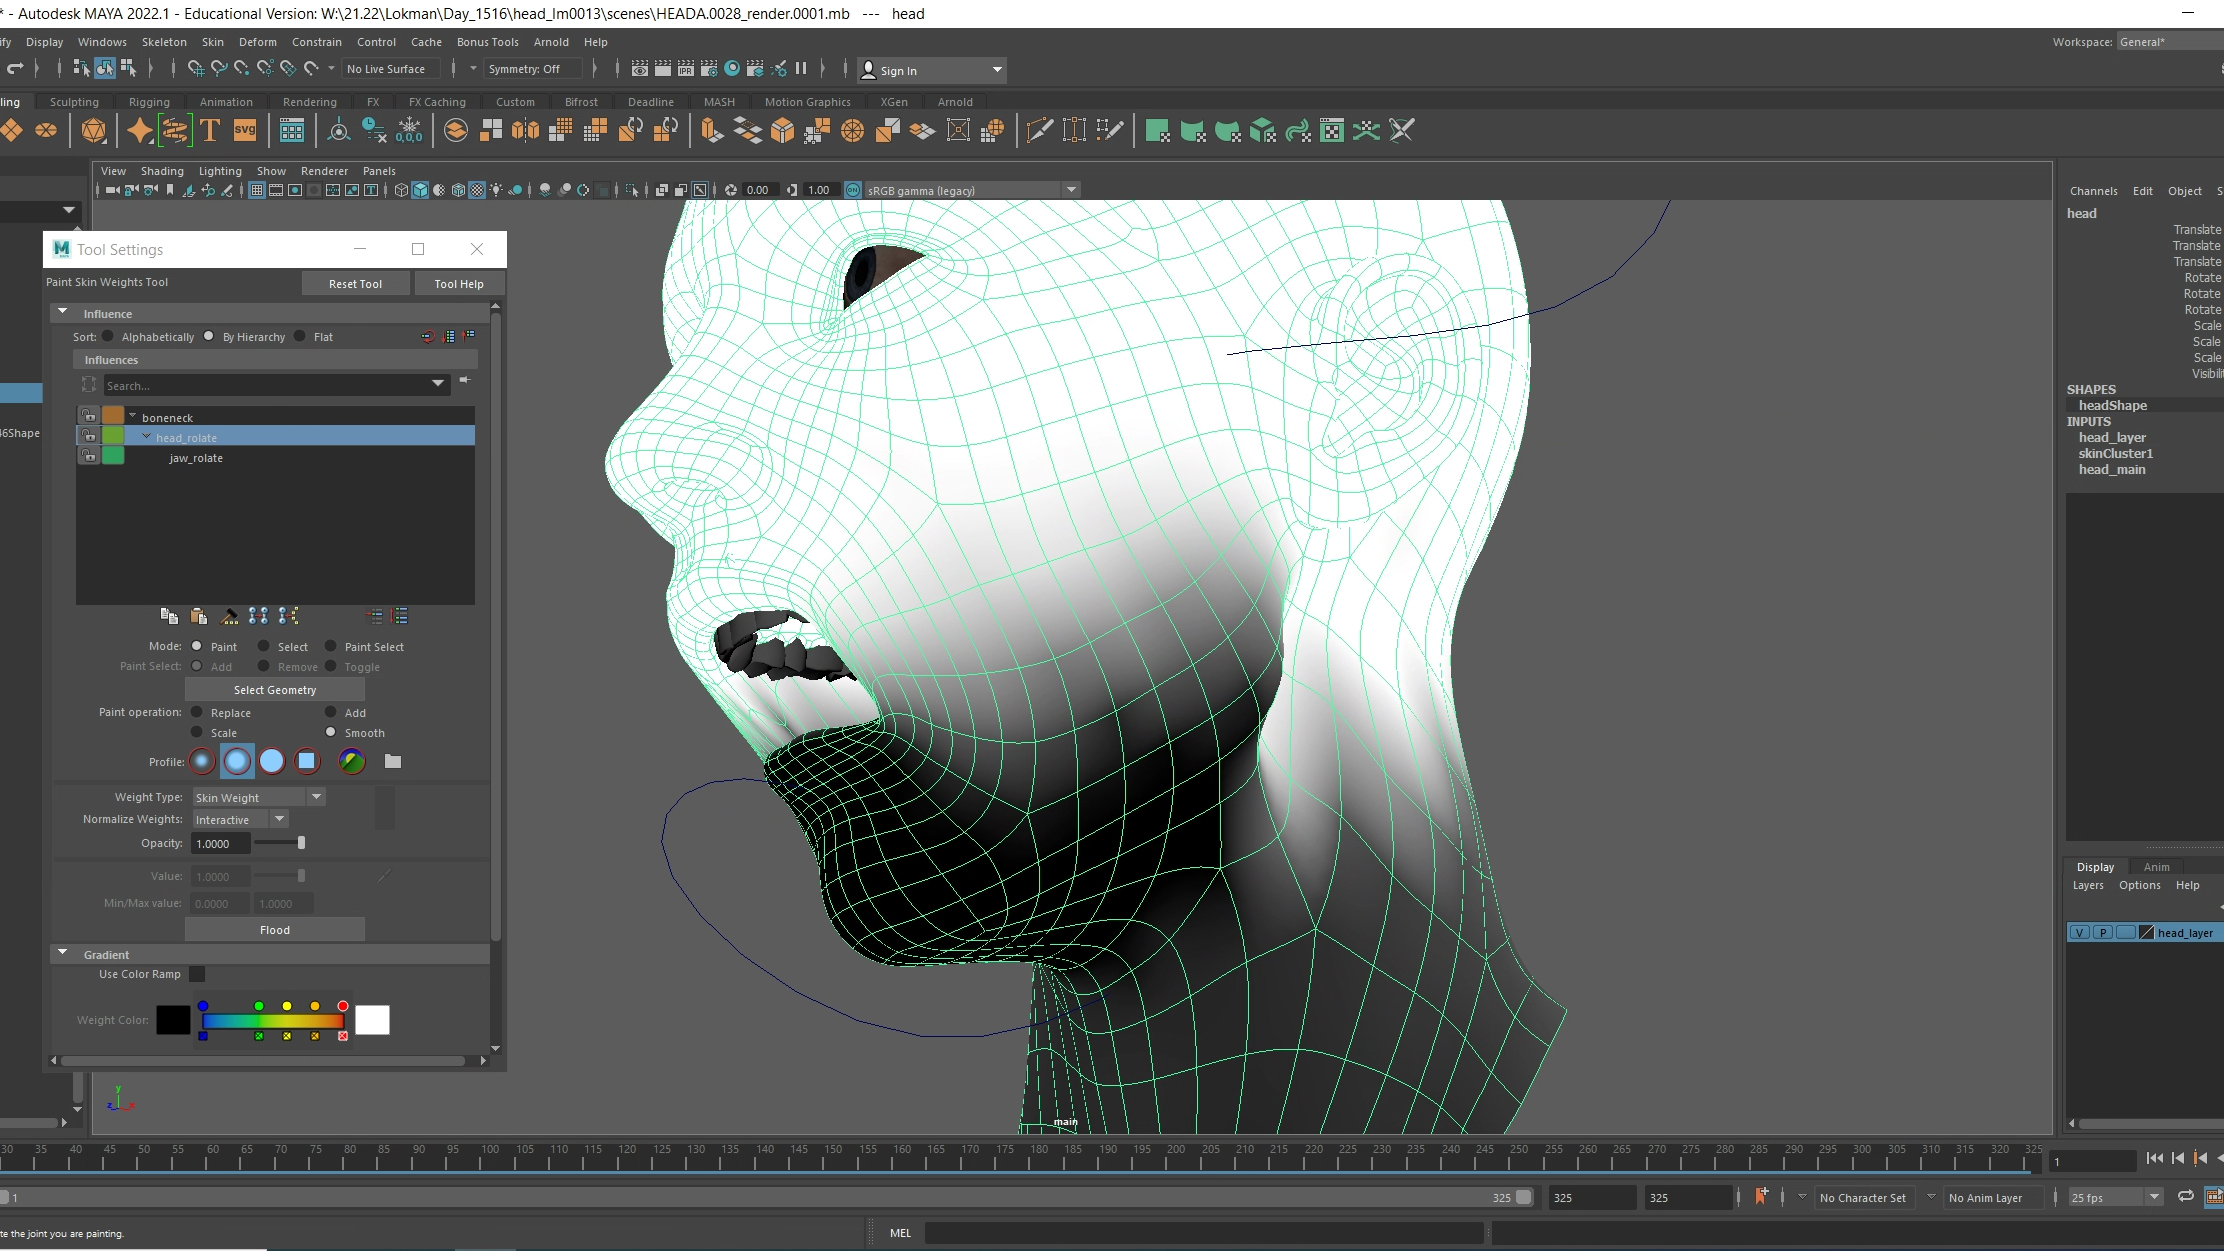
Roto artists are also classified as an entry level job in VFX industry. They will need to work on the areas of live action frames that create silhouette, also named as matte, to extract that object for another background in scene. They also have to matches motion blur frame by frame or using 2D trackers or Planar tracking methods as well. In this way, CG can be combined accurately with the live-action after rotoscoping.

The job requirements mainly included their skill of using Nuke, Mocha and Silhouette. Moreover, this position not only asks for working meticulously , but also high demand in patients and quick implementation within limited time provided.

See example of a roto artist showreel as below:

Rotoscoping Showreel 2020 by M.Shivprakash


Reference:

1.ScreenSkills (n.d.). Careers in VFX. [online] ScreenSkills. Available at: https://www.screenskills.com/job-profiles/browse/visual-effects-vfx/

2.UK Screen Alliance. (n.d.). The UK’s VFX Industry: In Profile. [online] Available at: https://www.ukscreenalliance.co.uk/subpages/the-uks-vfx-industry-in-profile/

3.Okun, J.A. (2015). The VES handbook of visual effects : industry standard VFX practices and procedures. Oxford: Focal.

4.www.accessvfx.org. (n.d.). Careers. [online] Available at: https://www.accessvfx.org/careers

03 | Nuke Cleanup

Result


I did this classwork mainly with Rotopaint node, including the tools of clone, brush and blur. The basic principle is same as photoshop, combining the tracker.

I also bought an entry level wacom tablet for me to work with pixels precisely.

I also studied what is the proper way to organise my node graphic by the youtube of Foundry.

Skill Up With Nuke | How To Stand Out As A Junior Compositor by – Foundry, imagination engineered
Figure2.1 – Work in progress node graph
Figure2.2 – Organised node graph

There are a few summary in organising my node graph.

1. Use visual language
– B-pipe as the spine of the script.
– A -pipe mostly on the left hand side is easier to read, quicker to navigate, even without zoom in.

2. Modularisation
– Separate the whole script into sections. My script in this case is not quite relevant, as it is a simple script, but still, I put backdrop node to label each area of my clean up.

3. Bounding Box Management
– Add crop node at each area clean up to keep the viewer neat, and avoid loads of unnecessary pixel information. (Figure2.3)

4. Concatenation and the flow of channels
– Prioritize the same family nodes to help Nuke to calculate the perfect pixels.
– Reformat node should be placed at the very end of the node graph. The reason is that, it is a better control for future changes, as the reformat node effects the whole node graph below it.

Figure2.3 – Bbox management to avoid heavy loading script

01 | Idea Brainstorming


First inspiration by the artwork “Diving and coffee” of the artist Fredrik V Thelander. From all kinds of visual among the social media, artists still can able to find their ways to grab audience’s attention. I am always attracted by their tricks, especially when live action combined with realistic vfx that we almost can’t tell if that is real or not.
So, I decide it can be one of the ideas for our term 1 group project. Even if not, I hope it can still be a cheerful sharing to my fellows as brainfood.

09 | Facial expression

Result

I enjoy working at this animation for facial expression very much. Comparing with the motion in last version (08 | Rendering And Nuke Color Correction), the squarely mouth problem was solved. All facial expressions are able to deliver the emotion accordingly. Even the smile one is still not since enough, it may needs much more mesh for me to set keyframe on cheeks and eyes, which is a long process for me to study on.

Basic movement

3 types of emotion movement

The whole progress is challenging but with a steep learning curve, especially for the skin area at the neck. It is not easy to define which is which to separate the upper part and lower part in paintweight tool. And when the motion is too exaggerated, it got distorted, which is obviously not the thing I want to see.

Smooth the paintweight for the jaw movement

Reflection

At this self-practise, I need to bear in mind with uncanny valley as well. As my model is a human-like one, my motion is tend to be as humanize as possible, with other elements not quite finalized yet. It became a sense of unease when I reviewed my result. But still, it is quite a nice way for me to practise the the facial expression motion with shape editor in Maya.

08 | Rendering and Nuke color correction

For this week, I’ve slightly animate the facial expression as a test. Then I rendered my outputs with separated passes, which I then able to input in Nuke to adjust coloring. I’ve also learnt the concepts of passes in Nuke are actually quite similar to other 3D software, such as Cinema4D.
In this way, with similar methods, I can take the frames and then layer them using blending modes to rebuild the beauty pass in Nuke, so from there I can make my choices meticulously and adjust how the shot can be improved.

Facial Motion Test
Maya output for the frown face

Work In Progress

The facial expression are separated into various sliders in shape editor to animate them controllably.

Nuke passes

RGB
Alpha
Direct diffuse
Indirect diffuse
Direct specular
Indirect specular

Color grading in Nuke

Result

In my color adjustment, I mainly adjusted my direct specular and indirect diffuse to add greenish in lighting for some spooky feeling. I didn’t spend too much time on it, it is just a first trial for me to understand how Nuke function and get familiar for my finger muscle with interface of Nuke.

Regarding to the facial expression, I suppose I should not animate all parts of meshes in same timing. I will definitely enhance the facial expression, especially the mouth movement, as it is too squarely in this version. As always, it is believed that subtlety is the key for all kinds of eye-comforting and realistic motion.

Nuke output

07b | Subsurface on ears and face

Result

This week, it is aiming to add subsurface to ears and face. As human ears are commonly pinkish with thinness that slightly showing blood vessels, subsurface scattering in this case can able work with texture in similar ways. Also it stimulates when light penetrates a translucent surface like a grape, and is absorbed and scattered.

The subsurface texture on ears
Subsurface texture for my model on cheeks, nose and forehead.

Work In Progress

It is the work in process for my model. As ears are slightly transparent in their texture, I adjusted the subsurface to create a transparent texture for the ears. Meanwhile, the texture of red veins have applied, to provide a little bit details and imperfection to my model.

Here is my reference of how to show realistic eyes with correct lighting in subsurface.

Youtube Channel: Alan’s Art Log
Showing the subsurface texturing with backlight only

Adding veins, blood vessels, scar mark and pigment on UV

Furthermore, for subsurface of cheeks, nose and forehead.

Reddish veins on cheeks and nose
Scar mark and skin pigmentation on forehead

Last but not least, adding bumpmap to lip.

Bumpmaping on lip

Reflection

So far, I am quite satisfied with my result, I have learnt how to make my character realistic with imperfections. All of these slightly details create an unique identify for my character. Again, I believe the key to adding subsurface is subtlety with adding imperfection to create realistic face model. Overall, there are no perfect human face in reality world.


07A | Facial Emotion

Result

This week I set keyframe for all mesh to the final design of each emotion. However I haven’t confirmed with the motion yet. Therefore, it is a result for some screenshot for each emotion first.

Original face

Angry face

Sorrow face
Fake smiley face


Work In Progress

Rigging and paint skin weight

Do you know how much muscles involved in one single smile ?
According to howstuffworks.com :

If we look at a smile that only raises the corners of the lips and the upper lip, it takes only five muscle pairs, or 10 total muscles, to do so. However, if the smile is further reduced to a robotic expression of just raising the corners of the mouth, then it takes only two muscle pairs (four muscles) to smile.

Therefore, I believed the smile facial expression is the most challenging facial expression to animate. The geometry for this model is not quite enough for me to adjust the minor expression.
In human being interaction, insincere smile can quite easy to identify by human being. That is our nature to read others facial expression for us to interact with others in this nowadays society. Therefore, the animation to modify a sincere smile is the most difficult one. I am not satisfied with my result, but I think it is a good start for me to improve my animate skill as character design is not my familiar subjects.
Paintweight for jaw upper part
Paintweight for jaw bottom part
Mirror skin Paintweight for the inside part of the mouth
Adding bumpmap
Lip bumpmap

Reflection

For me, controlling the paintweight brush is quite challenging. Sometimes, my brush was not accurate enough for me to paint the skin area I targeted, and in turn it made me spend loads of time to smooth for a blurry area between and black and white area.

Next step, I would like to animate them in one final showreel to show all emotion. In this way, I can demonstrate how the rigging and shape editor helps me to animate the model.

02 | Nuke Color Match

With my previous experience of using Aftereffect, it needs time for me to adjust while using Nuke, even sharing the same concepts within both softwares , or even among all other compositing software, the keywords and terms in Nuke are seems to be strangers to me.

The things to remind myself:

  1. Gain and multiply – highlight control
  2. Gamma – midtone control
  3. Lift – shadow control
  4. Toe – black control
  5. BlacksMatch – a gizmos for black control

Another obstacle is my aesthetic skill on coloring. While I need to eyeball the color of background and the object to finetune and match them. All I can say is that, somethings are not right yet, the airplane is still a “fake” one, it didn’t merge with the environment, but I don’t know which buttons to adjust my discomfort for the color.

Figure 2.1 – The node graph of this color match classwork
Figure 2.3 – The work in progress of the color matching.
Figure 2.4 – The top one is cloud png without premult node, and the bottom one is with premult node.

And when I first input the cloud png into the script, the edge of the cloud was so rough that I misunderstood Nuke cannot recognise the alpha pass. But then I discovered that what I need is just a premult node, as we don’t need this step in aftereffect, I definitely need to solid my knowledge with the concept for premultiplication.


Result

Figure 2.5 – The result of my classwork, color matching for a airplane with the sky environment.

That is the best result I can gather, but I am still not satisfied with the color match. Somethings are still not right by my eye judgement.

01 | Nuke Roto

Result

I am not satisfied with the result, still a lot things to learn. I think I should not put all my roto in one single roto node. I should separate them into several nodes for better organization and less chances for distorted roto mask.


Work In Progress

It took me nearly 7 working days to finish this task, which is way more complicated than my expectation. When I struggled in working with all these chaos, I also did some researches of tips and suggestions for Nuke newbie on YouTube. This, in turn, allows me to find inspiring tips from YouTube creator, Hugo’s Desk, which explained how to do roto in Nuke quite clearly, and the most useful tips from him is to keep on hardworking in roto. No secrets, no magic, just hardworking.

My roto became a disaster !!!

As the footage is a jpg sequence that not much details for me to do a pixel-perfect roto. I am not able to see the hair shape to define the roto, even I adjusted the gamma in my viewer, still I can’t identify the edge of my matte.

Still, it is my first rotoscoping task in Nuke. I will keep it in my mind to apply what I have learn for further rotoscoping.