All posts by Lok Man Kwan

WK9.5 AOVs Rendering

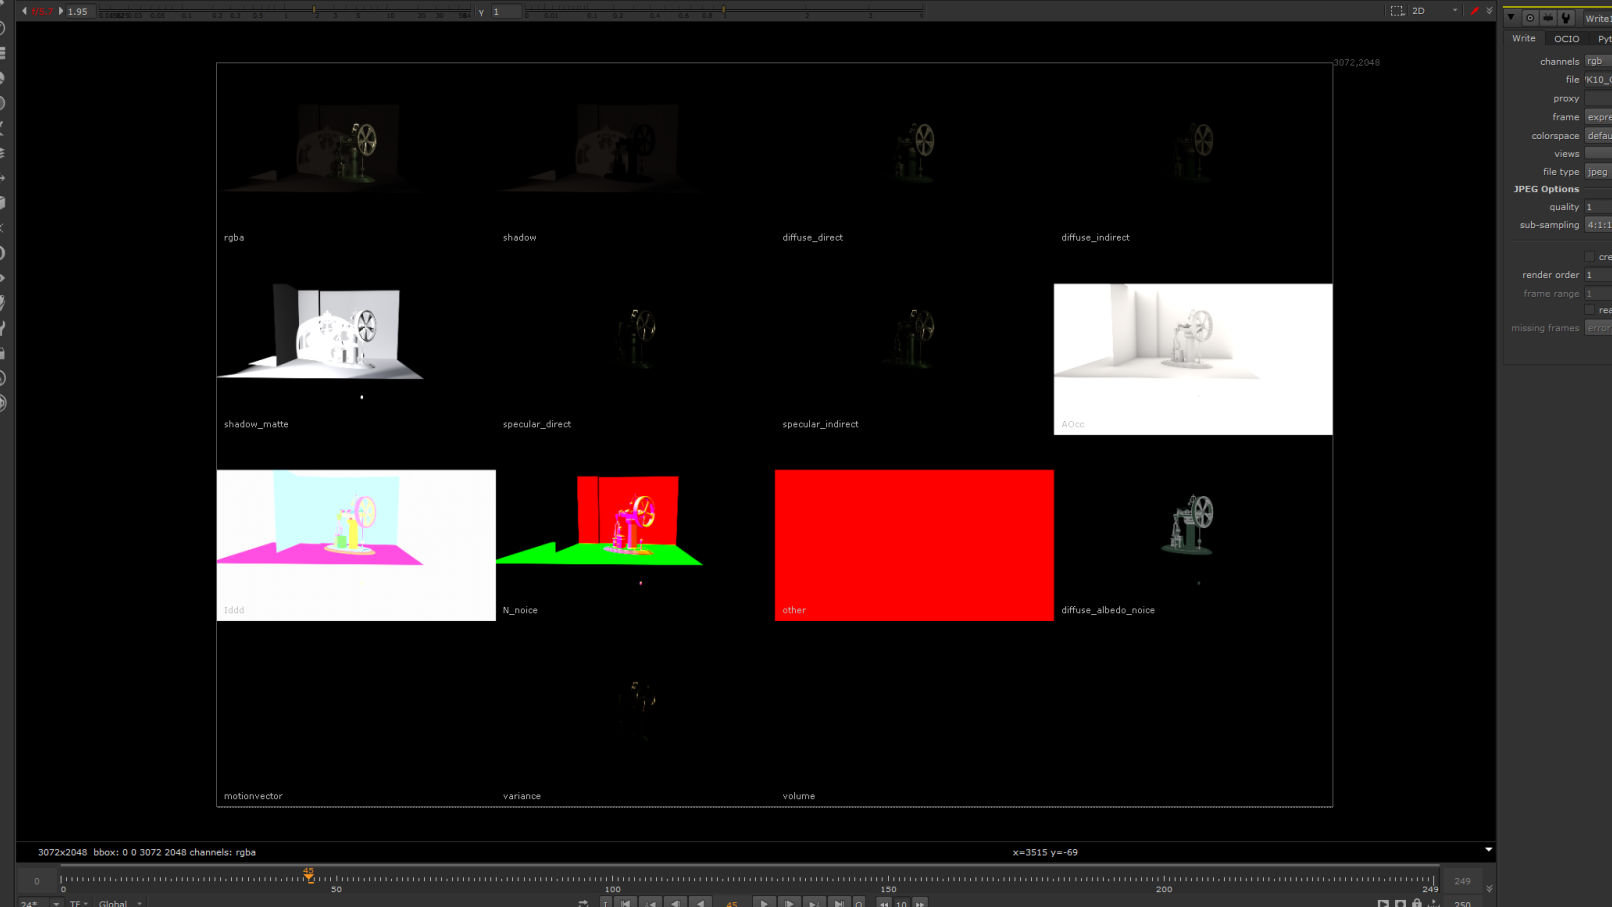
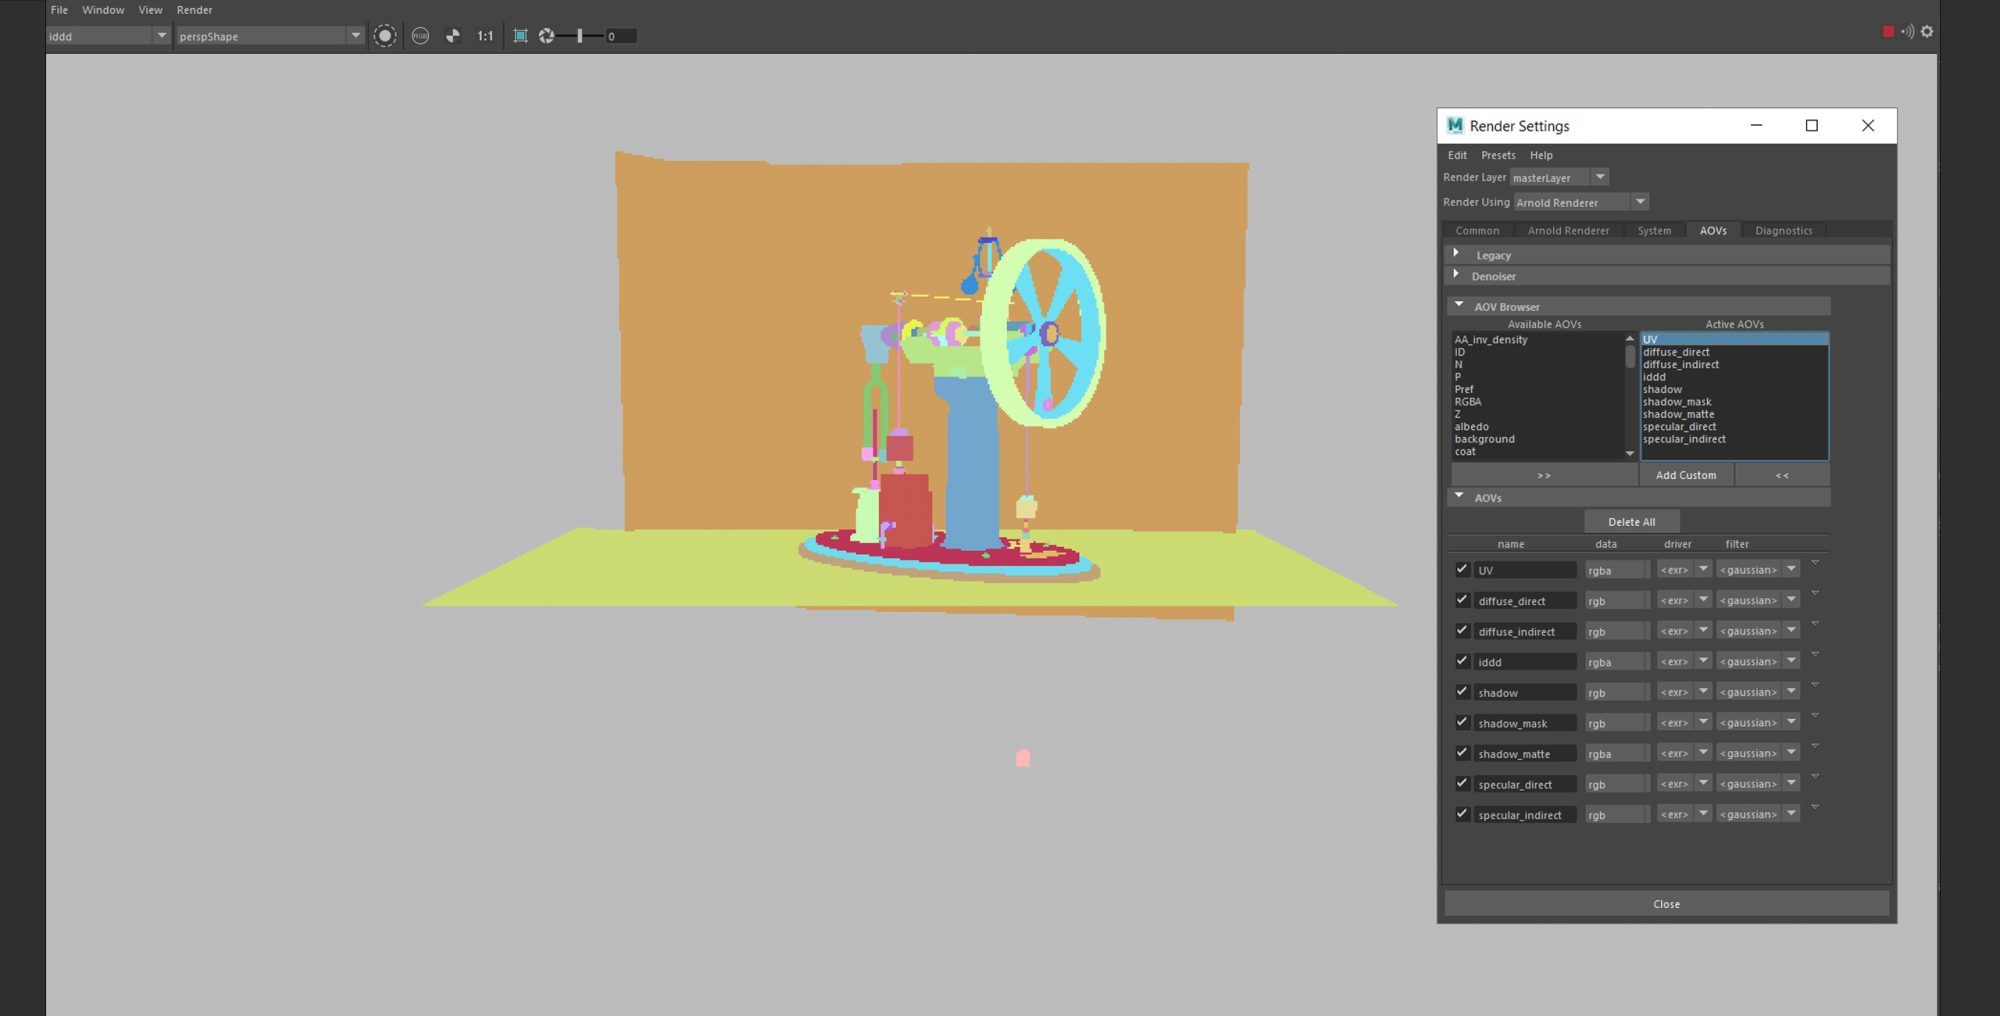
Regarding AOV output, it is crucial to predict what would I do in Nuke before I select which passes to be added in. There are no needs for me to render all passes, as it is too time consuming. For example, Sub-Surface Scattering (SSS) has been taken away from rendering, as the engine is solid metal texture machine. Also, I suppose depth, normal and motion vector are not relevant for the engine in this stage.

Therefore, UV and ID are added, mainly for slightly lighting and texture adjustment later. And, of course, other passes like diffuse, specular, and shadow are the must- have items on AOVs render list.

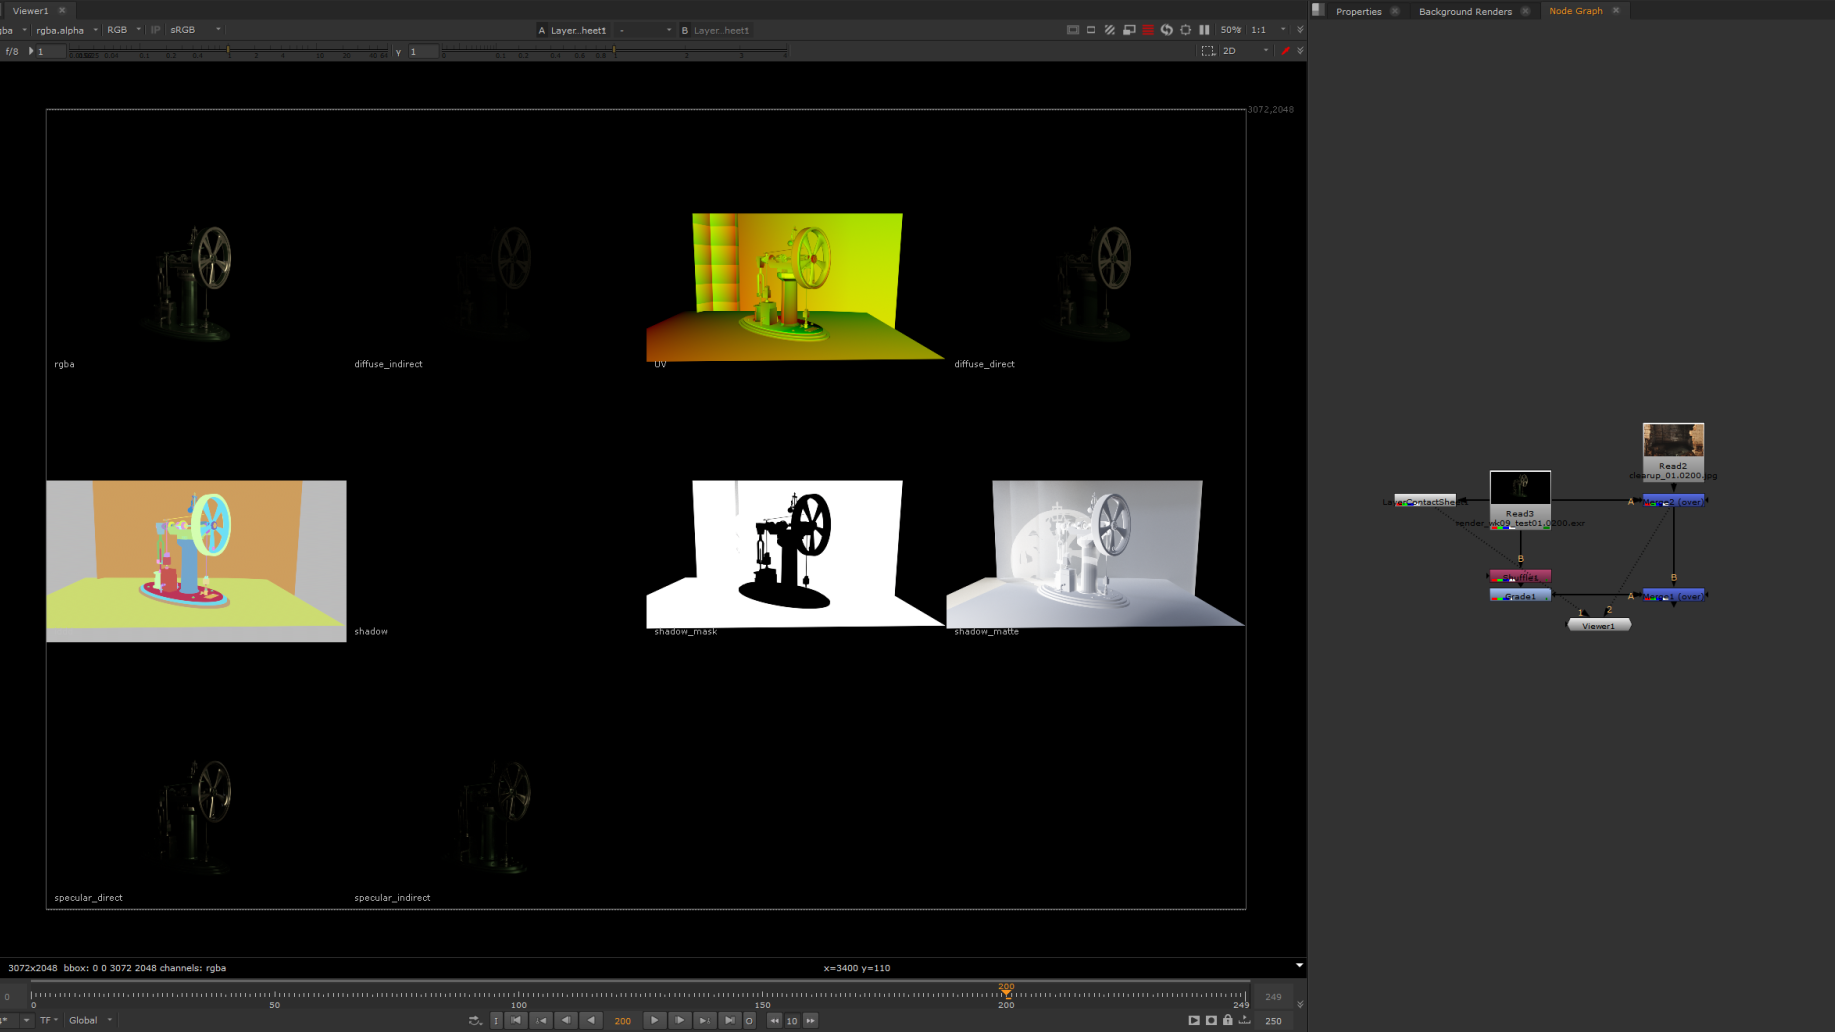
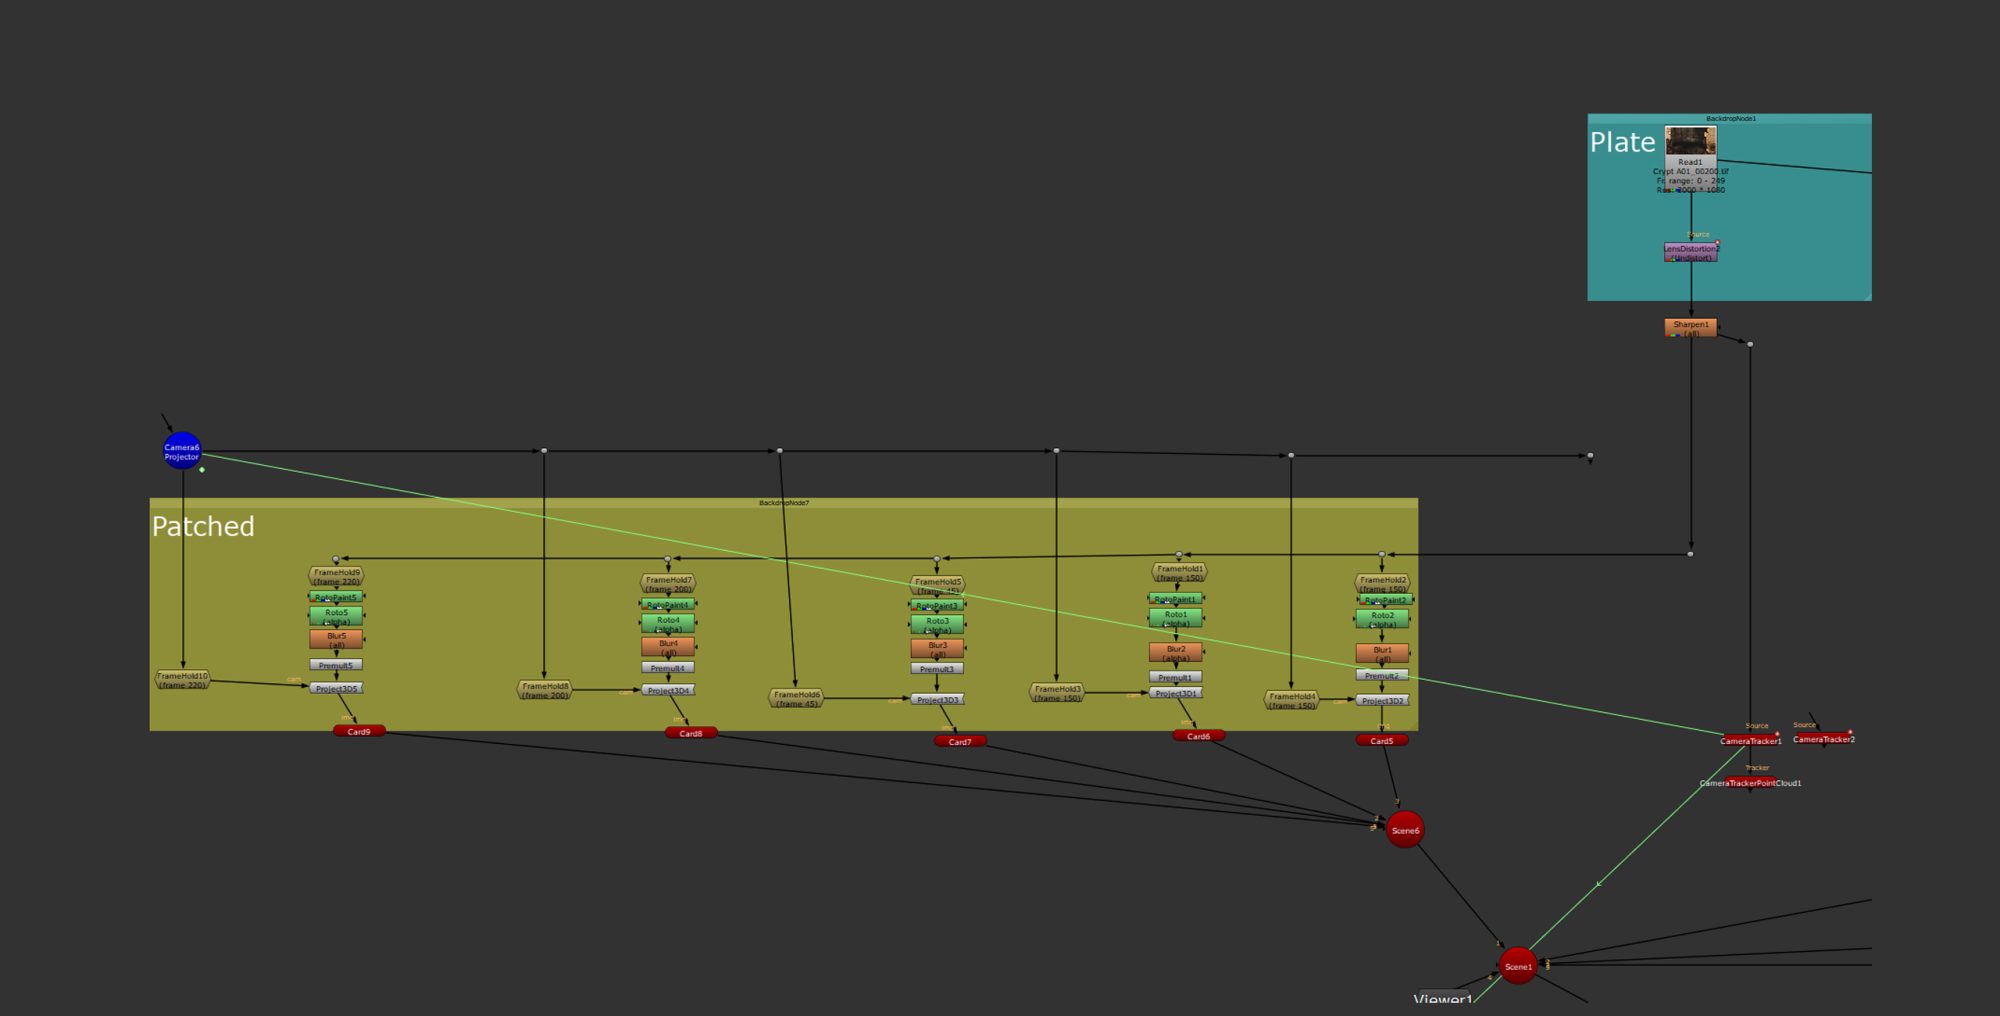
However, when I checked my passes in Nuke, the alpha pass showed a layer of soft shadow on shadow matte plane, which I don’t want that to happen. Perhaps I have to go back to Maya to fix the shadow matte. I hope I can get a solid, object-only shadow in my re-render.


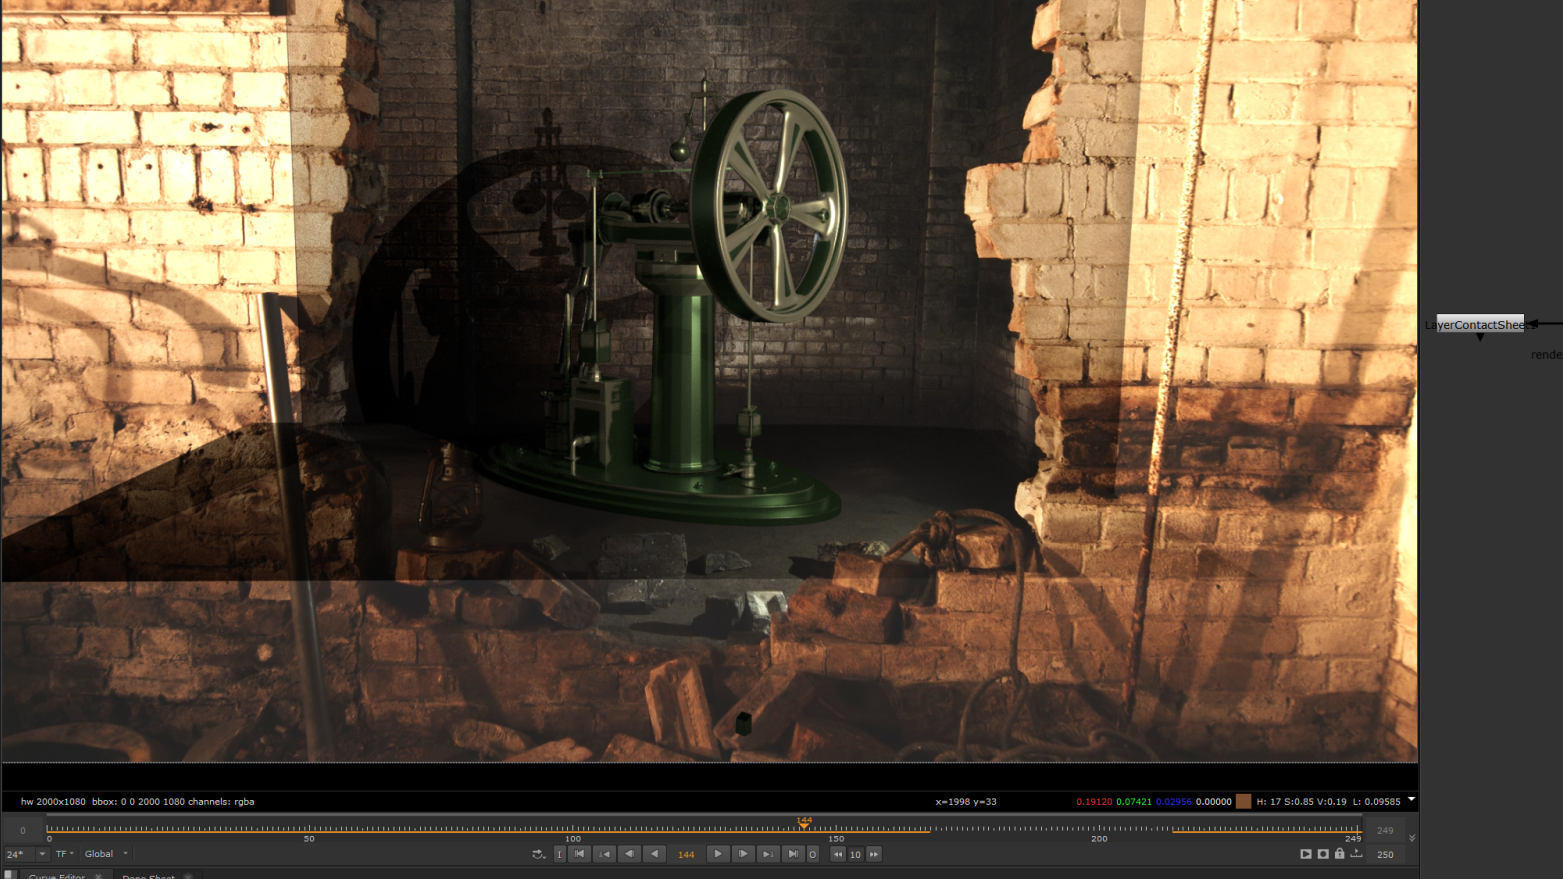
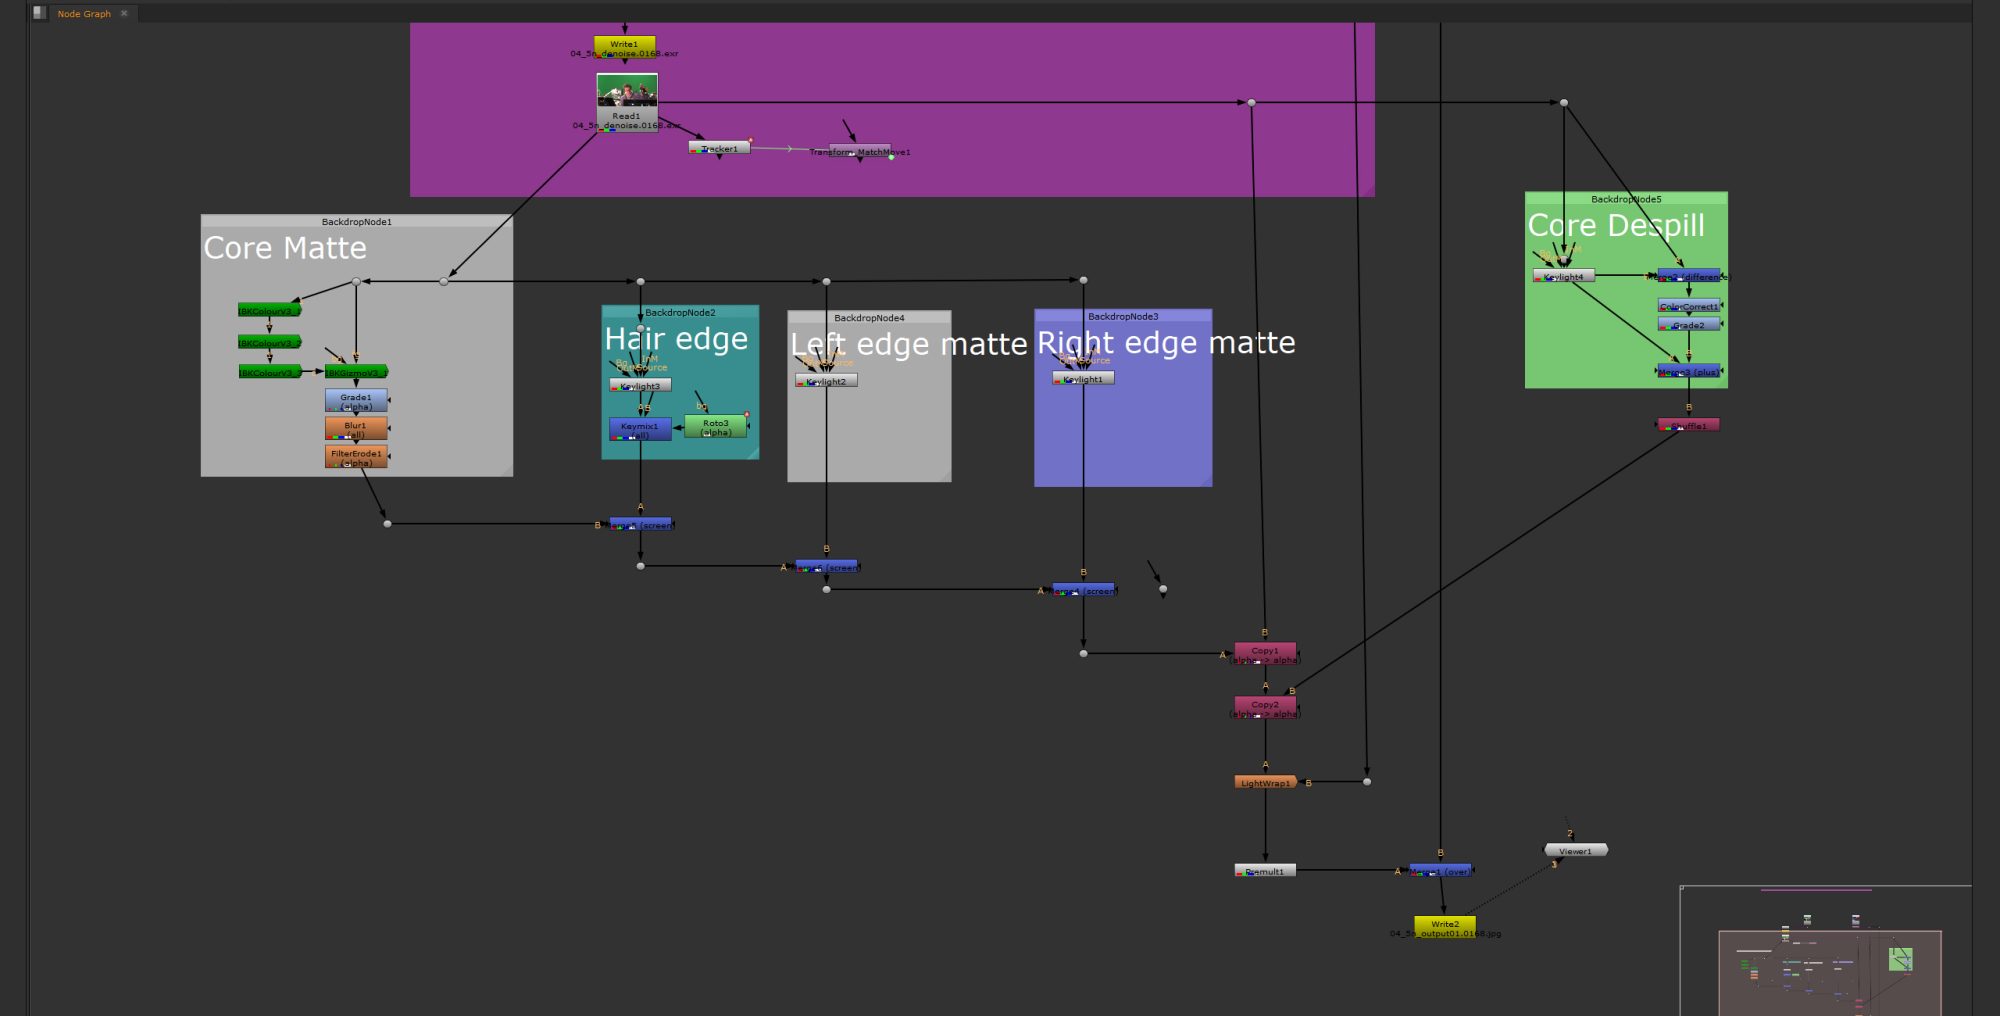
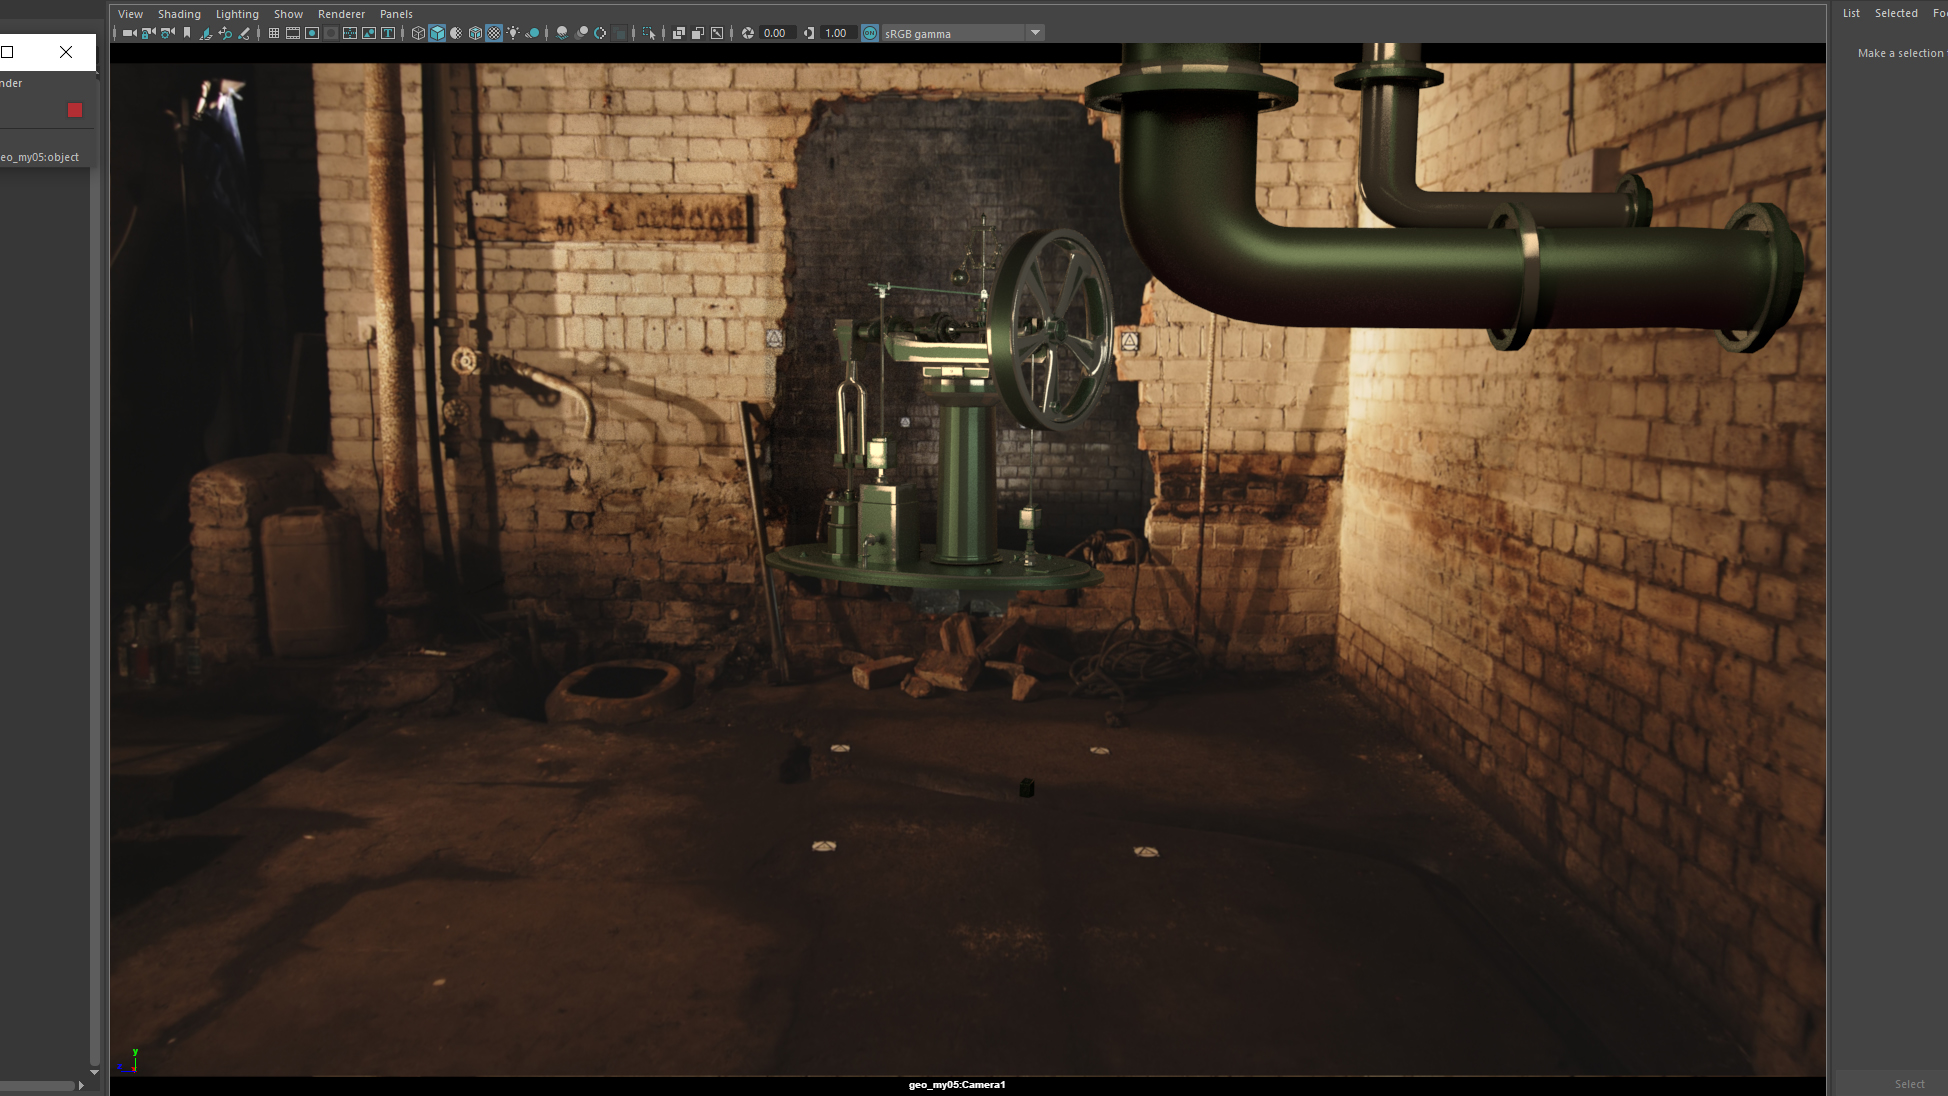
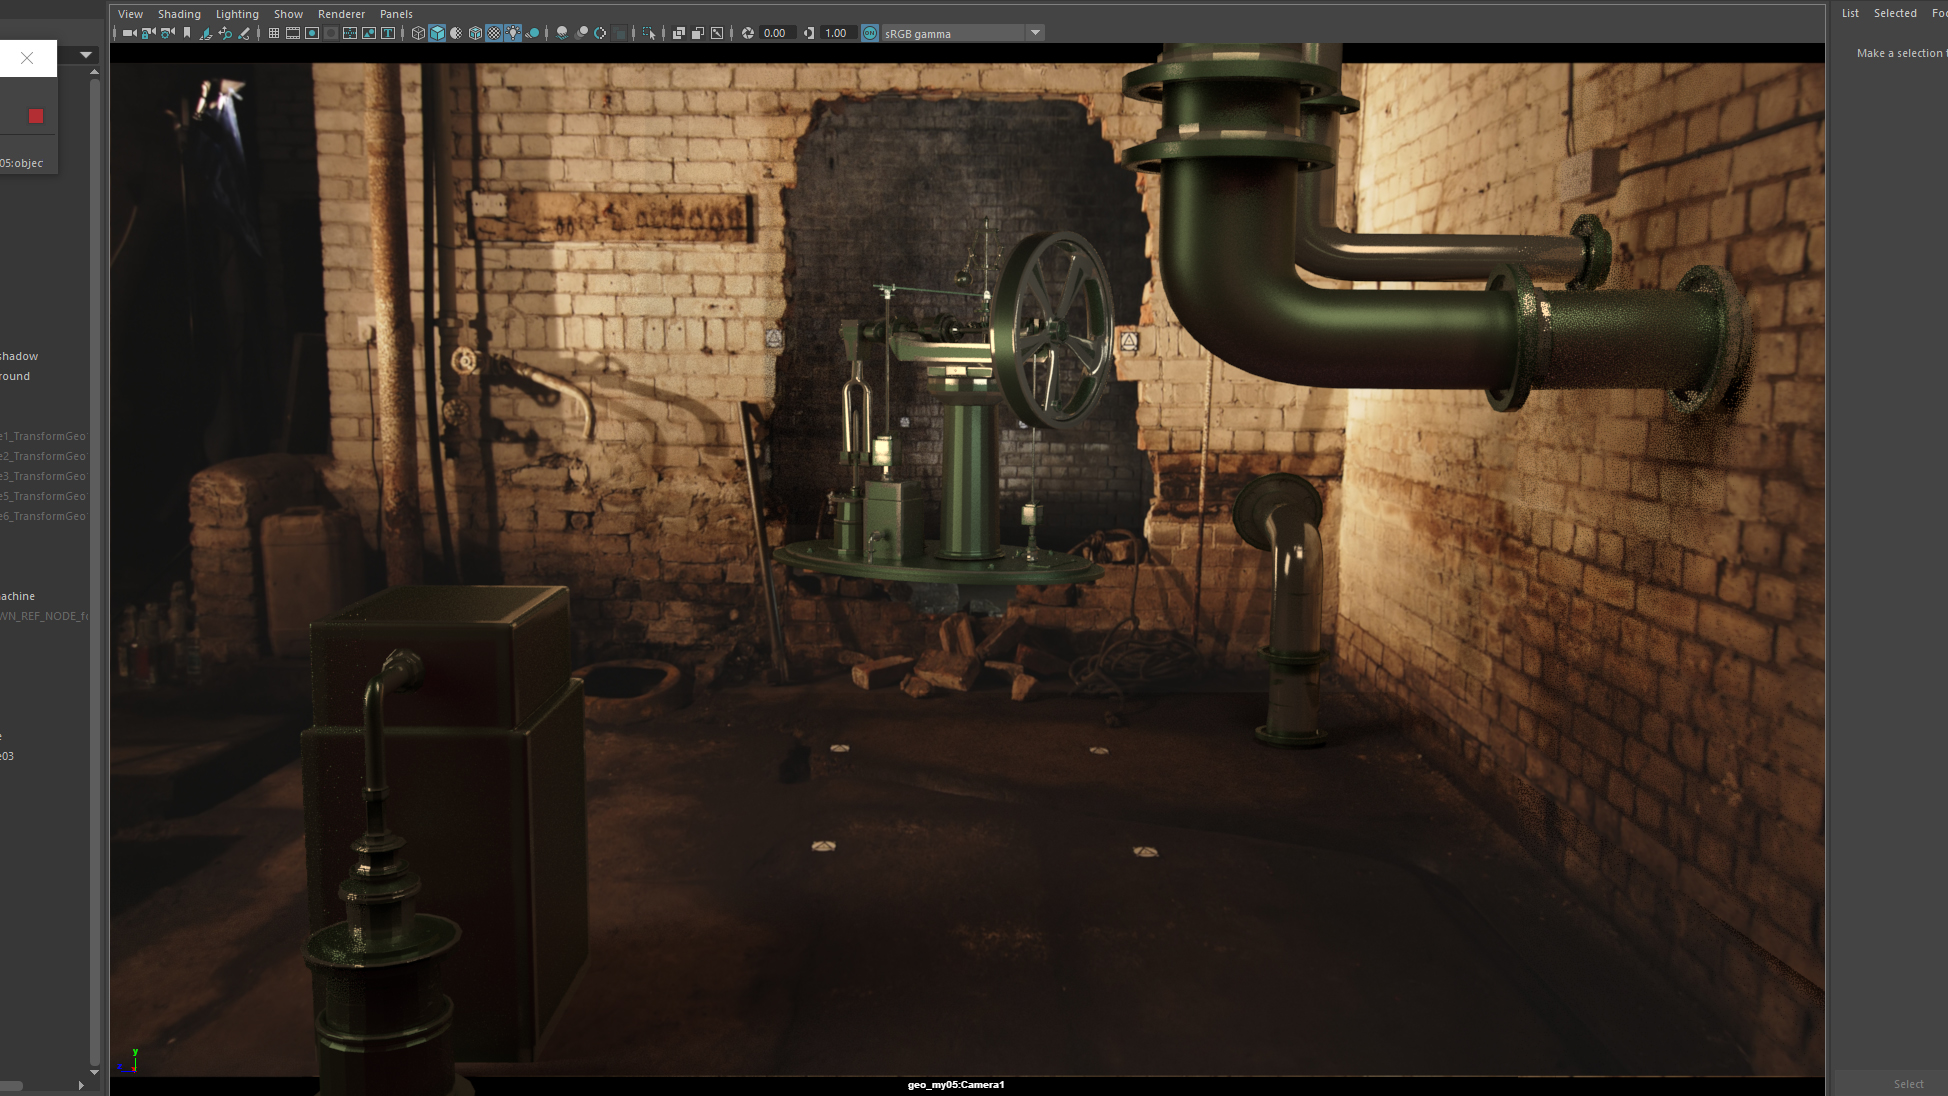
2nd Rendering with Spot light

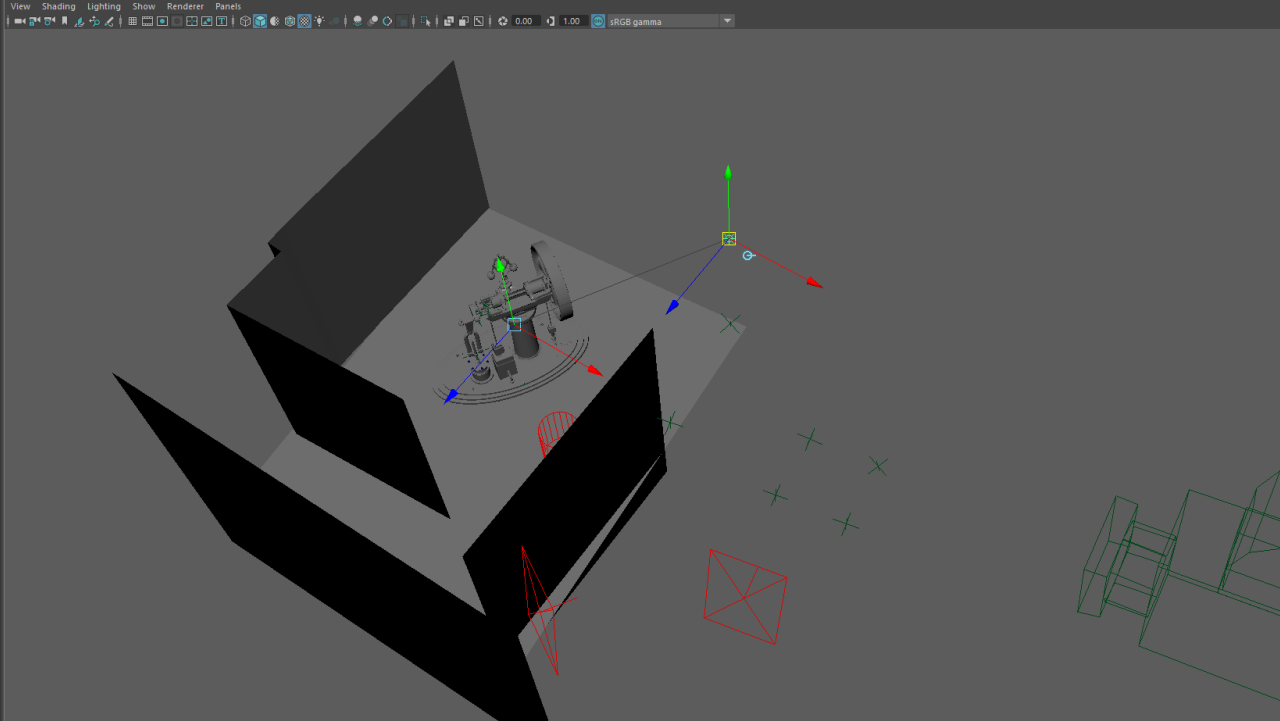
Using spot light to have soild shadow lighting and control target on object.

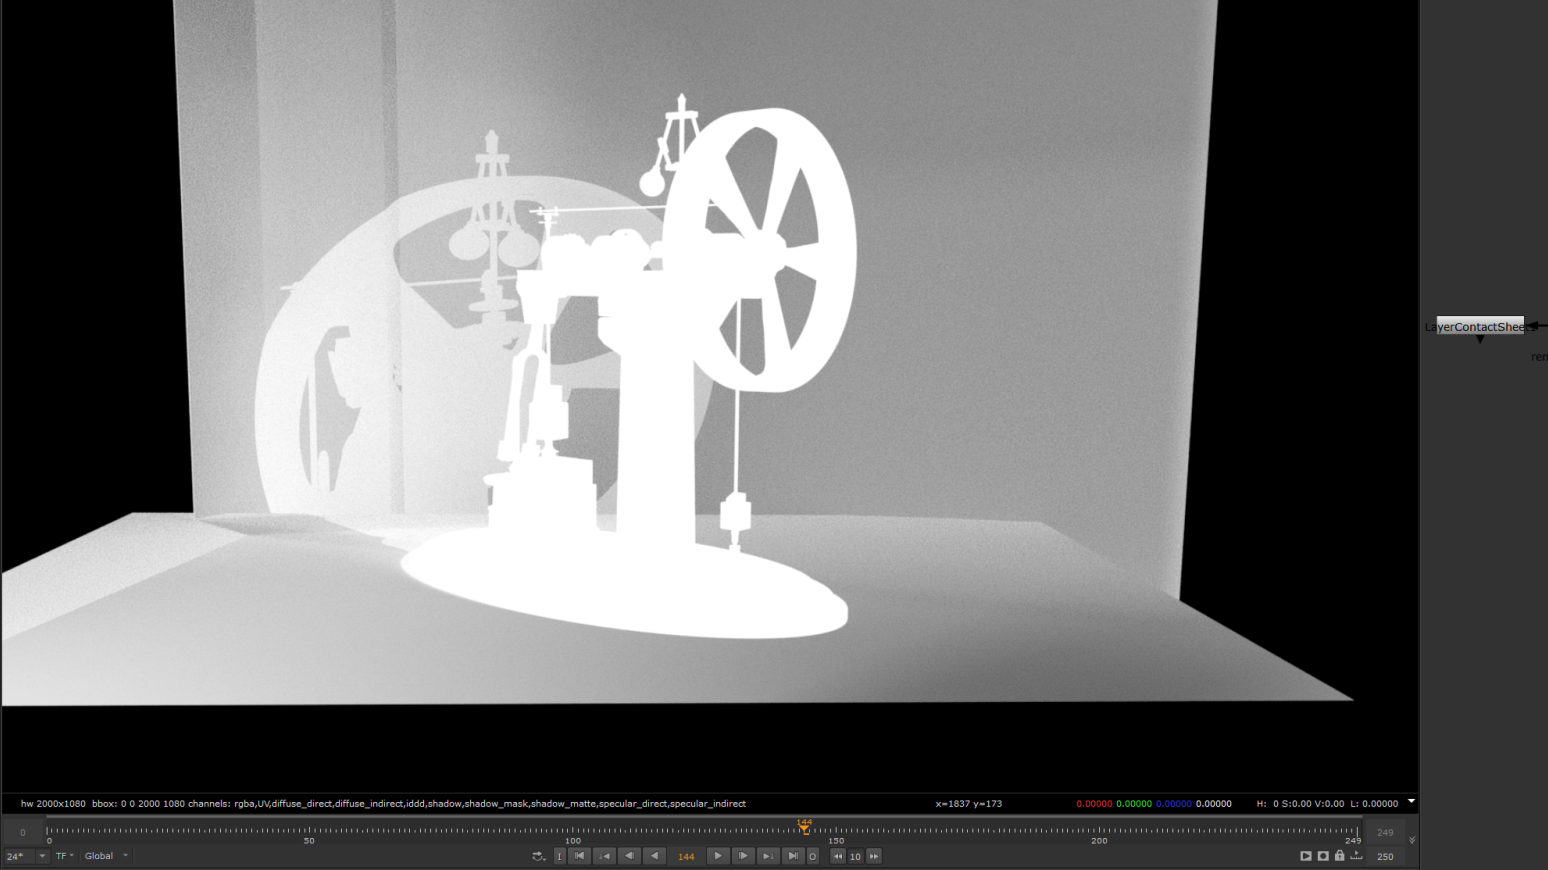
And more AOVs passes are rendered, including AO.

WK 09 Keying

Work In Process

Version 01 without grade and color correction

This version is missing matchmove tracking at background, color correction and edges adjustment.


Version 02 -Semi Final version

I might need to ask my fellows opinion on this semi final version as I think my eyes are too familiar with this shot. I can’t make any more further adjustment. I did a QC at the end of the script as well. It is a saturation node to bump up the saturation to extreme to match RGB.


Version 01
Version 02

I tried different node for clearing green screen. For hard key as core matte, I applied IBKColour and IBKGizmo. For soft key as edges matte, I think Keylight did a better job. I also think the Keylight work on despill effectively, so one main core despill is good enough for clearing the green on hair.

WK08 Lighting

For this week, the most challenging part is to simulate the lighting direction. Watching the shadow of the footage and set the lighting to cast shadow that similar to it.

With soft shadow
With hard shadow

Therefore, area light on the right hand side is the key light, while the cylinder light on its left is the fill light. The light blocker planes own their important roles to avoid the lighting that do not belong to the room of crypt.

And for the outdoor area, I used the pipe shadow on the wall at the left hand side as reference. You may see double shadow for one single pipe, which means at less two lighting source are set on site. However, not much further information for the direction, so I can only have a guess on it. Hopefully, I can have the time to output normal pass and position pass to do slightly re-lighting adjustment later in Nuke.

WK08 Keyer- Lum Key

I think I did the luminance key for this homework correctly, but I don’t understand how to make this alpha back into the footage as a mask after the stage in this moment. Should I use a roto? A shuffle node to put alpha back into RGB ? I don’t know what to do 🙁


Colorspace of HSV

Using the Colorspace node to shuffle the colorspace input and output is useful for selecting the details in alpha, which allows us to control easier in the lum key.
However, our eyes need some times to adjust the relationship between HSV and the black and white data.

I found this blog explain HSV quite clearly. Indeed, the Python coding stuff is entirety another master degree, but the image in this blog clear my minds with thinking HSV with black and white pixels showing on screen.

How to Get HSV Values From RGB Colorspace and vice-versa In Python
Published on : August 27, 2020  Published by : Syed Faizunnabi
Image from buzzneers.com

In shorts, a full range of color is transformed into number 0 to 360 or 0 to 100, and using black = 0 and white =1 for representation.

R = HUE:
Hue literally means colour.
As Red to Magenta = 0 to 360, related to Black to White = 0 to 1.

G = Saturation:
Saturation pertains the amount of white light mixed with a hue.
As plain to rich color = 0 to 100, related to Black to White = 0 to 1.

B = Luminance/ Value
Luminance is a measure to describe the perceived brightness of a colour.
As dark to bright color = 0 to 100, related to Black to White = 0 to 1.

WK04 Modelbuilder

I d like to turn this bright and neat hospital corridor into a spooky bluish, and horrible scene.

Source from the 3D Model by Adriankulawik

Work In Progress

Lighting Design

Whats wrong with it ???????

When I add point light, it glitched my scene unreasonably. Did I make something wrong ?

Problem solved !!!

However, by luck, I tried to turn the Project3D only project on front, instead of both. The glitch was gone !

Camera Movement

1st Version

Maybe I will add a little bit rotation and handheld movement in it.

I just found out there is an easy way to add handheld motion, instead of keyframing manually digit by digit. But maybe I will do it next time, as it is not necessary for my scene here.


Result

The website here compressed my result a lot, and causing some noise on it. I added it in YouTube to show a better HD result. But still, I am satisfied with it at this moment.

YouTube HD version

Week 07 Texture AND Lighting

This week, after settling the steam engine into the target axis point that I decided, I have to add texture and lighting to match with the scenario, which I think it is the most challenging parts, as it requires my eye judgement on color tone in pixel-details.

There are always somethings wrong in visual that I can’t explain by words, and I don’t know where to start to adjust it. I am quite frustrated at this moment. The main goal of doing vfx is to make things realistic, but for this week, it seems tough for me to get a breakthrough at this stage.

Moreover, regarding to shadow, the lighting source has not corrected yet, and the sample of shadow is not enough, so it only create soft, grainy one. I wish I can follow the shadow reference at the pipe of left hand side, to create some shadow for my other pipes on the right side.

C4D RIGID BODY AND COLLIDER BODY

Result


It starts with a random thought with sketching on paper, I would like to do a series of square size posts to put on instagram. Probably 20 ish output, with not much storytelling or hidden messenger. There are a few reason for me to do it. One is to train my software skill in Cinema4D, as I still believe, among all 3D software, Maya and Cinema4D are the most significant major software.

Another reason is that it trains my quick response to ad hoc task as well. In most of the time, quality, of course, is so crucial, but quantity are actually weight same importance too. I planned to do a series of practise, which limited the duration within 10s each, but with eye-catching elements and fast pacing for a complete output.

Hopefully, by the end of July, I can have a nice portfolio with around 20 pieces of work to present my silly random thought. 😉

Wk 06 Put Geo into Maya

This week, I have to export the camera, matchmove axis, wireframe and geometries into Maya. With the image plane linked with my clear up version of image sequence. My engine, in turn, “effortlessly” located on the axis which I decided.

Next stage, I would like to do a roto for the entrance of crypt. And maybe add some pipes objects on the wall of crypt as well. Also, I might re-design the pace of motion, as it didn’t hustle enough.

Nuke 3D projection

Result


More axis are added into scene


Clear Up with patch projection

At first, for the tracking marker of the left side of crypt entrance, I used frame 50 to do a patch to do clear up, as I think it is a patch that oriented to the camera mostly. However, it become too blurry when the patch is becoming close to the camera.

Using frame 50

Therefore, I tried frame 150 to do the patch. And I think it is much better than before.

Using frame 150

With the same principles, I chose the frame for clearing up track markers accordingly as following :